Halloween Nails Ghost Design: 20 Ghost Nail Art Ideas for Spooky Chic Nails
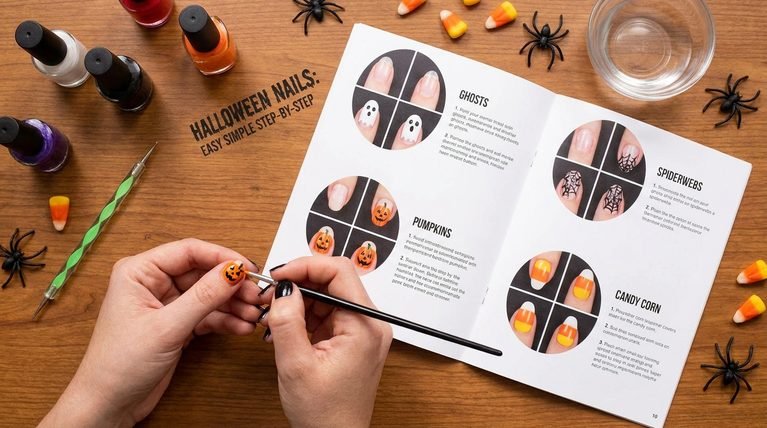
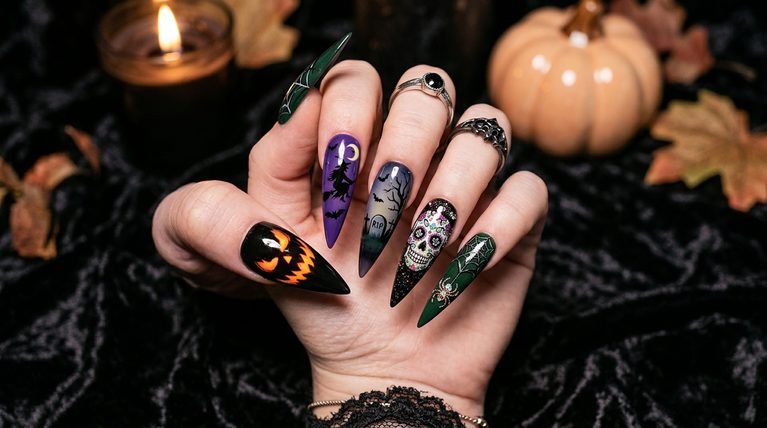
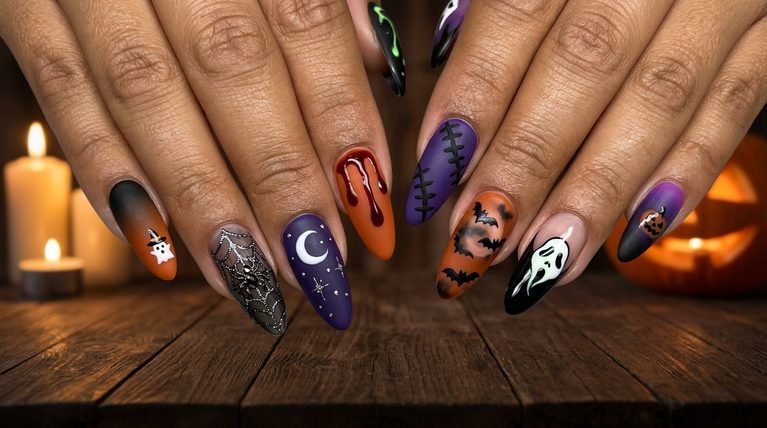
If you’re chasing halloween nails ghost design that leans playful instead of spooky, you’ve found it. This guide offers 20 ghost-themed nail ideas that span simple silhouettes, cute faces, and glossy silhouettes. Each design includes shape, length, finish, and one practical tip to help you recreate it with confidence.
1. Spooky Ghost French Tip Nails
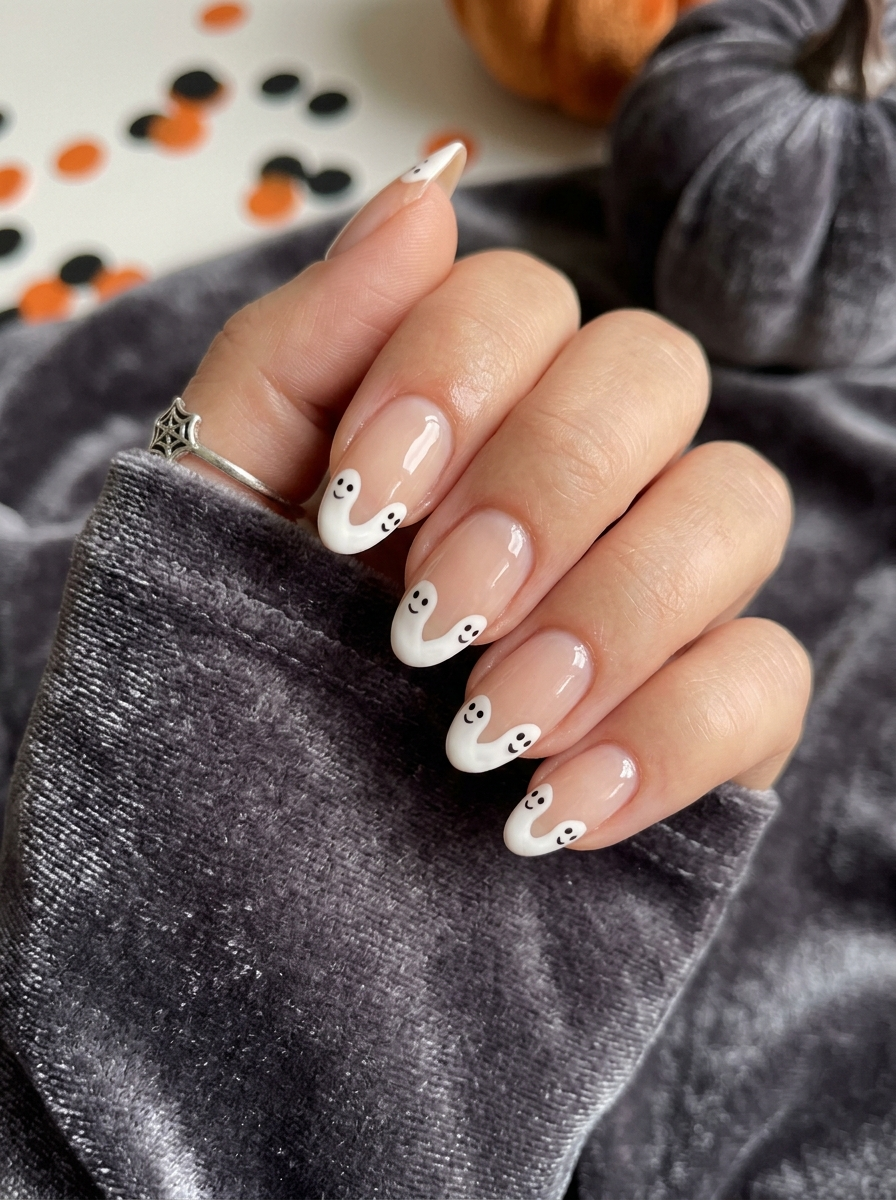
Begin with a sheer nude base to let the ghost details pop without feeling heavy. Paint tiny white ghosts along the edge of each nail, keeping their shapes rounded and friendly. Use a fine brush to add subtle black eyes and little smiles for character. Seal with a glossy top coat to maximize the ghostly shine.
- Best for: Halloween parties, date night, cosplay
- Difficulty: Medium
- Best occasion: Casual Halloween events
- Tip: Use striping tape for crisp lines and clean ghost edges.
2. Glowing Ghost Orbs on Long Coffin Nails
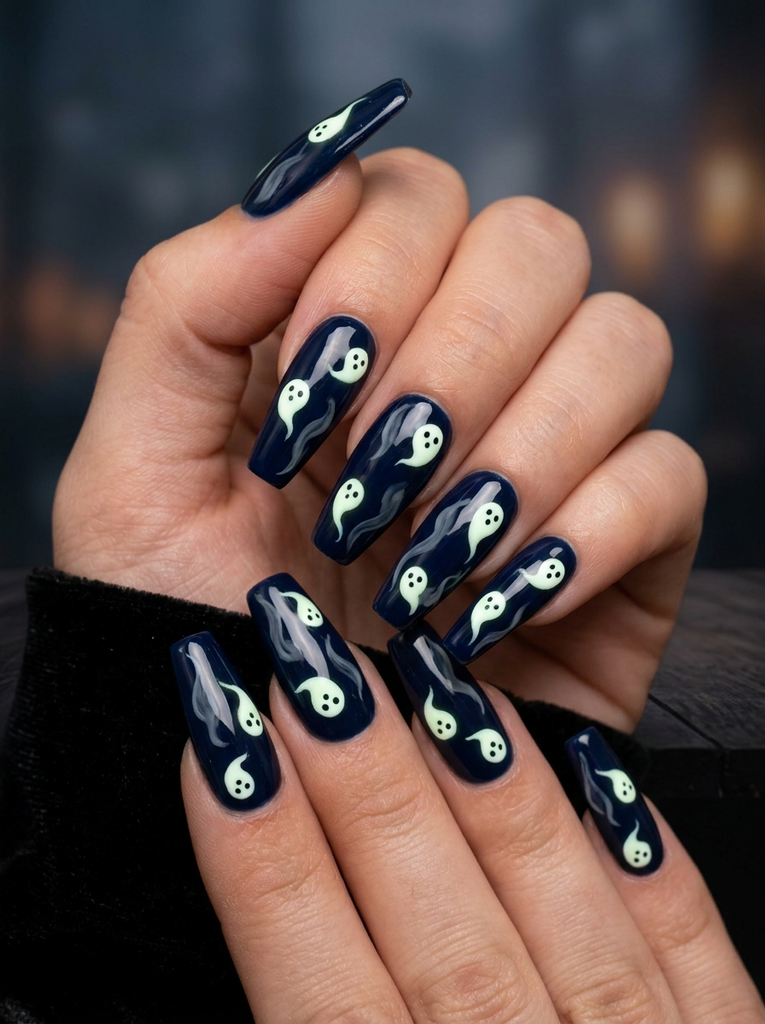
Choose a deep midnight base for dramatic contrast and to make the white ghosts pop. Paint small round ghost orbs that float across the nail, interspersed with subtle wisps. A glow-in-the-dark top coat can enhance the eerie effect in dim light. Keep the orbs simple so the silhouette reads clearly from a distance.
- Best for: Night events, parties, cosplay
- Difficulty: Medium
- Best occasion: Night-out Halloween events
- Tip: Cure between layers to prevent smudging of the glow pigments.
3. White Ghost Faces on Short Square Nails
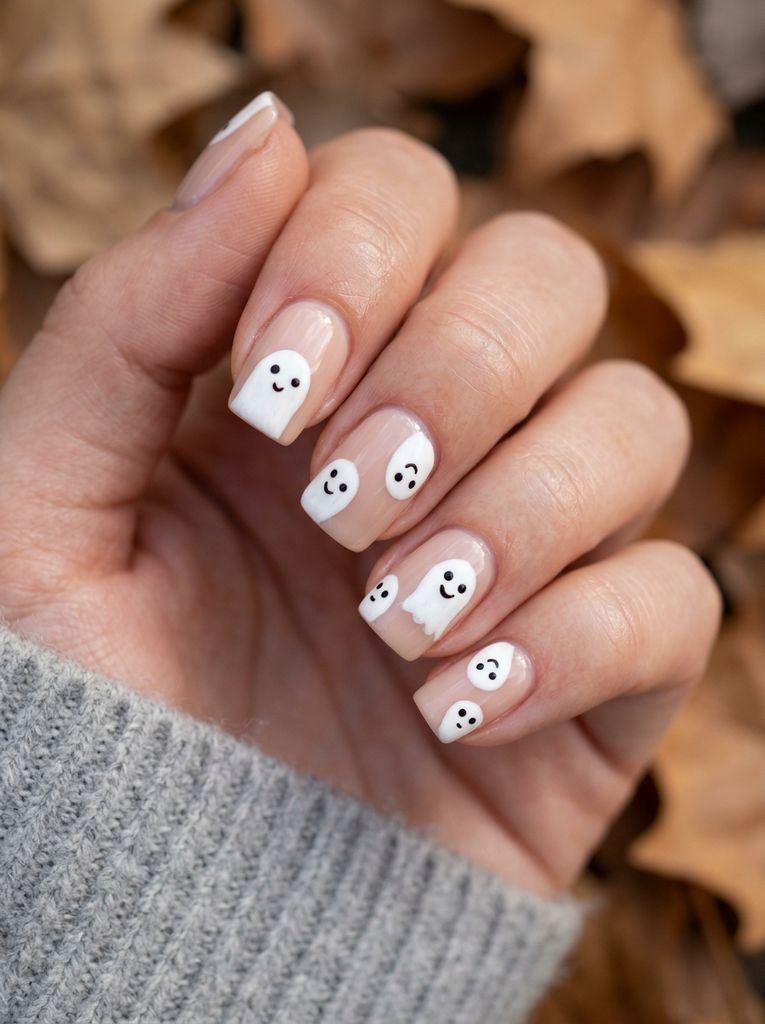
Paint cute, rounded ghost faces on a soft nude base. Keep features minimal—a tiny black eye on each ghost and a cute little mouth add personality. Short, square nails give a playful, approachable vibe. Finish with a protective top coat to keep the faces crisp.
- Best for: Everyday Halloween vibes
- Difficulty: Easy
- Best occasion: Work-friendly Halloween looks
- Tip: Use a toothpick for tiny eye dots to keep symmetry.
4. Cute Ghost Outline Nails with Glitter
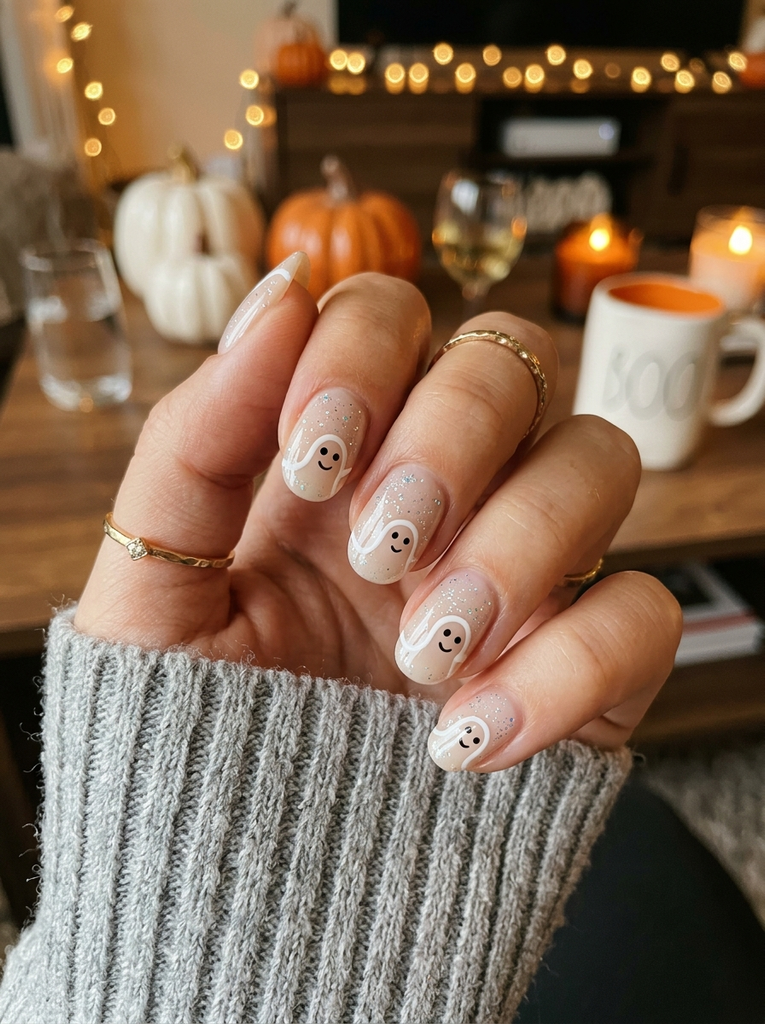
Keep the base neutral and outline friendly little ghosts along the free edge. Add a sprinkle of fine glitter across the nails to mimic twinkling night air. Opt for a medium length with rounded tips for a soft silhouette. Seal edges well to prevent glitter shedding.
- Best for: Party nights, brunch with friends
- Difficulty: Easy
- Best occasion: Casual Halloween gatherings
- Tip: Apply glitter in thin layers to avoid rough texture.
If you enjoy creative beauty choices, discover Tattoo Ideas for Women With Meaning that complement your personal style while adding a meaningful touch to your overall look.
5. Spooky Ghost Silhouette Nails in Matte Black
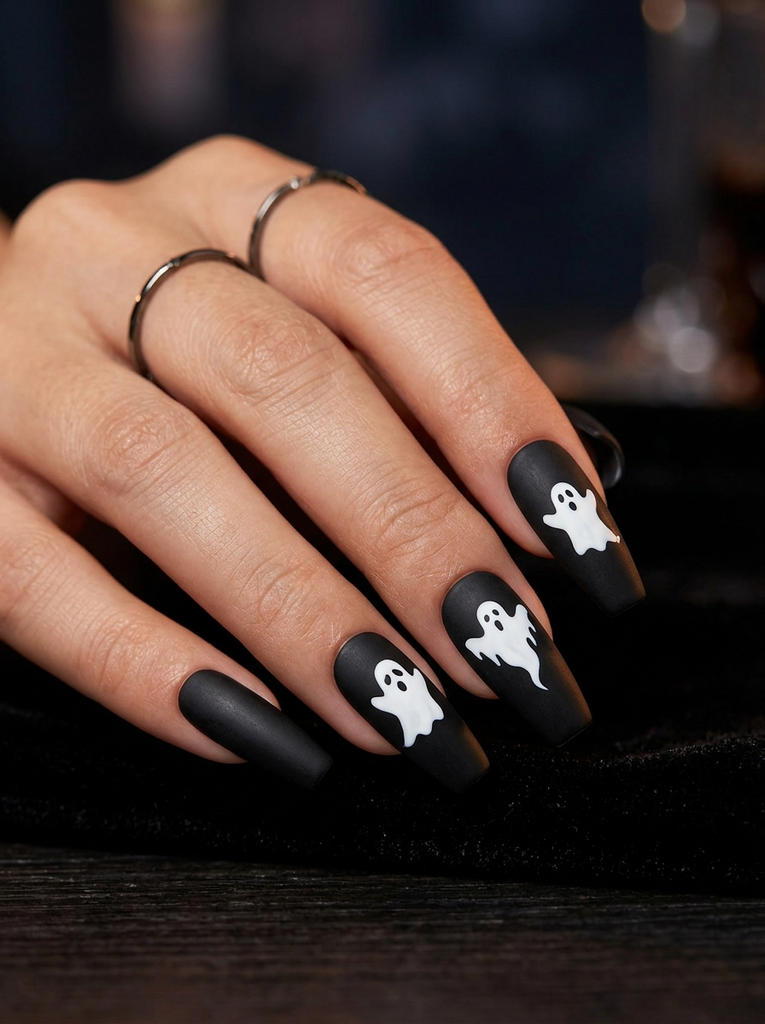
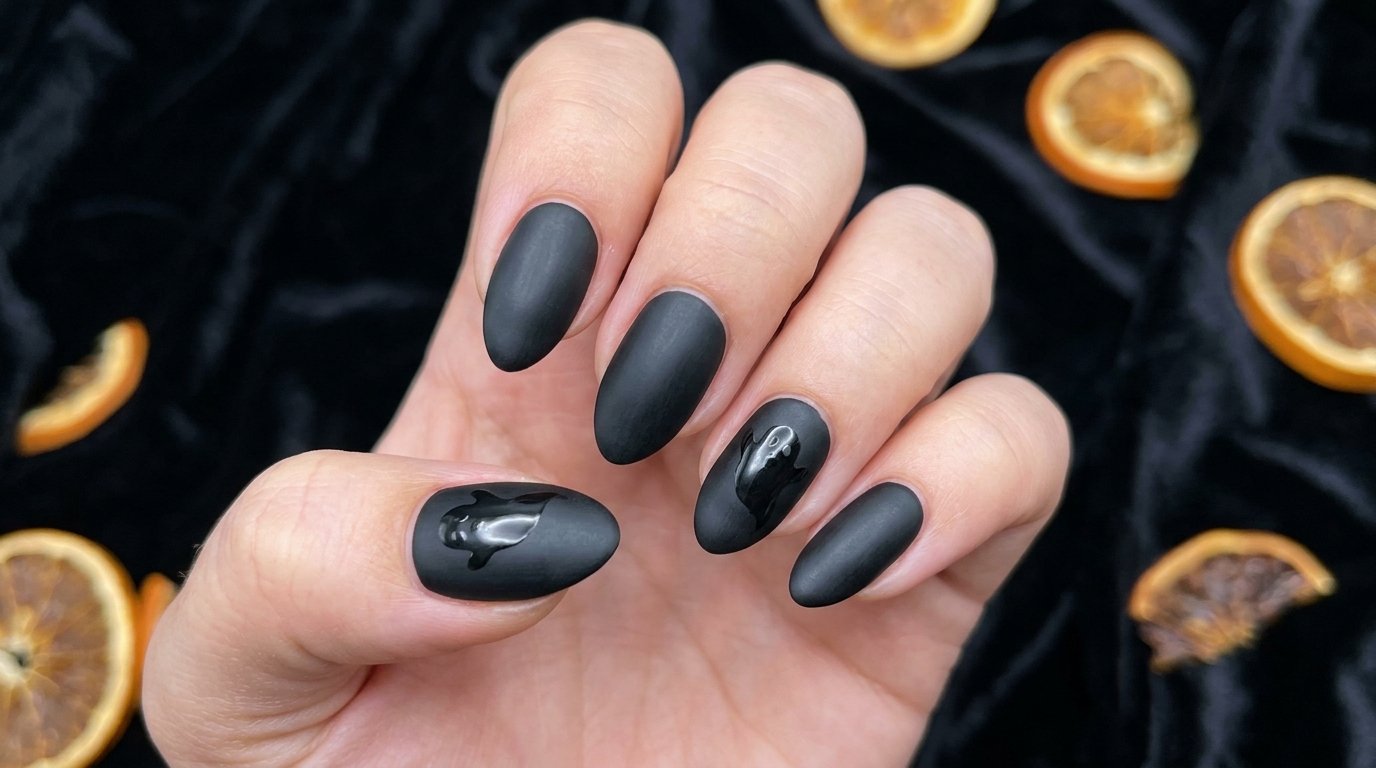
Paint a matte black canvas and carve white ghost silhouettes into the negative space. The contrast creates a modern, moody look that’s still unmistakably spooky. Choose a coffin or almond shape for a bold presentation. A matte top coat completes the chic, haunted vibe.
- Best for: Evening events, fashion-forward Halloween
- Difficulty: Medium
- Best occasion: Nightlife or photoshoots
- Tip: Use a fine liner brush for precise silhouette edges.
6. Ghostly Gradient Nails with Soft White Fog
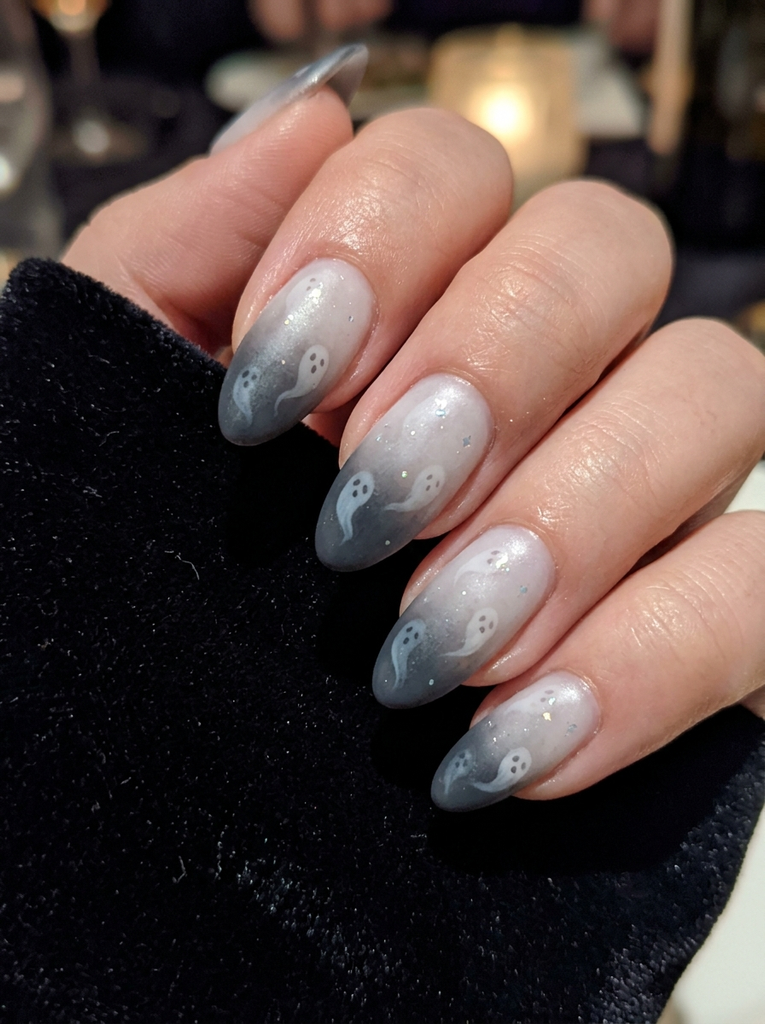
Create a gradient from a deep base into a lighter, misty edge using a soft white fog effect. Add tiny translucent ghosts drifting across the gradient for a dreamlike scene. Keep the finish slightly satin to mimic a foggy night. This design looks elegant on medium nails.
- Best for: Elegant Halloween evenings
- Difficulty: Medium
- Best occasion: Dinners or parties
- Tip: Layer sheer white polish gradually to build the fog effect.
7. Transparent Ghost Veil Nails with Satin Finish
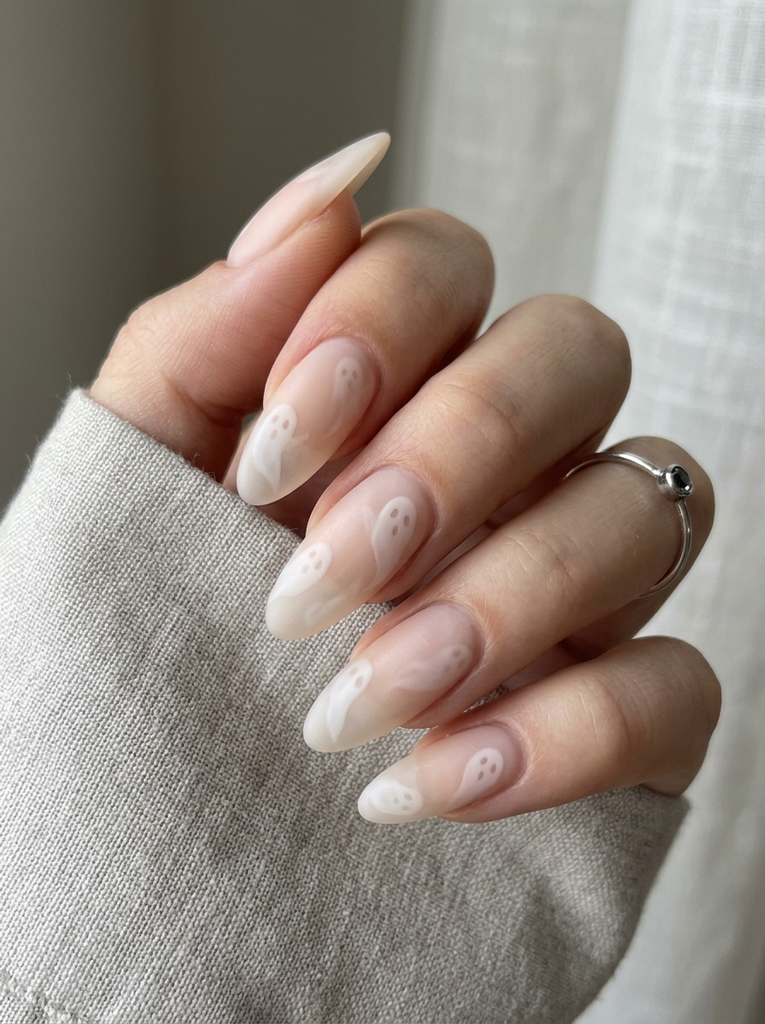
Work with a clear or nude base and lay thin ghost veils that peek through the surface. A satin finish gives a soft, ethereal glow that feels haunted yet refined. Choose a long almond shape to maximize the veiled effect. Use a top coat designed for satin texture to lock in the look.
- Best for: Minimalist Halloween style
- Difficulty: Easy
- Best occasion: Work events or dates
- Tip: Keep ghost shapes small to maintain legibility on close views.
8. Tiny Ghost Bats on Short Halloween Nails
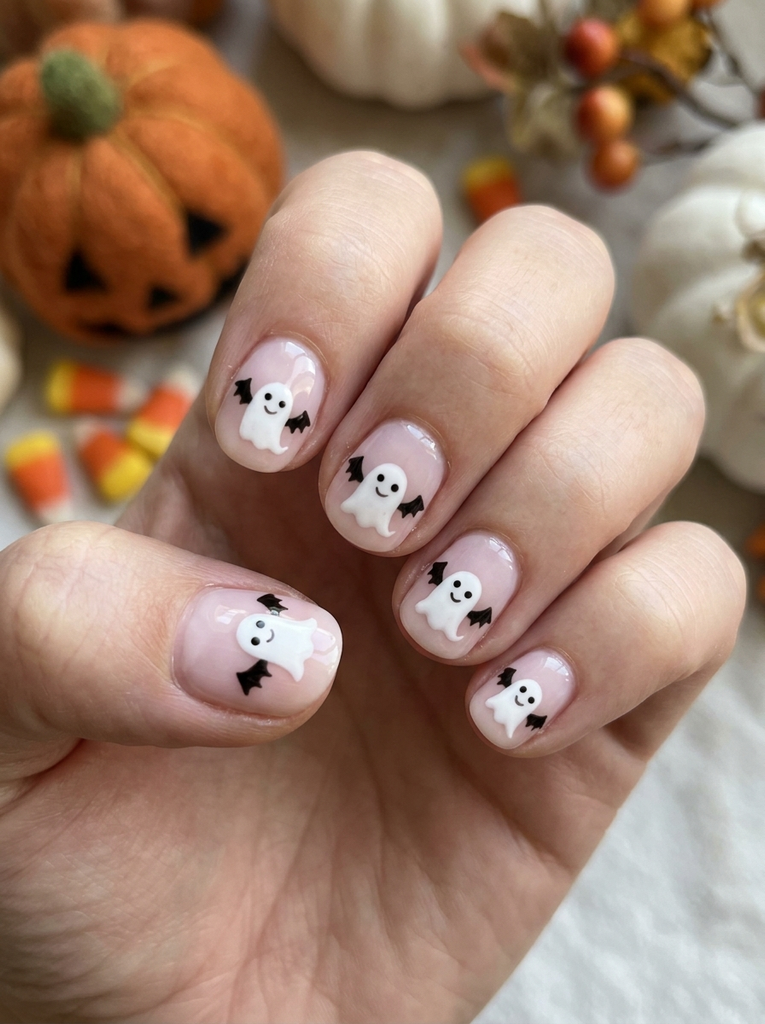
Pair small, chubby ghost figures with playful bat wings to amp up the Halloween vibe. A pale pink or sheer base helps the white motifs pop without feeling heavy. Short nails make the design feel approachable and cute. Finish with a light gloss to preserve the subtle charm.
- Best for: Trunk-or-treats, kids-friendly events
- Difficulty: Easy
- Best occasion: Family celebrations
- Tip: Avoid dense layers near the cuticle to keep lines clean.
9. Ghost Moon and Stars on Clear Tips
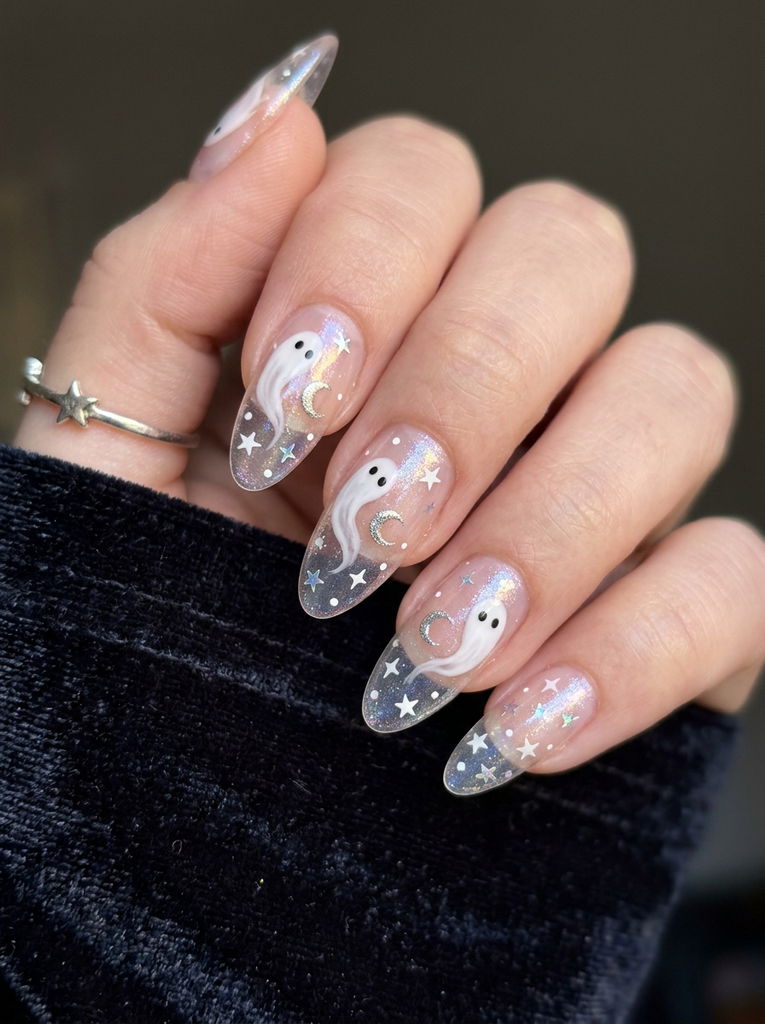
Use a clear base with a delicate ghost silhouette around a crescent moon and tiny stars. This design works well on almond or coffin nails for a celestial look. A touch of iridescent top coat adds a subtle glow. Keep the ghosts small to preserve the night-sky feel.
- Best for: Stargazer-themed costumes
- Difficulty: Easy
- Best occasion: Evening Halloween events
- Tip: Use a fine brush to place tiny stars precisely.
10. Ghost French Tip with Mini Faces
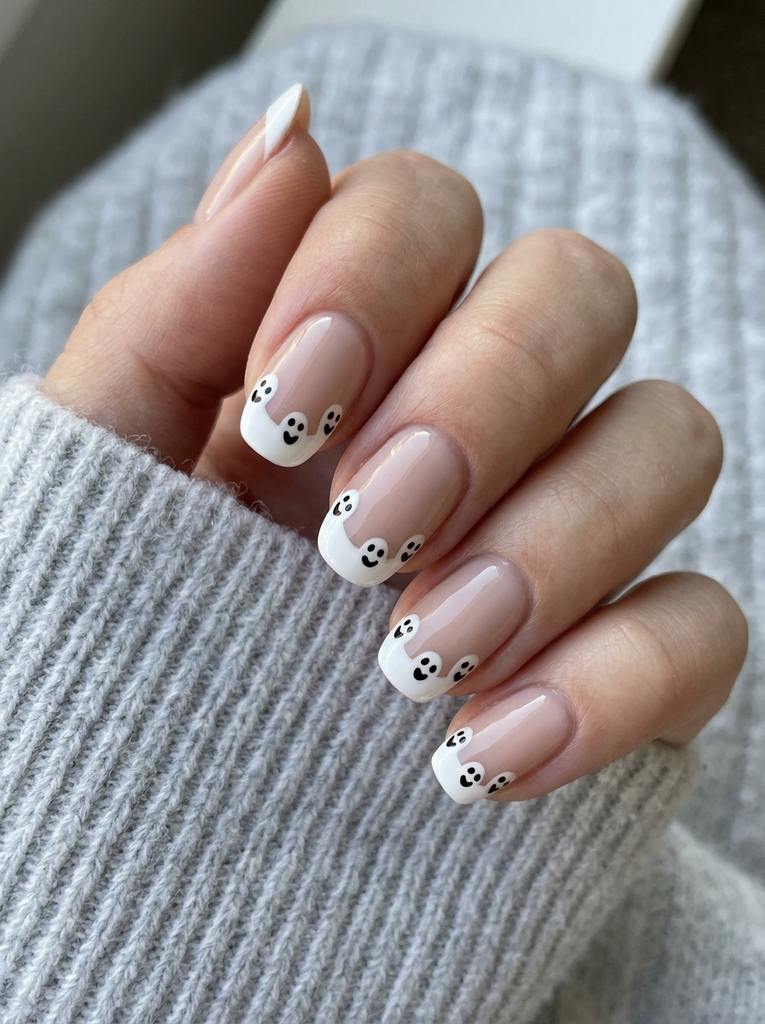
Combine a classic French tip with tiny ghost faces along the white edge. Use a subdued nude base to let the faces stand out. The mini faces bring a playful twist that’s friendly for all ages. Finish with a glossy top coat for a polished look.
This option is a versatile nod to halloween nails ghost design while staying approachable for beginners.
- Best for: Everyday wear during October
- Difficulty: Easy
- Best occasion: Office-friendly Halloween events
- Tip: Steady hand practice helps when drawing small faces.
11. Haunted Marble Nails with Ghost Silhouettes
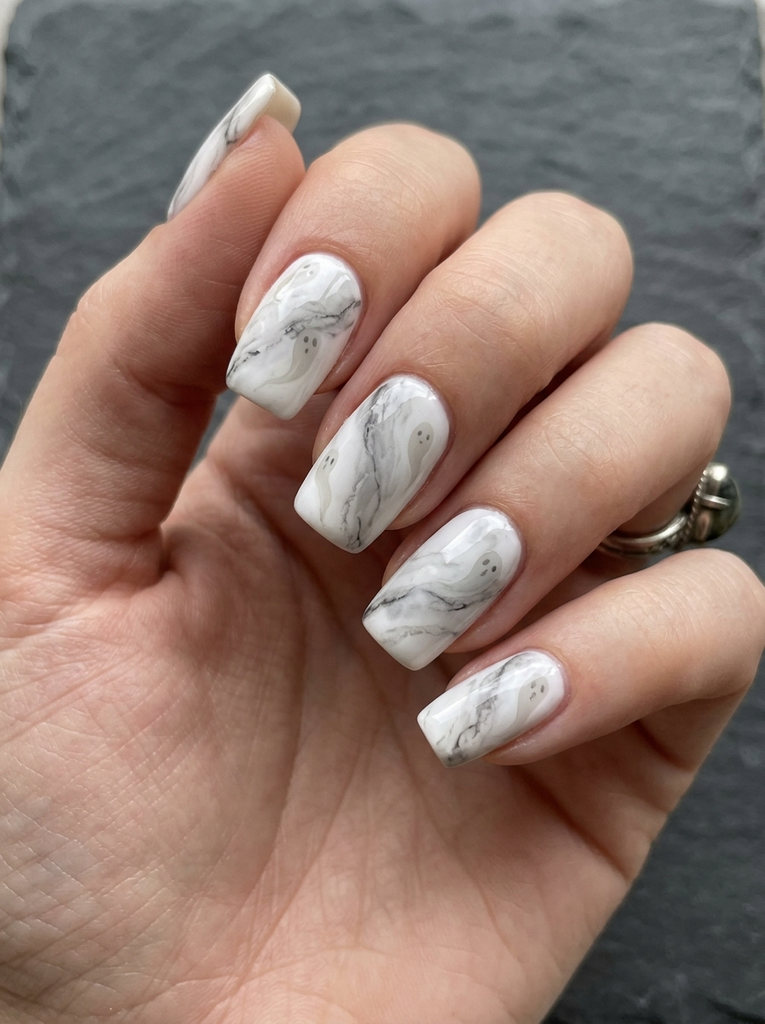
White and gray marble swirls form a haunted backdrop for subtle ghost silhouettes. Keep the ghosts slim and tucked into the marble veins for a mysterious effect. A high-gloss top coat enhances the marble texture and ghost shapes. Medium-length nails provide enough surface for the scene to read from afar.
- Best for: Design-forward Halloween looks
- Difficulty: Medium
- Best occasion: Themed events and shoots
- Tip: Layer the marble with a light hand to avoid heavy lines.
12. Minimal Ghost Lines on Almond Nails
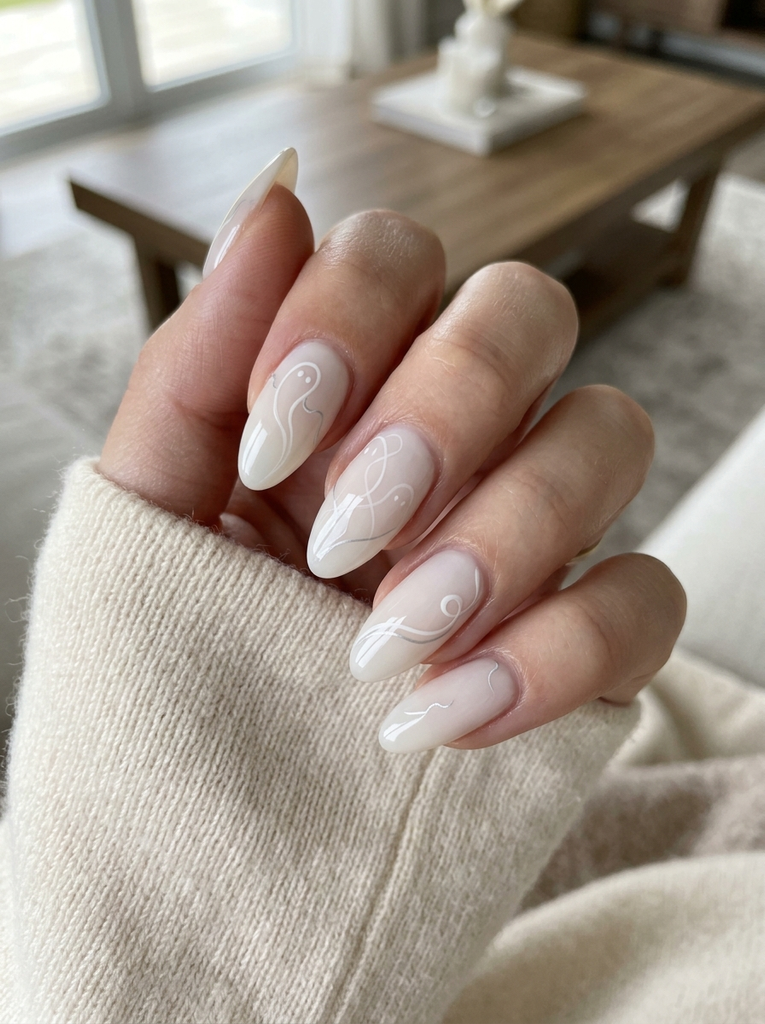
A pale base with delicate, curved ghost lines that flow along the nail. Keep lines thin and sparse to preserve an airy feel. Almond nails help the lines skim the sides for a refined silhouette. Seal with a soft satin or glossy top coat depending on preference.
- Best for: Subtle Halloween style
- Difficulty: Easy
- Best occasion: Day-to-night looks
- Tip: Practice lines on paper first to ensure smooth curves.
When your manicure feels complete, pair it with Hair Color Ideas for Brunettes that create a coordinated beauty look without requiring complicated styling or extra time.
13. Ghost Nail Charms with Dots and Pearls
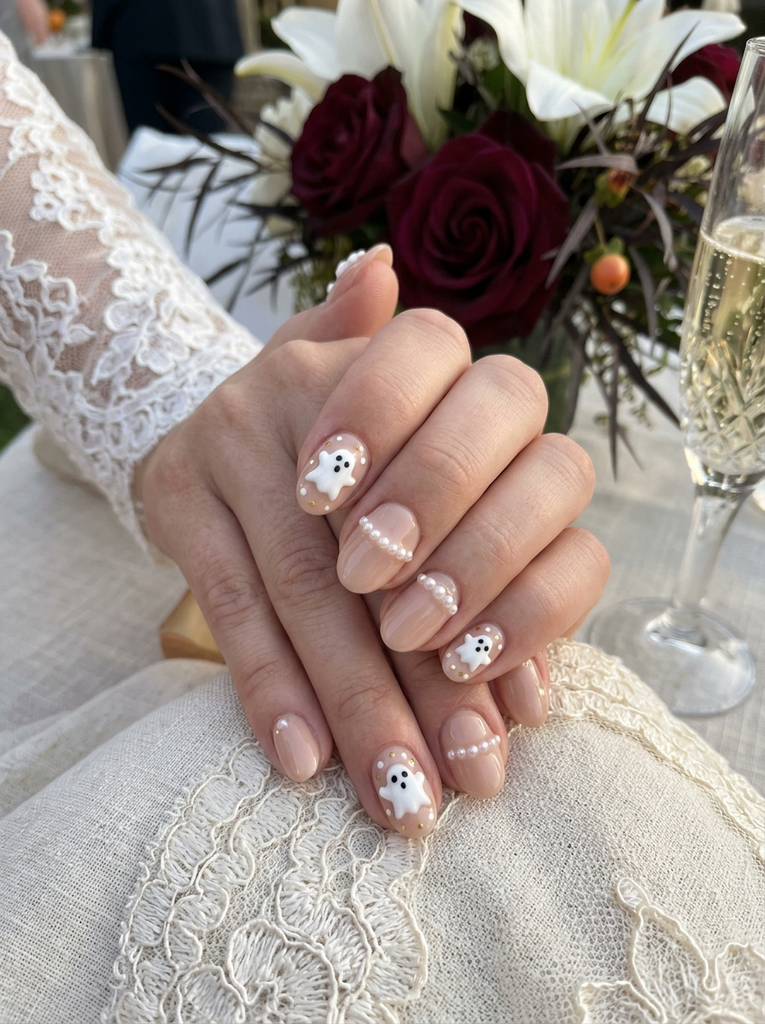
Base in nude with tiny ghost charms secured near the cuticle, complemented by tiny dot accents and a row of tiny pearls. This combination adds texture without overwhelming the ghost motif. Choose a short to medium length for balance. Finish with a clear top coat to protect charms.
- Best for: Weddings or formal events with a Halloween twist
- Difficulty: Medium
- Best occasion: Special occasions
- Tip: Press charms firmly and cap the edges with top coat.
14. Ghost Negative Space Halloween Nails
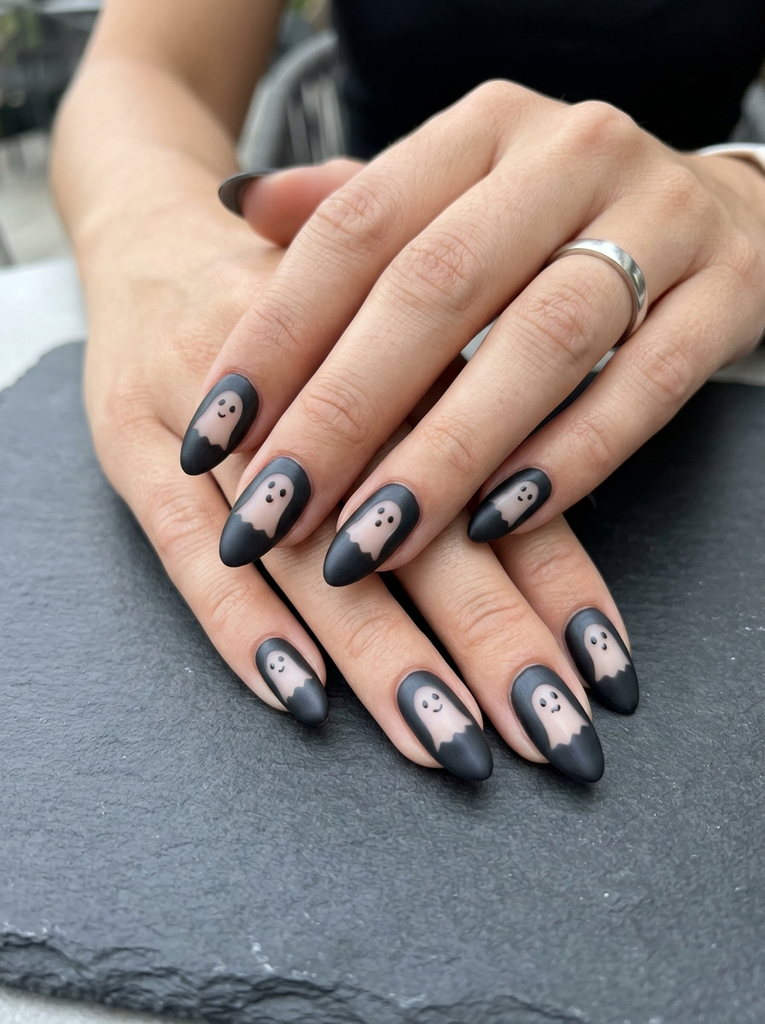
Utilize negative space to carve ghost shapes into a dark base. The contrast creates a clean, modern silhouette that reads clearly from a distance. A satin finish softens the overall vibe while maintaining drama. Perfect on a coffin or almond shape for impact.
- Best for: Contemporary Halloween styling
- Difficulty: Medium
- Best occasion: Gallery openings or parties
- Tip: Use nail vinyls to keep negative shapes crisp.
15. Neon Ghosts Twist on Clear Nude Nails
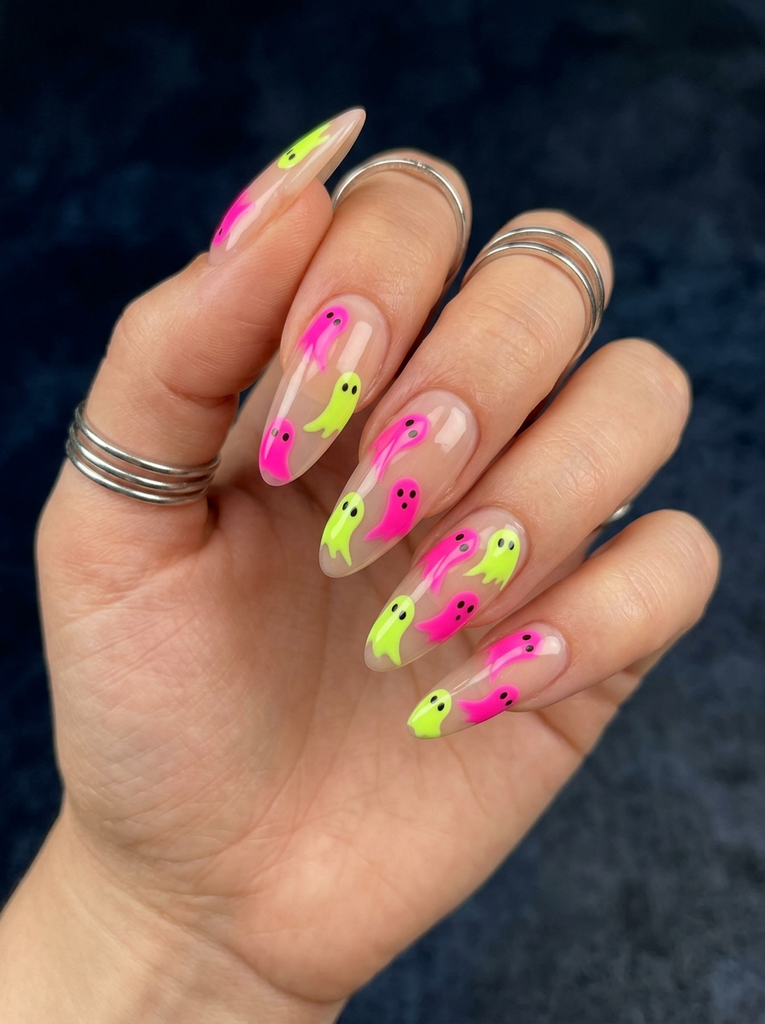
Transparent nude base lets neon ghost motifs pop under studio lights. Use lime or pink neon for high visibility and playful energy. Long nails work best to showcase multiple ghosts along the length. Finish with a glossy coat to maximize brightness.
- Best for: Club nights or photo shoots
- Difficulty: Medium
- Best occasion: Halloween parties
- Tip: Layer neon over white for better opacity in daylight.
16. Puffy White Ghosts on Soft Pink Base
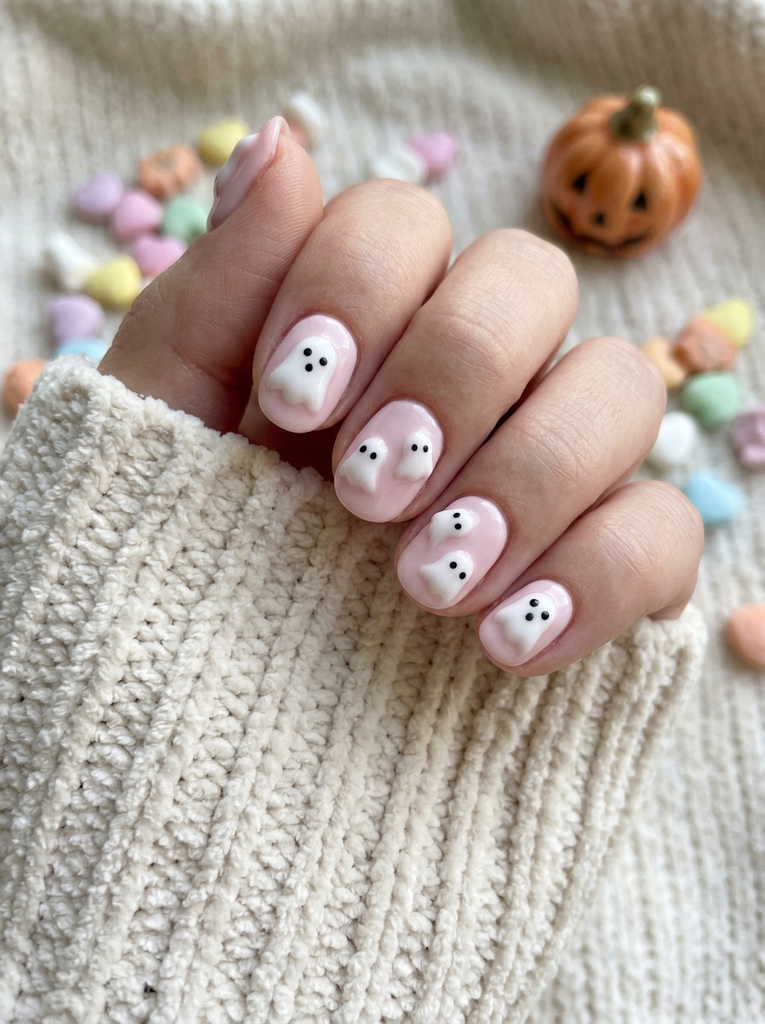
Build soft, rounded ghost shapes with a slightly raised, puffy look on a pale pink base. The effect reads cute and cozy rather than scary. Short to medium length nails help keep the puffy details under control. Finish with a gentle gloss to preserve the plush feel.
- Best for: Sweet Halloween themes
- Difficulty: Easy
- Best occasion: Candy events, family gatherings
- Tip: Use a beige-toned nail glue or gel to lift the shapes without cracking.
17. Glitter Fog and Ghosts on Coffin Nails
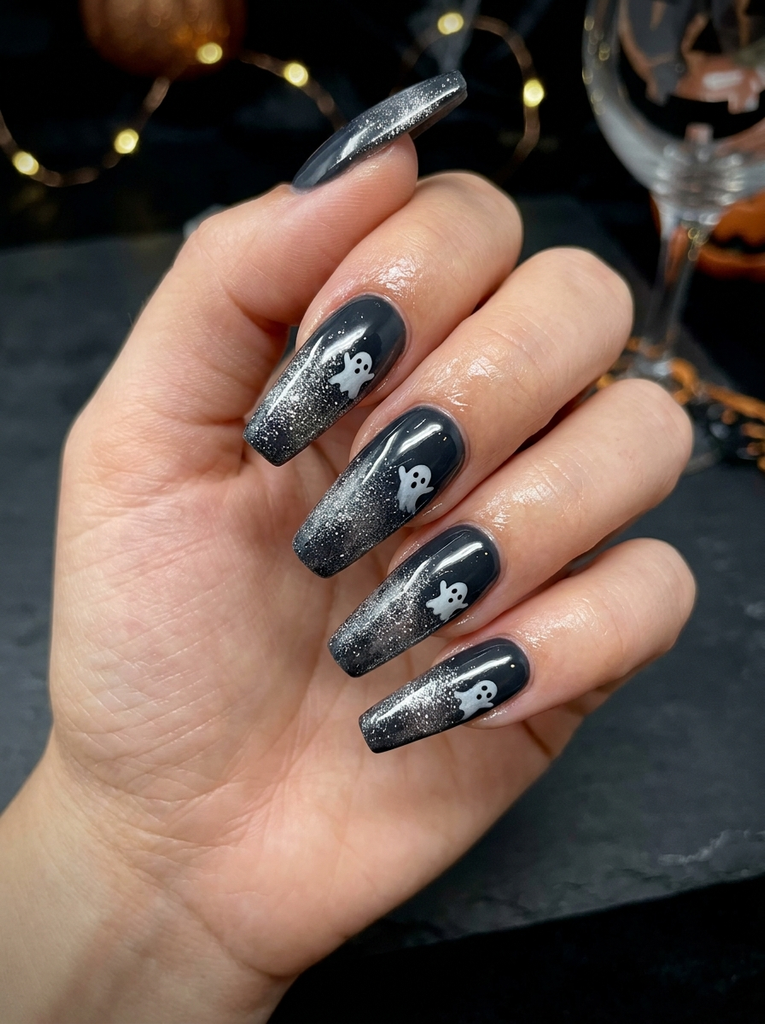
Apply a deep base and layer silver glitter in a fog-like sweep across the nail. Place small ghost silhouettes above the glitter for a haunted look. Coffin shapes give you enough surface to tell the story at a glance. Top with a high-gloss finish to crystalize the glitter.
- Best for: Parties and photos
- Difficulty: Medium
- Best occasion: Nighttime celebrations
- Tip: Tap off excess glitter before sealing to reduce texture.
18. Black Night Sky with Ghost Accents
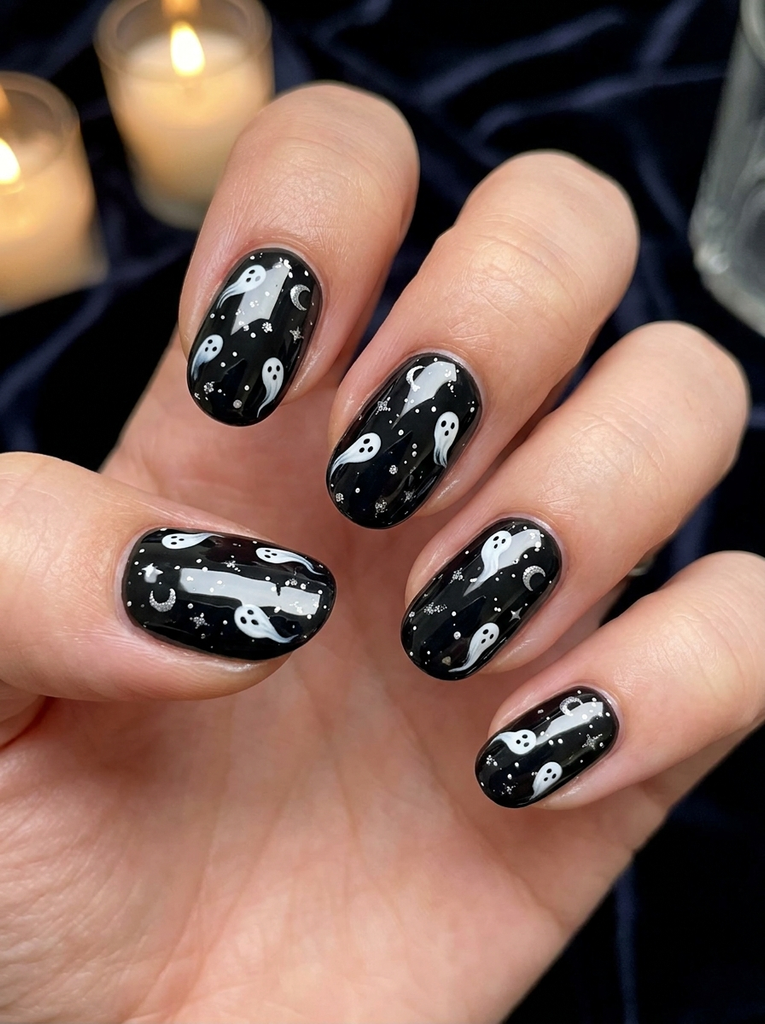
Paint a deep black base that mimics a night sky, then sprinkle tiny white ghost accents drifting across the surface. A few delicate stars or moons enhance the celestial vibe. Keep shapes delicate so they don’t overwhelm the base color. Finish with a smooth, high-gloss top coat.
- Best for: Fashion-forward Halloween looks
- Difficulty: Medium
- Best occasion: Night events
- Tip: Use a small brush to place the ghost shapes precisely along the gradient.
19. Ghostly French Tips with Subtle Glows
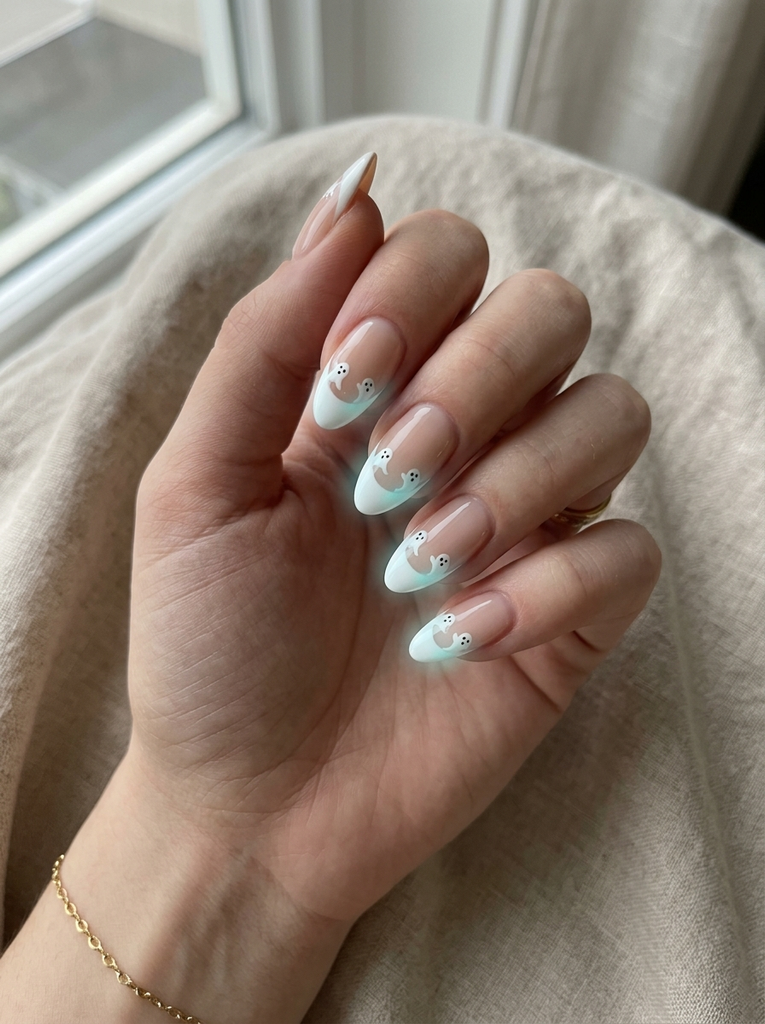
Return to a classic French tip but infuse it with ghostly character by adding tiny white ghosts along the smile line. Keep the base nude and apply a soft glow pigment near the tip for a faint radiance. This design balances familiarity with Halloween charm. Finish with a protective top coat to seal the glow.
- Best for: Everyday wear with a Halloween twist
- Difficulty: Easy
- Best occasion: Office and casual gatherings
- Tip: Use a steady hand or stencil to keep the ghosts crisp.
20. Spirit Glow Tips with Holographic Overlay
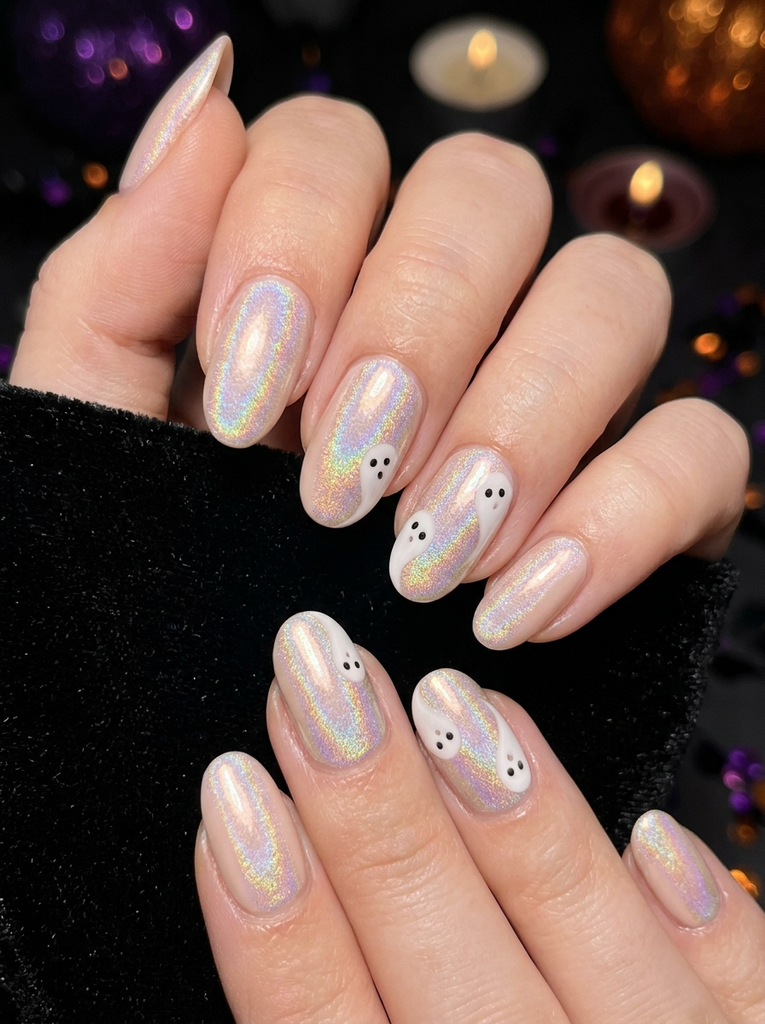
Base in a pale nude and add a holographic overlay with ghost silhouettes peeking through. The spectrum shimmer gives a futuristic haunted effect. Suitable for medium-length nails with a softly rounded shape. Finish with a holographic top coat for maximum glow and protection.
- Best for: Glam Halloween looks
- Difficulty: Medium
- Best occasion: Parties, concerts, or cosplay
- Tip: Apply holographic layers sparingly to avoid overpowering the ghost shapes.
FAQs
How long do halloween nails ghost design typically last?
Durability varies by product and maintenance. Gel or acrylic versions tend to last longer than regular polish, typically about 1-2 weeks with normal wear, depending on daily activities and how well you care for the nails.
Can I recreate these designs at home without professional tools?
Yes. Many ideas use basic tools like a fine detail brush, dotting tool, or a toothpick. Practice on a swatch nail or spare nail first, then apply to your nails. A steady hand and thin layers help each ghost read clearly.
What base colors pair well with ghost nail art?
Neutral or nude bases make ghost designs pop, while black bases create moody silhouettes. Soft pinks or clear bases work well for a cute, lighter look. The key is contrast between the ghost color and the base.
Should I use gel, acrylic, or regular polish for these ghost designs?
Gel or acrylic builds longer wear and smoother finishes, but regular polish can work for temporary looks. If you’re new to nail art, start with regular polish and upgrade to gel or acrylic as you gain confidence.
How do I remove ghost nail art without damaging my nails?
Soak-off methods work best: acetone for acrylic or gel nails, and gentle remover for regular polish. Soften the design with a cotton pad, then gently lift with a nail pusher. Always moisturize after removal to keep nails healthy.
Conclusion
With these 20 ideas, you can explore a range of halloween nails ghost design—from playful faces to moody silhouettes. Pick a look that matches your vibe, nail length, and comfort level, and guide yourself toward a festive finish. Ready to try a ghost-inspired manicure this season? Share your favorite look and tag us in your photos.