Halloween Nails for Beginners: 20 Easy Designs to Try at Home
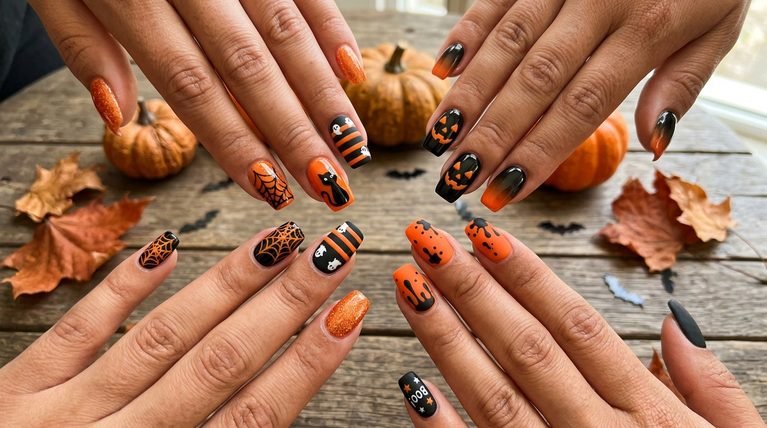
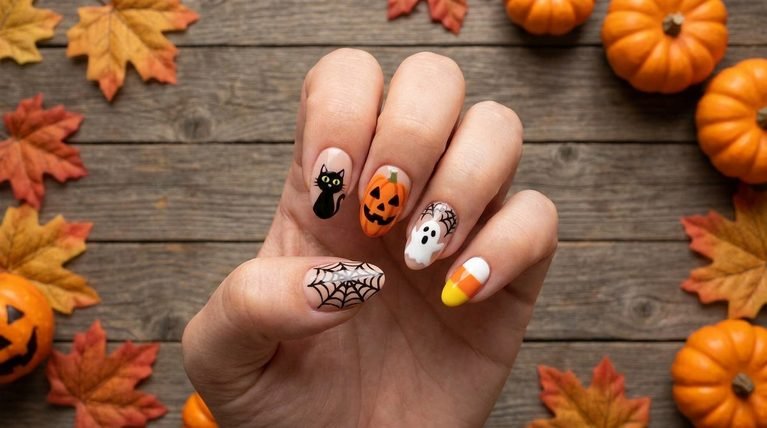
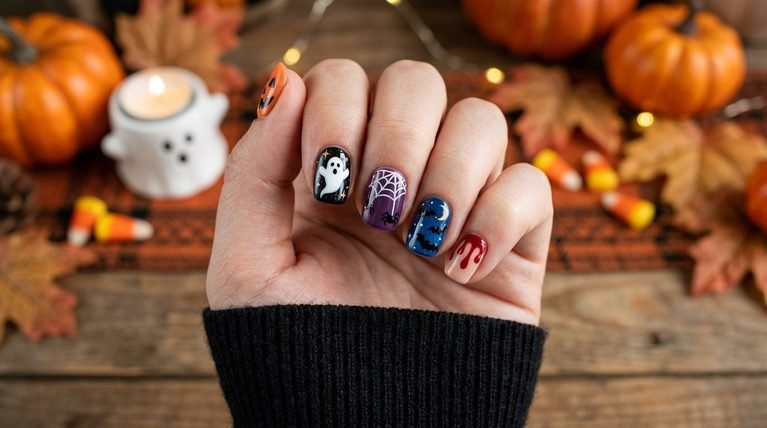
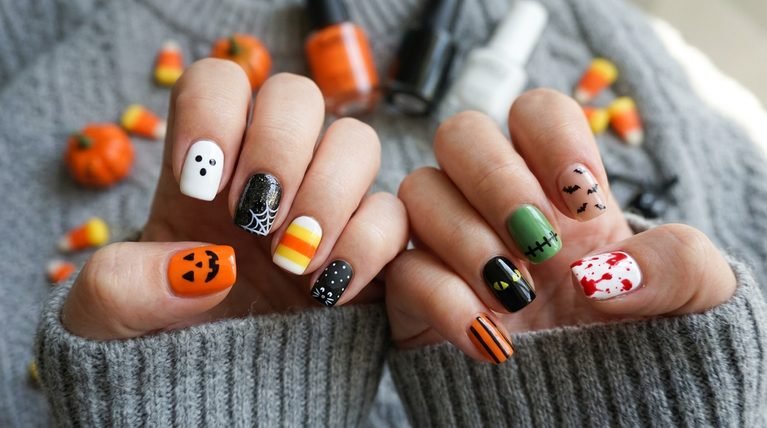
These halloween nails for beginners prove you can create eye-catching looks with simple tools. Each idea focuses on easy shapes, clear lines, and at-home steps, so you can get a polished result without advanced techniques. Perfect for practicing on tips or your own nails during October festivities.
1. Classic Pumpkin Face on Short Nails
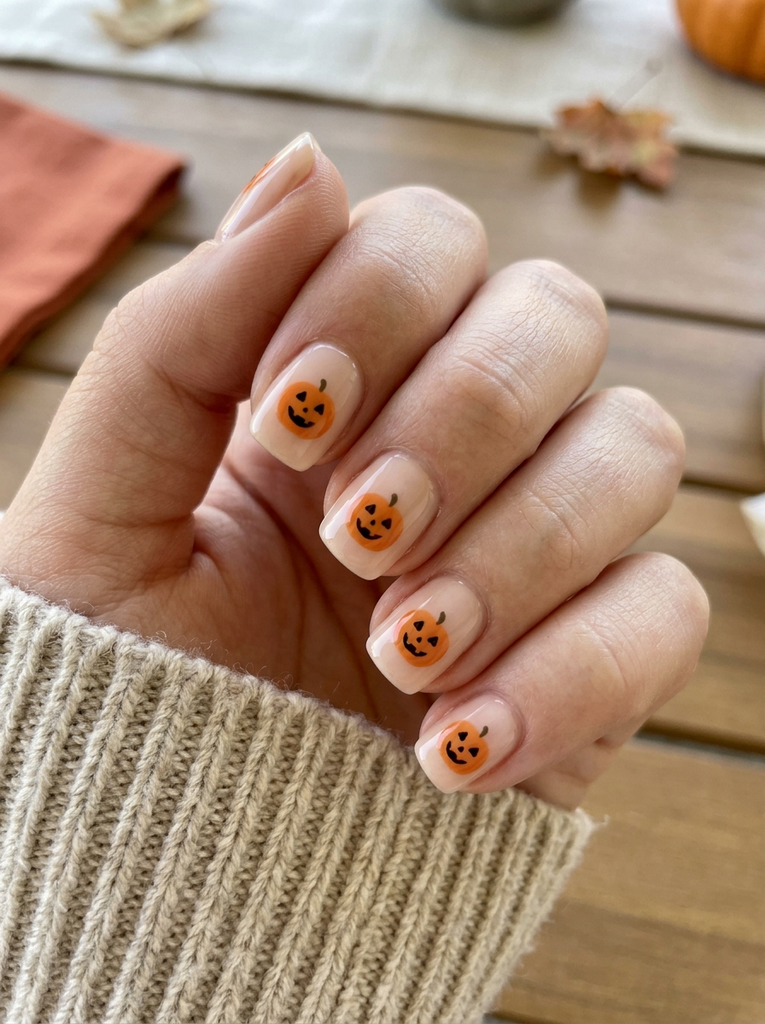
On short, squoval nails, start with a sheer nude base. Paint a small orange circle at the center of the nail and add a tiny black jack-o-lantern face with a simple smile. Keep the lines thin for a tidy look. The result reads playful without feeling fussy.
- Best for: daytime Halloween events, classroom parties
- Difficulty: Easy
- Best occasion: school events, casual gatherings
- Tip: Use a fine detail brush to keep the facial features crisp.
2. Friendly Ghosts on a Matte Base
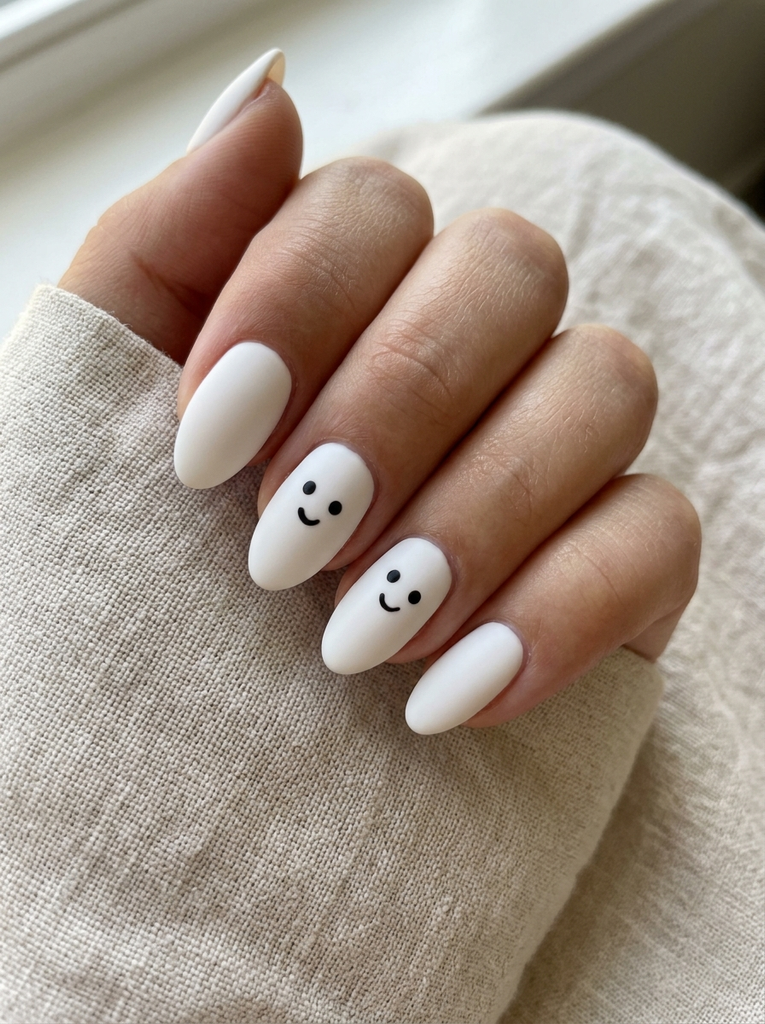
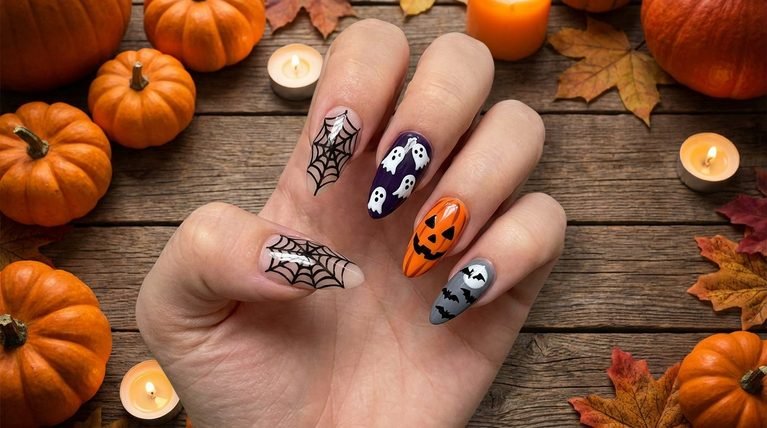
Paint a soft white on a short to mid-length almond nail. Add one or two tiny black eyes and a curved mouth on two nails to resemble friendly ghosts. Leave negative space around the shapes for a clean look and finish with a matte top coat. This design stays cute and not spooky.
- Best for: family gatherings, daytime events
- Difficulty: Easy
- Best occasion: Halloween brunches, school events
- Tip: Dotting tools help create round eyes quickly.
3. Spider Web Accent Nail
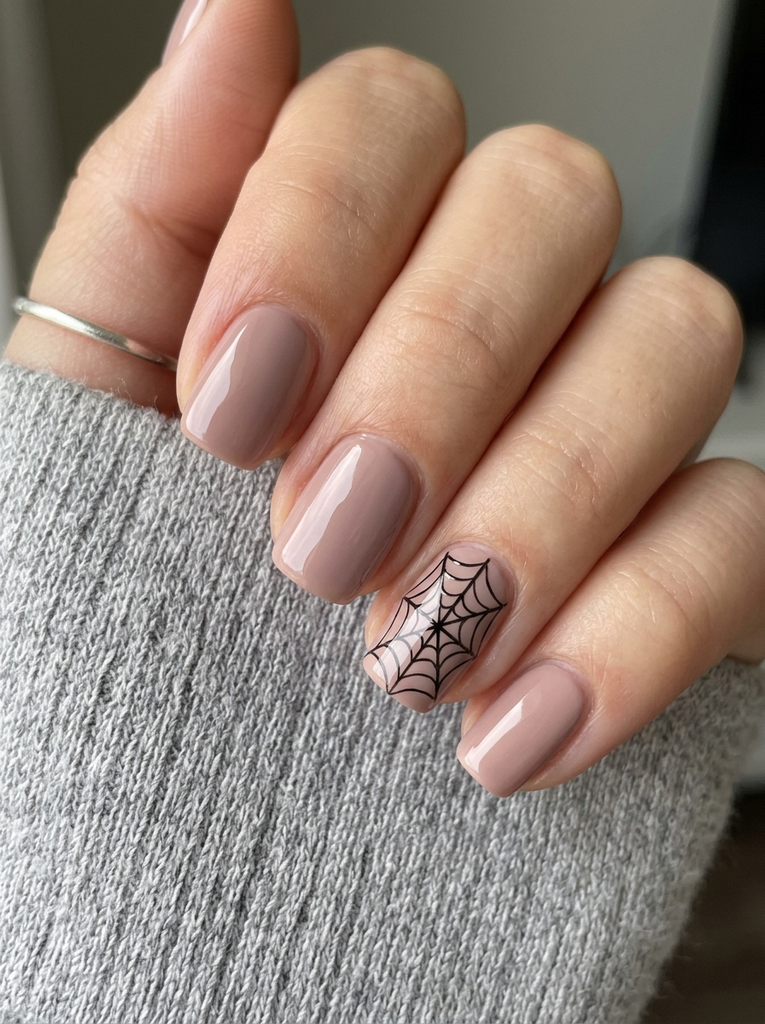
Choose a neutral base and create a single accent nail with a delicate black spider web. Use a thin striping brush to draw curved lines and connect them at the center to form the web. Pair with two plain nails in the same shade for balance. A simple, striking look for beginners.
- Best for: office-appropriate Halloween looks
- Difficulty: Easy
- Best occasion: work events, early October gatherings
- Tip: Do the web while the base is slightly tacky to improve line control.
4. Candy Corn Gradient Nails
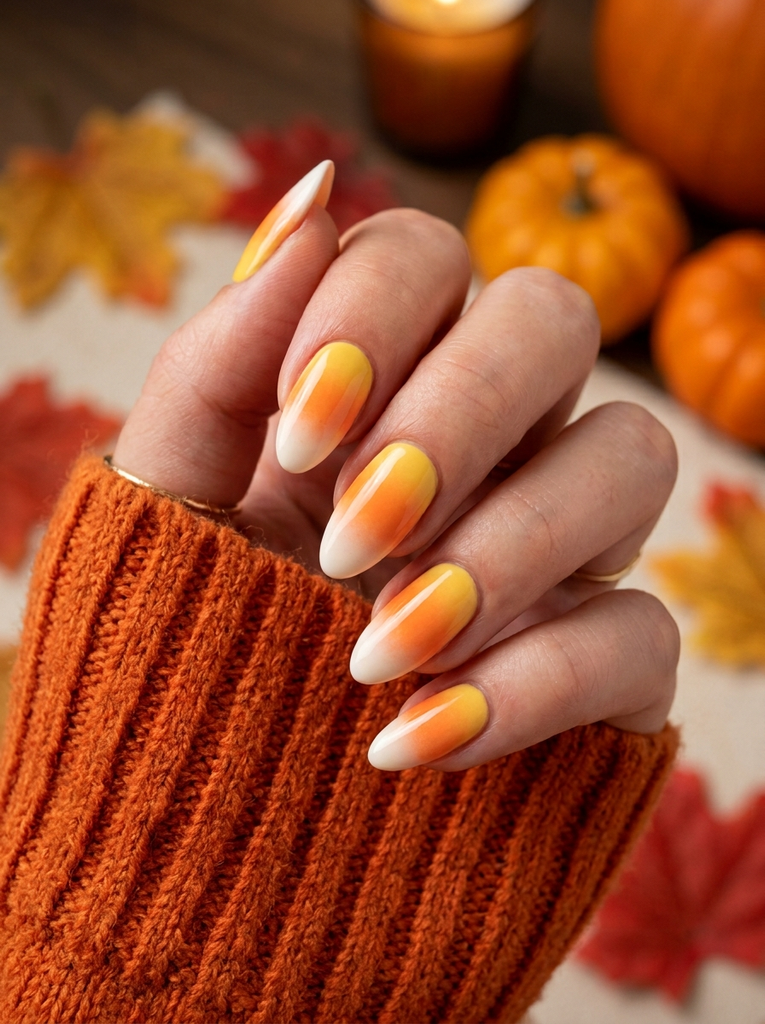
Create a soft gradient on a mid-length nail: white at the tip, followed by orange, then a hint of yellow near the base. Keep the gradient subtle and smooth for a polished effect. This classic Halloween color combo reads festive without being busy.
- Best for: casual parties, fall events
- Difficulty: Easy
- Best occasion: Halloween night out
- Tip: Use a small makeup sponge to blend the colors for a seamless transition.
When your manicure feels complete, pair it with Hair Color Ideas for Brunettes that create a coordinated beauty look without requiring complicated styling or extra time.
5. Bat Silhouette on Black Tips
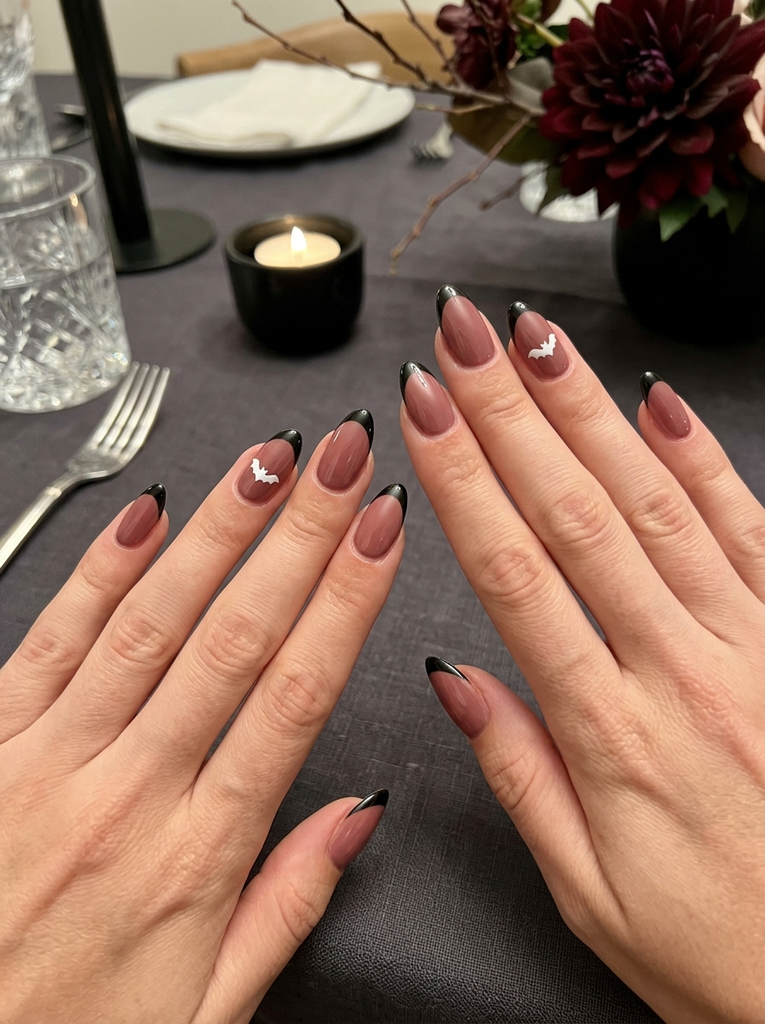
Paint the tips of the nails black and leave the base a sheer or deep nude. Add a tiny bat silhouette near the tip using white or a contrasting color. Keep the bat small and simple for a modern look. This design is crisp and wearable beyond October.
- Best for: smart casual events
- Difficulty: Easy
- Best occasion: Halloween dinners, gatherings
- Tip: Use a stencil or decal for precise bat shapes if needed.
6. Skull Outline with Negative Space
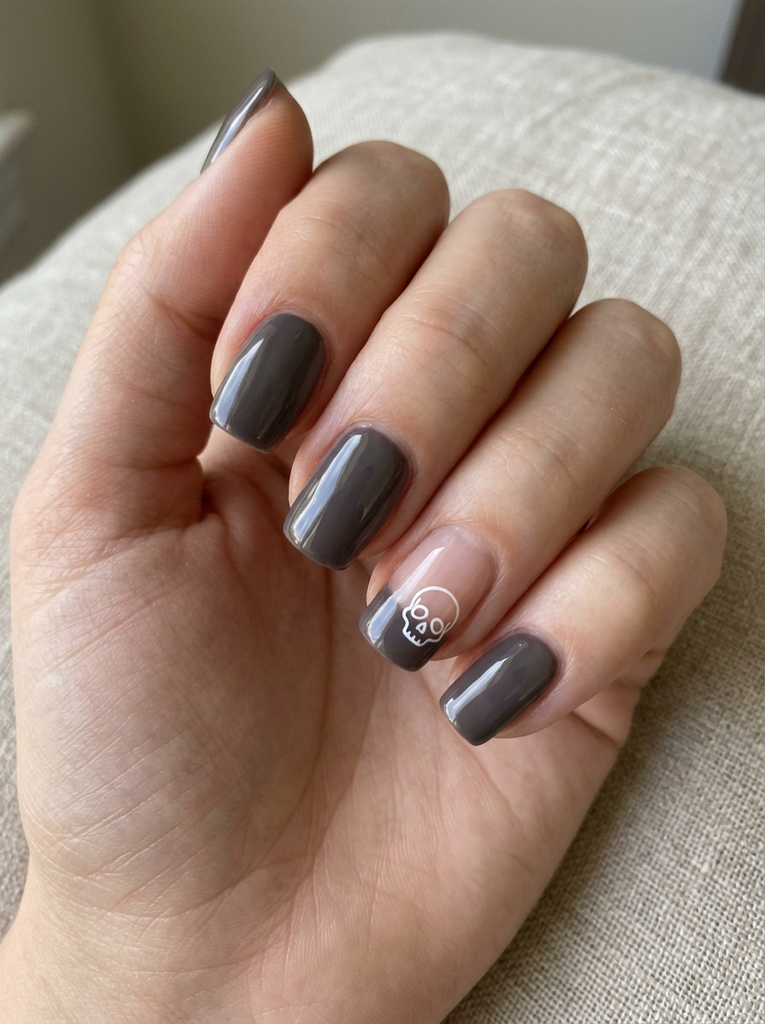
On a neutral base, sketch a small white skull outline on one nail, leaving a negative space at the cuticle or a corner. Pair with plain nails in a complementary shade. The minimal skull reads chic rather than ghoulish.
- Best for: stylish Halloween outings
- Difficulty: Easy
- Best occasion: cocktails, parties
- Tip: Keep the skull shape simple to avoid overcrowding.
7. Haunted House Silhouette Across Nails
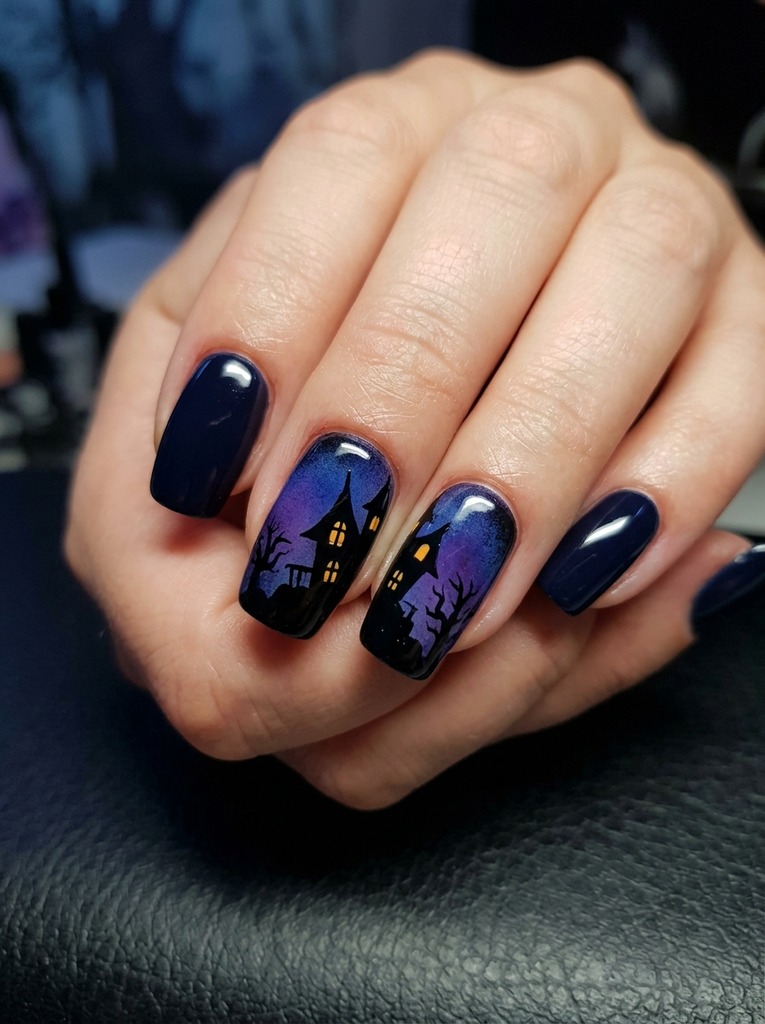
Use a dark silhouette across a gradient night-sky base on two nails. Keep the skyline simple with a few windows and a pointed roof. The remaining nails can be solid navy or black to echo the night theme. A fun, story-telling look for Halloween evenings.
- Best for: themed parties
- Difficulty: Medium
- Best occasion: Halloween night events
- Tip: Sponging the gradient creates a smoother sky backdrop.
8. Mummy Wrap Stripes
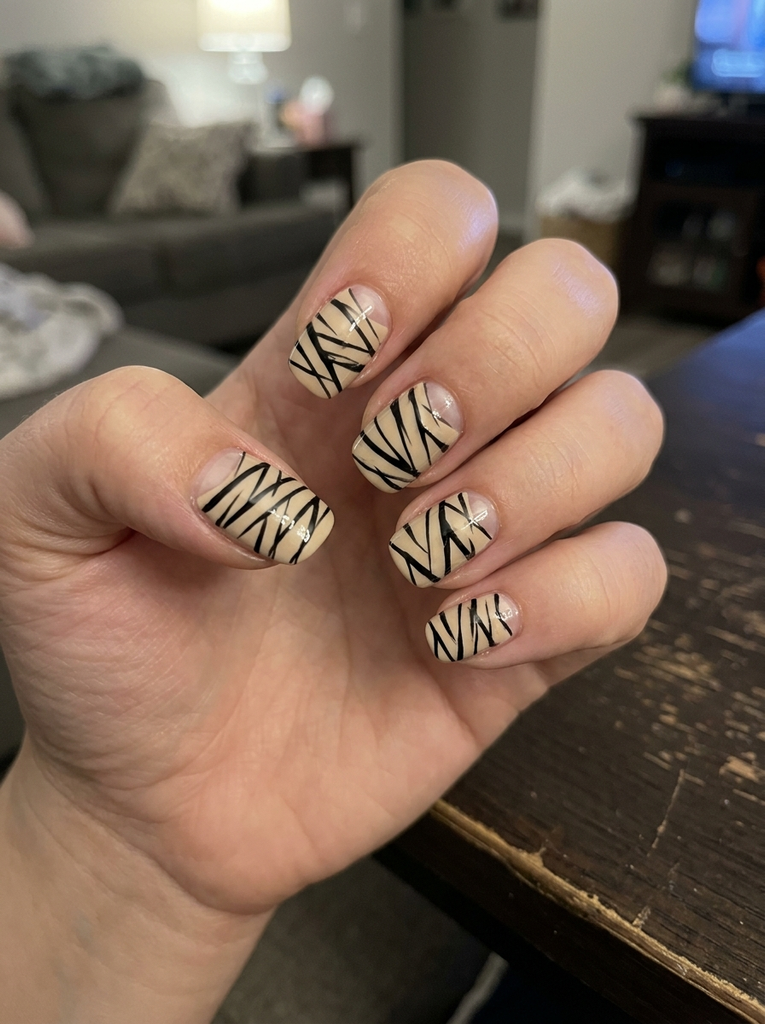
Base color can be pale beige or light taupe. Add irregular black lines across the nails to mimic mummy bandages. Leave a sliver of nail visible at the cuticle for a realistic wrap effect. Finish with a glossy top coat to enhance the wrinkles.
- Best for: casual gatherings, movie nights
- Difficulty: Easy
- Best occasion: weekend events
- Tip: Vary the stripe thickness to create a homemade look.
9. Witch Hat Accent Nail
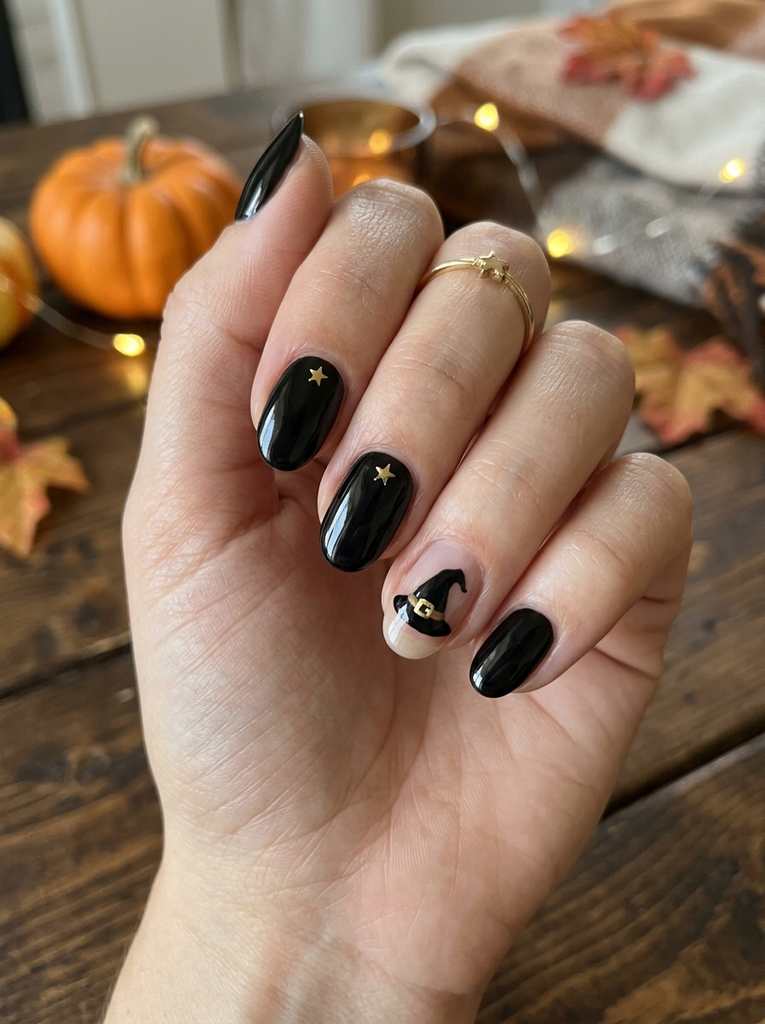
Paint one nail with a solid dark color and place a tiny witch hat on the center. Keep the hat simple with a small buckle. The other nails can remain solid or feature a tiny star as a tiny accent. It’s charming without being busy.
- Best for: casual to semi-formal events
- Difficulty: Easy
- Best occasion: Halloween dinners, parties
- Tip: Use a fine brush for the hat’s outline.
10. Halloween nails for beginners Graveyard Night Scene
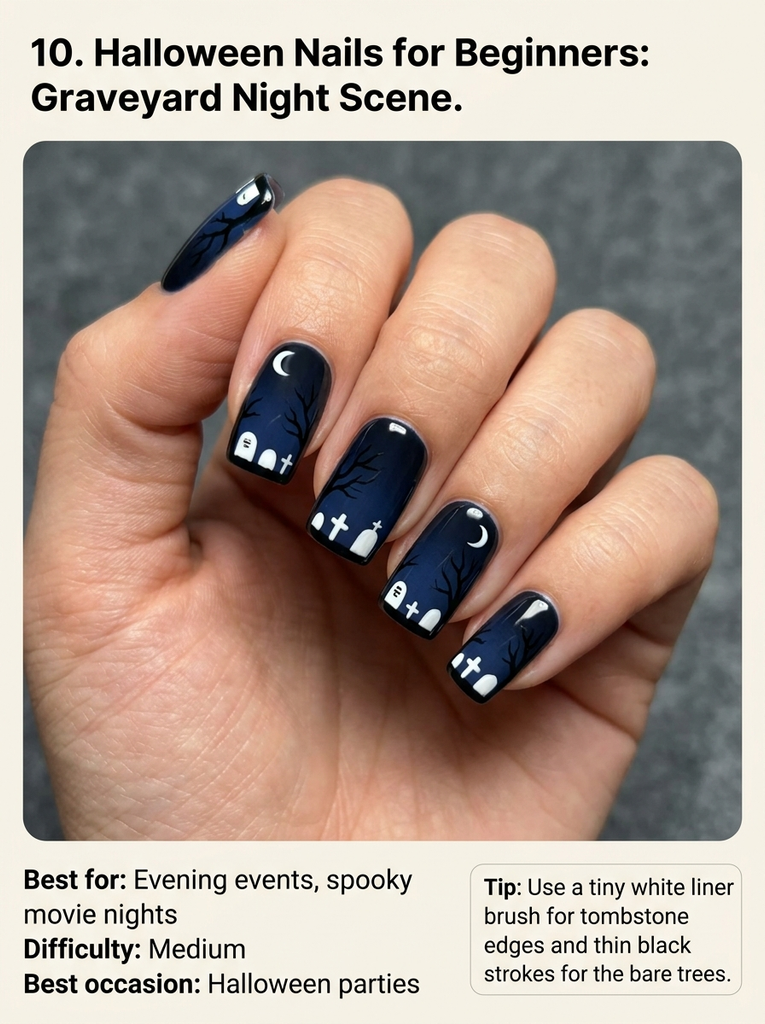
Start with a deep blue to black gradient mimicking a night sky. Add small white tombstones and a few simple silhouettes of bare trees along the tips. Keep the scene minimal to avoid busy nails. This design feels cinematic while remaining approachable for beginners.
- Best for: evening events, spooky movie nights
- Difficulty: Medium
- Best occasion: Halloween parties
- Tip: Use a tiny white liner brush for tombstone edges.
11. Frankenstein Eye Motif
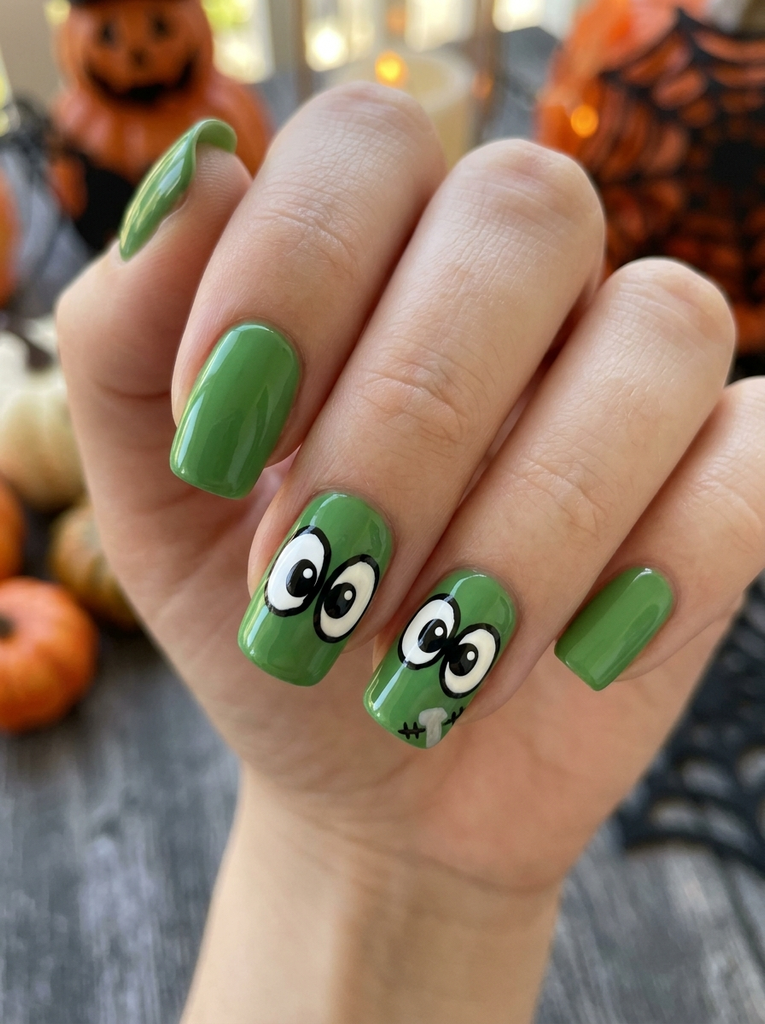
Paint a green base with bold, cartoonish eyes using white and black. Add a pale bolt near a corner for character. Keep the rest of the nails simple to ensure the eyes read clearly. A playful nod to the classic monster that stays friendly.
- Best for: playful Halloween looks
- Difficulty: Easy
- Best occasion: kids’ events, photo-friendly gatherings
- Tip: Outline the eyes in black to sharpen the expression.
If you enjoy creative beauty choices, discover Tattoo Ideas for Women With Meaning that complement your personal style while adding a meaningful touch to your overall look.
12. Sugar Skull Accents
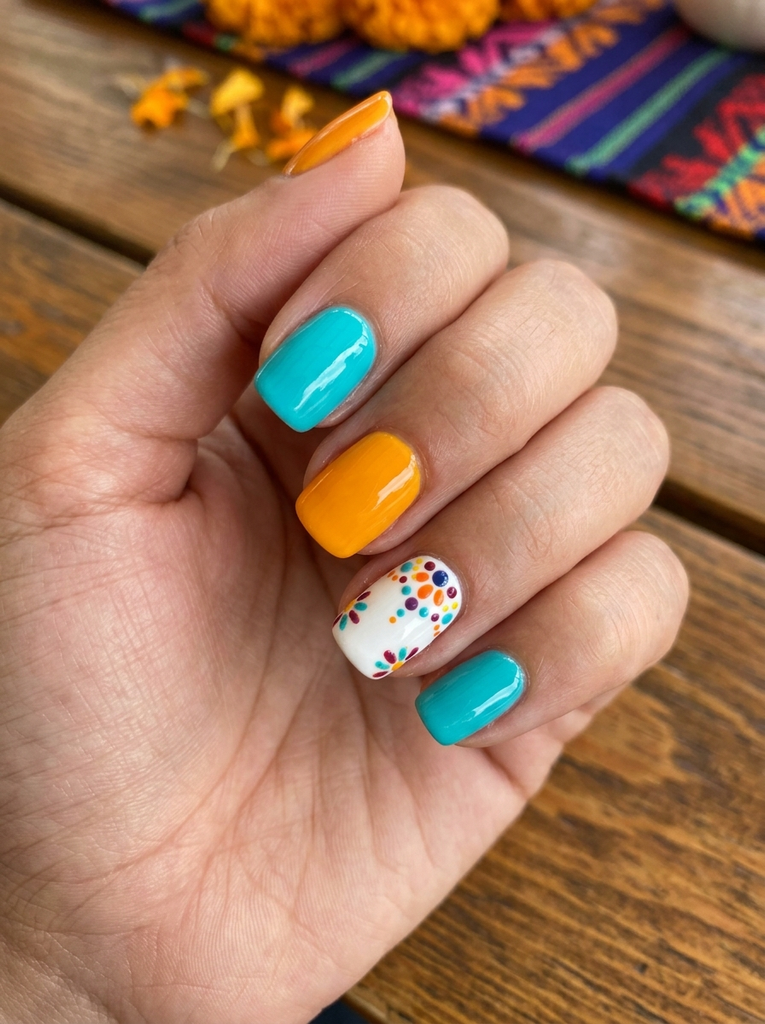
Use a white base with tiny colorful flowers and dots around the cuticle area on one nail. The other nails can be solid bright hues like turquoise or orange. The tiny floral details give a festive, not frightening, vibe. This look nods to Dia de los Muertos while staying Halloween-appropriate.
- Best for: festive gatherings, cultural celebrations
- Difficulty: Easy to Medium
- Best occasion: Halloween parties
- Tip: Use a dotting tool to place the tiny petals precisely.
13. Glitter Pumpkin Patch
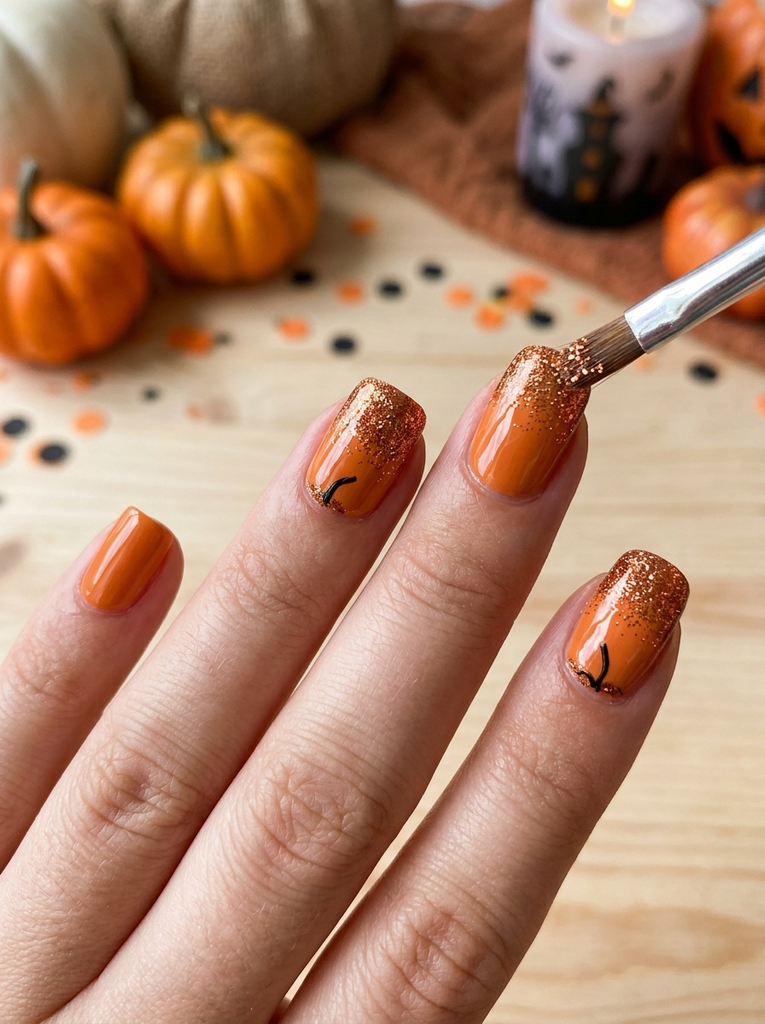
Dip two nails into orange polish and sprinkle fine copper or gold glitter at the toe of the nail to resemble a glittering pumpkin patch. Complete with a thin black stem on one nail. Finish with a glossy top coat to lock in the sparkle.
- Best for: party looks, night events
- Difficulty: Easy
- Best occasion: Halloween parties
- Tip: Tap onto the nail with a brush to avoid clumps in the glitter.
14. Black Cat Paws on Clear
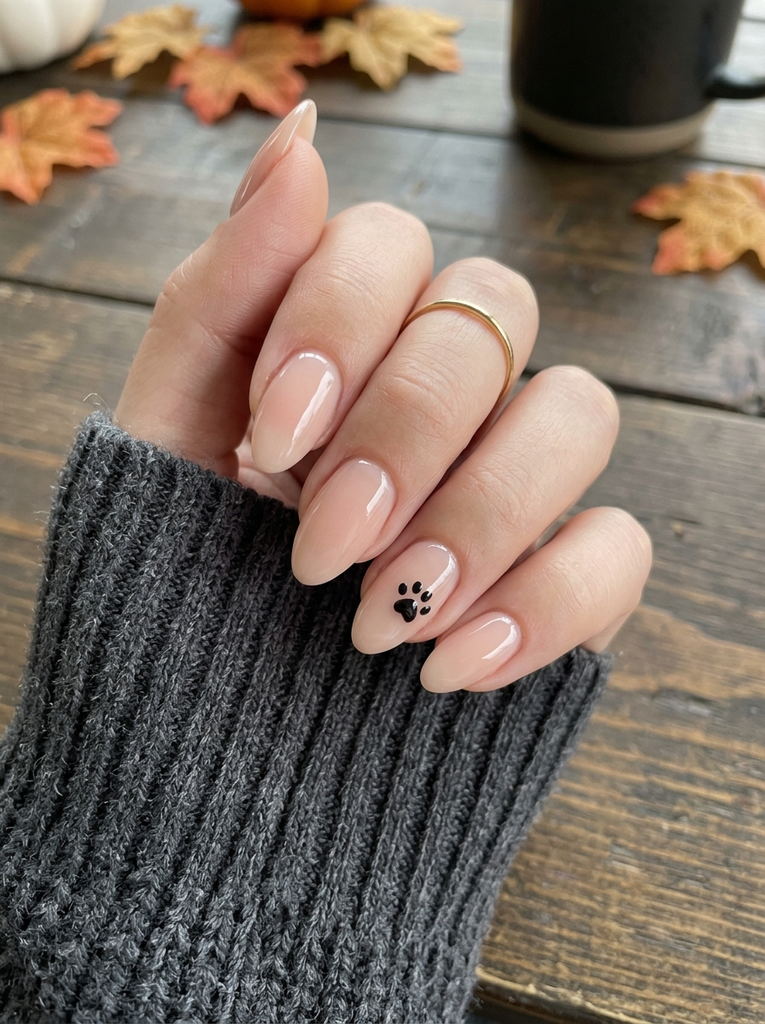
Keep most nails clear or nude and feature a tiny black paw print near the tip on one nail. This minimal motif reads cute and spooky without overwhelming the hand. Great for a subtle Halloween nod.
- Best for: everyday wear with a seasonal twist
- Difficulty: Easy
- Best occasion: casual Halloween outings
- Tip: Use a small dotting tool to form the paw pads accurately.
15. Webbed Nail Details
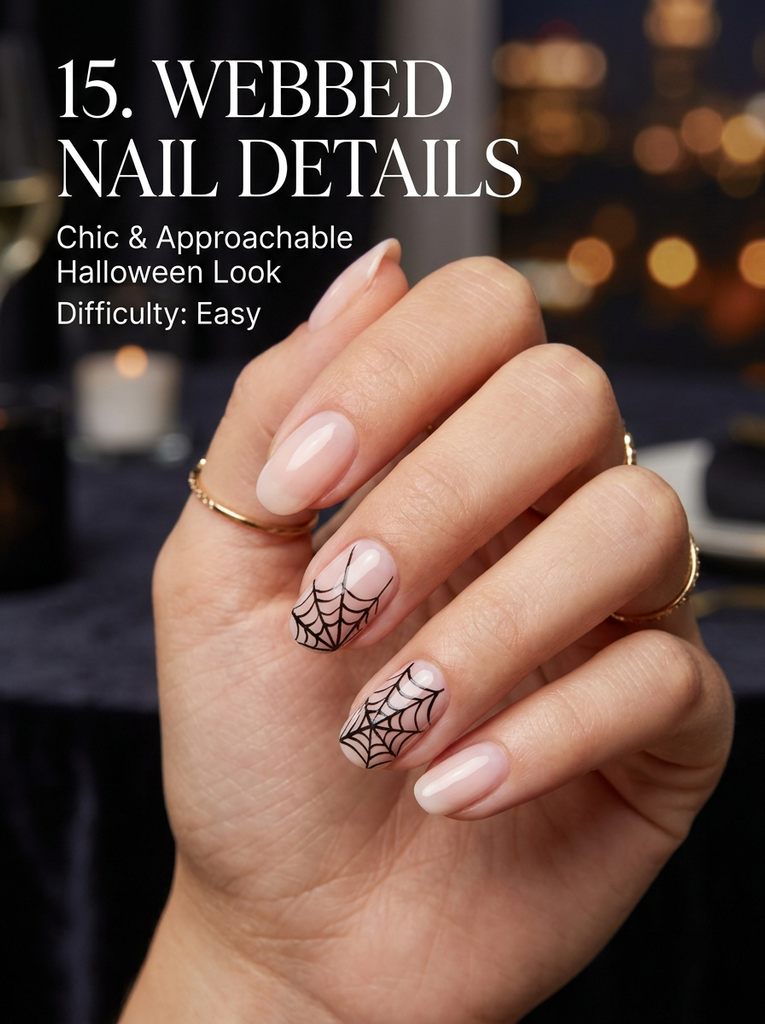
Paint a sheer or pale base and add a delicate spider web outline on one or two nails. Use a white or pale color for the web on a dark base or black on a light base. Keep the lines thin and slightly imperfect for a handmade feel. This style is chic and approachable for beginners.
- Best for: fashion-forward Halloween looks
- Difficulty: Easy
- Best occasion: evening events
- Tip: Practice the web on a sheet of plastic before applying to nails.
16. Potion Bottle Art
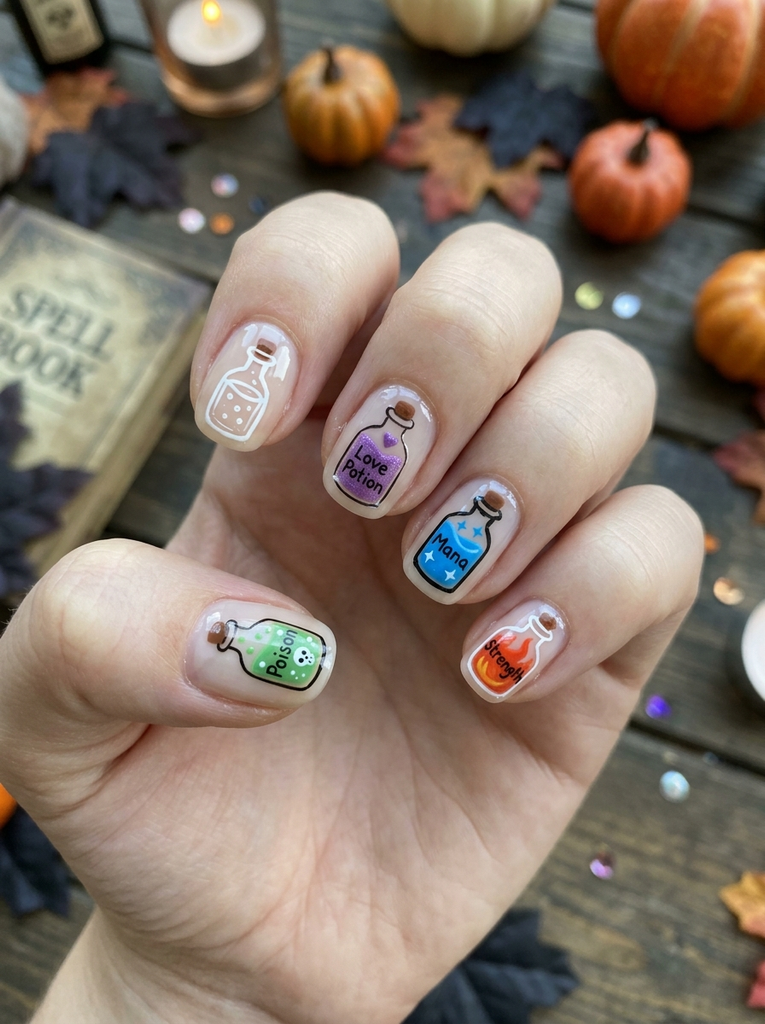
Paint small, colorful bottles on a clear or neutral base with a tiny cork at the top. Use white or black for the bottle outline and fill with a contrasting shade to resemble a magical elixir. Keep the shapes simple to avoid clutter.
- Best for: playful, magical looks
- Difficulty: Easy
- Best occasion: Halloween parties
- Tip: A fine brush helps create clean bottle edges.
17. Tombstone Graveyard Nails
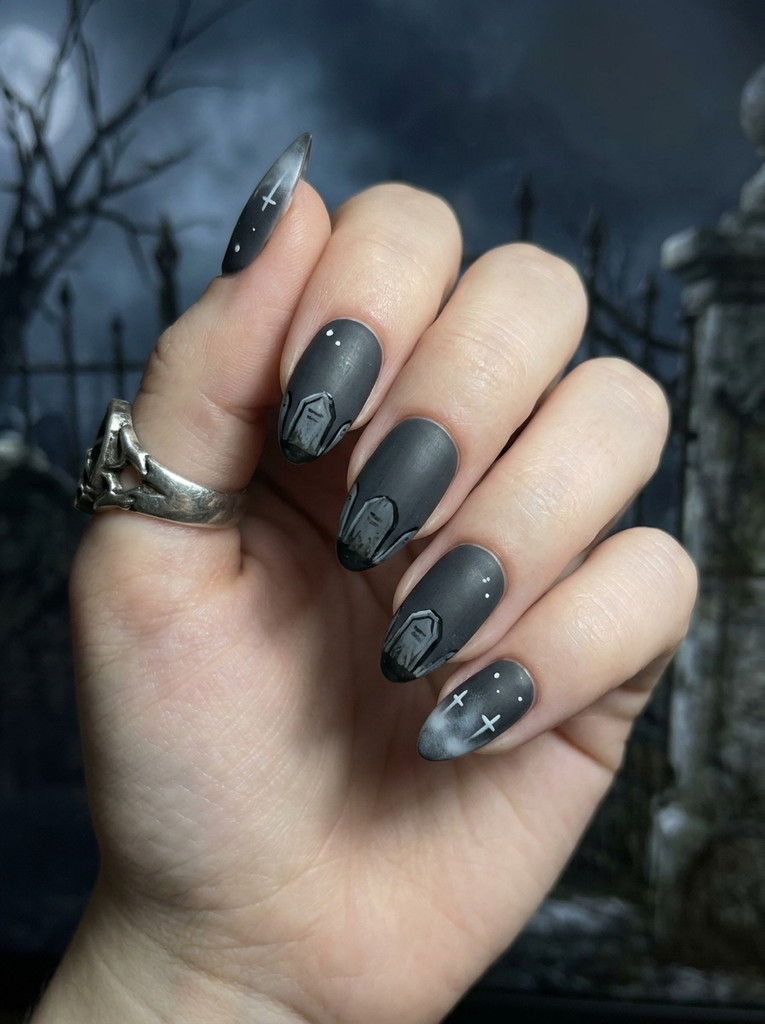
Use a dark base and stamp or hand-paint tiny tombstones along the tips. Add small crosses or a misty gradient to suggest a distant graveyard. Keep a balance with the rest of the nails so the look stays cohesive and not crowded.
- Best for: moody Halloween nights
- Difficulty: Medium
- Best occasion: Halloween parties, haunted tours
- Tip: Use a small brush to shape the tombstone angles neatly.
18. Zombie French Tips
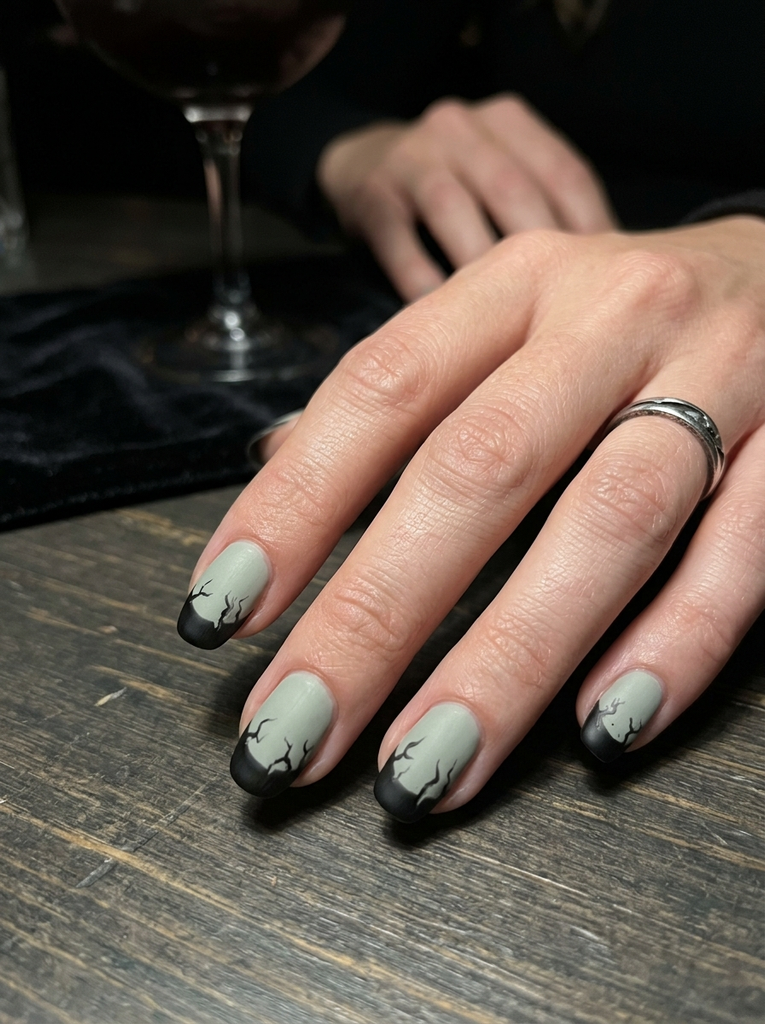
Start with a pale green or gray base and apply black tips. Add tiny cracks or bite marks at the edge with a darker shade. This twist on a classic French manicure feels eerie yet stylish. Keep the rest of the nails simple to highlight the tips.
- Best for: chic Halloween nights
- Difficulty: Easy to Medium
- Best occasion: date nights, parties
- Tip: Draw cracks with a nail art brush to avoid bulky lines.
19. Moon and Bats Motif
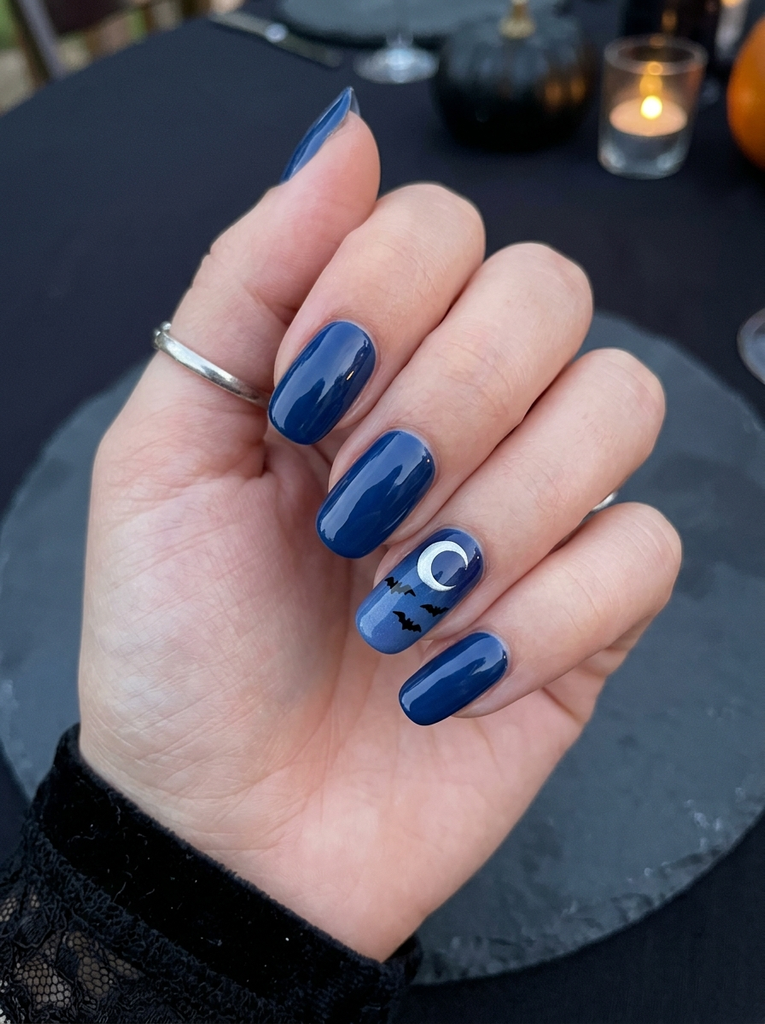
Paint a deep blue gradient that mimics a night sky. Add a crescent moon on one nail and tiny bats flying nearby. Keep other nails solid to prevent visual overload. A classic nocturnal scene that suits Halloween well.
- Best for: evening events
- Difficulty: Easy
- Best occasion: Halloween parties, outdoor events
- Tip: Use a small curved brush to shape the moon precisely.
20. Candy Corn French Tips
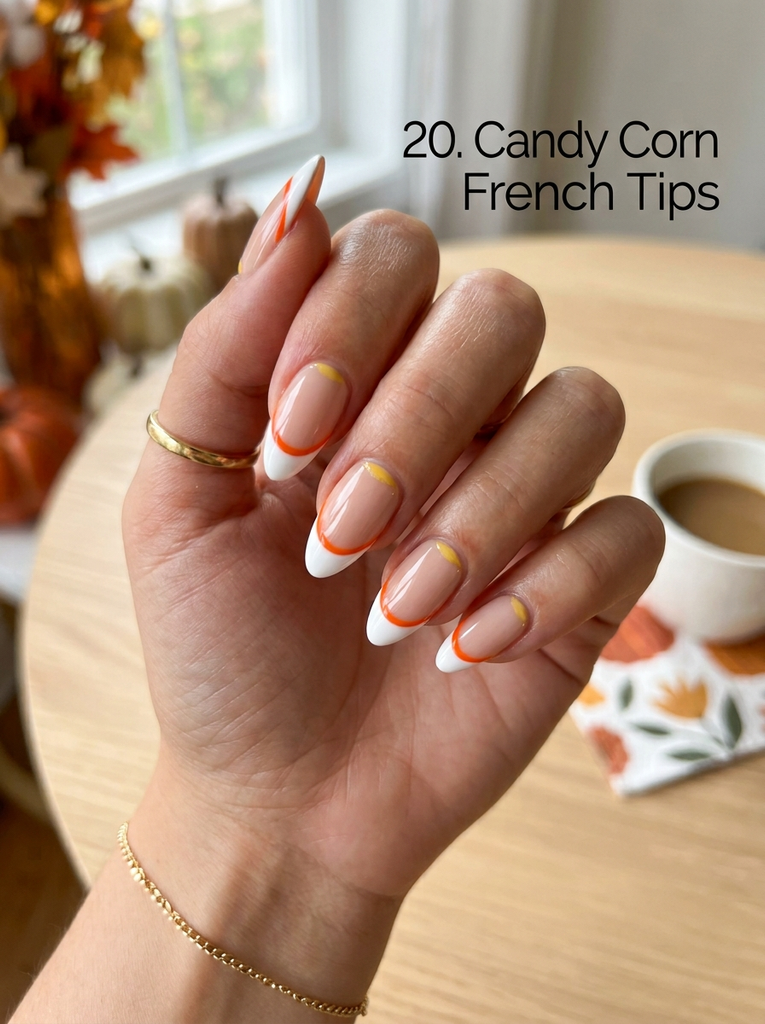
Apply white tips on a natural base and add a thin line of orange just below the edge, with a touch of yellow near the base. This playful twist on a French manicure is bright and festive. Keep the lines thin for a clean finish so the colors stay distinct.
- Best for: festive office parties, daytime events
- Difficulty: Easy
- Best occasion: Halloween brunches, family gatherings
- Tip: Use striping tape to keep the edge sharp while painting the colors.
FAQs
What are easy halloween nails for beginners?
Easy halloween nails for beginners focus on simple shapes and limited elements, like pumpkins or ghosts, with clean lines and minimal tools. Start with one accent nail and keep the rest in a solid color to avoid overwhelm.
What tools do I need to try these at home?
A basic kit with a few nail art brushes, a dotting tool, striping brush, and a good top coat will cover most ideas. You can start with a neutral polish palette and add accent colors as you gain confidence.
Can I replicate these with regular polish?
Yes. Regular polish works well for all designs here. If you want sharper lines, use nail art brushes or toothpicks for detail work and seal with a top coat.
How long do these designs take to dry and set?
Most ideas dry to the touch within a few minutes, but give each layer a 5-10 minute dry time between steps. A quick-dry top coat can help finalize the look faster.
Should I prep my nails before applying these designs?
Yes. Start with clean, dry nails. Push back cuticles, file to shape, and apply a base coat to protect the natural nails and improve polish adhesion.
Conclusion
Trying these halloween nails for beginners ideas lets you explore fun, seasonal art without pressure. Pick a design that matches your mood and available time, then experiment with color swaps or line thickness. Start with a simple pumpkin or ghost and build from there with confidence.