Halloween nails french tip: 20 Creative Ideas for Spooky-Season Nails
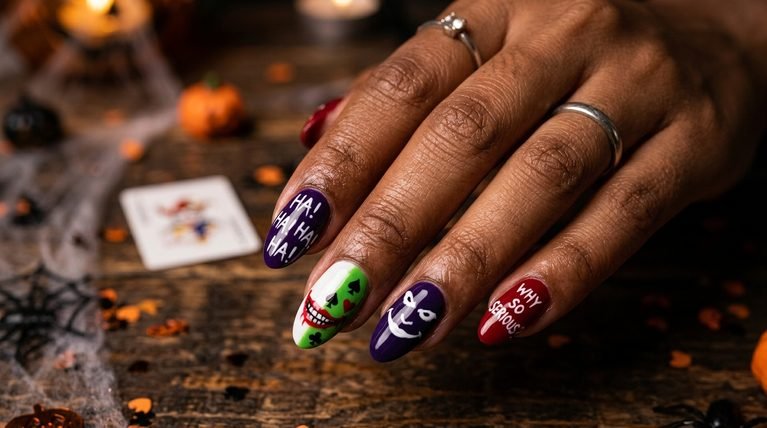
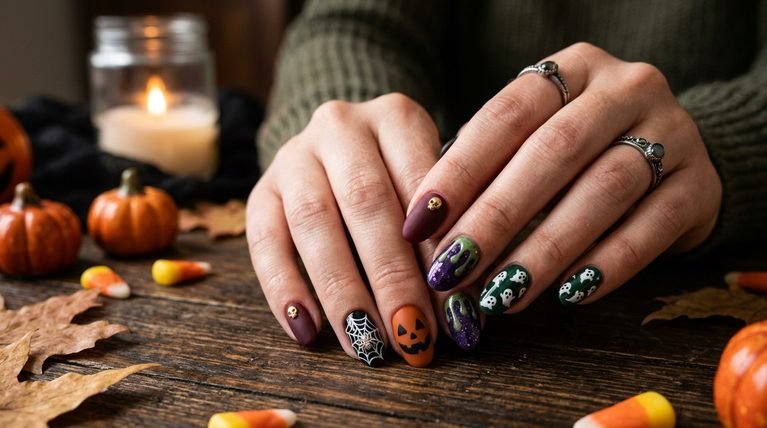
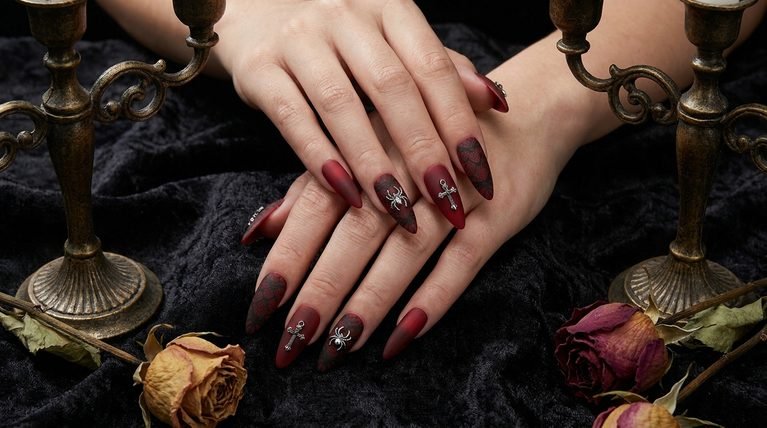
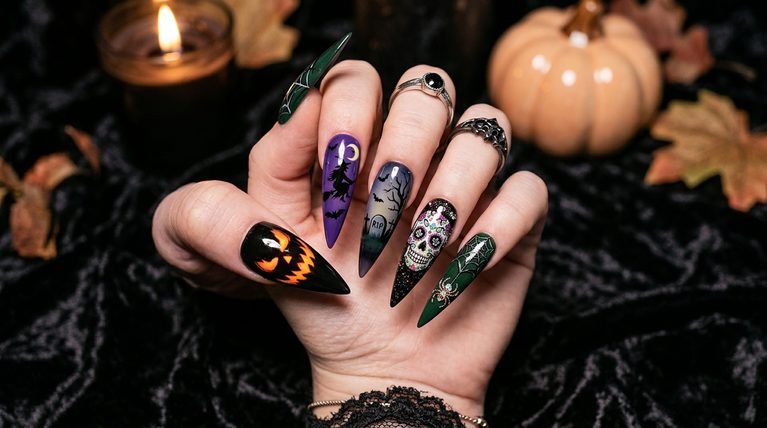
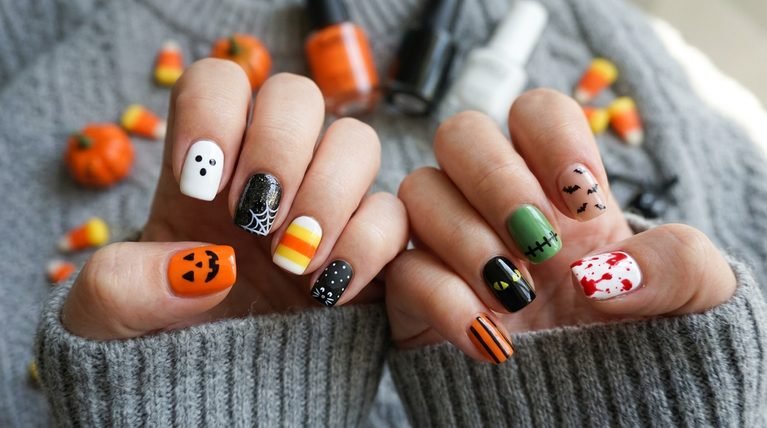
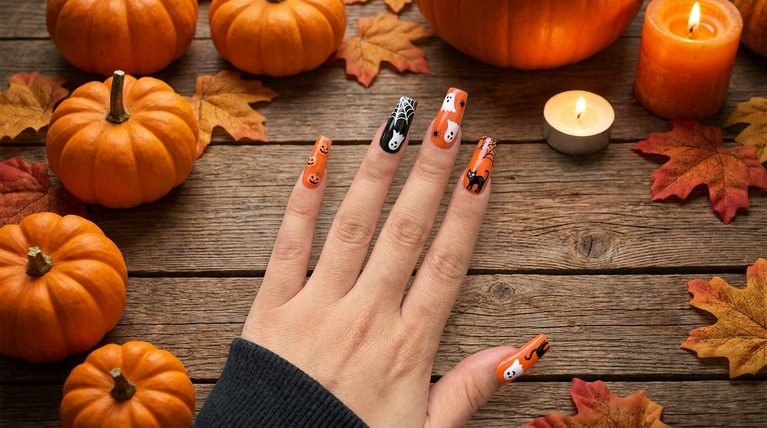
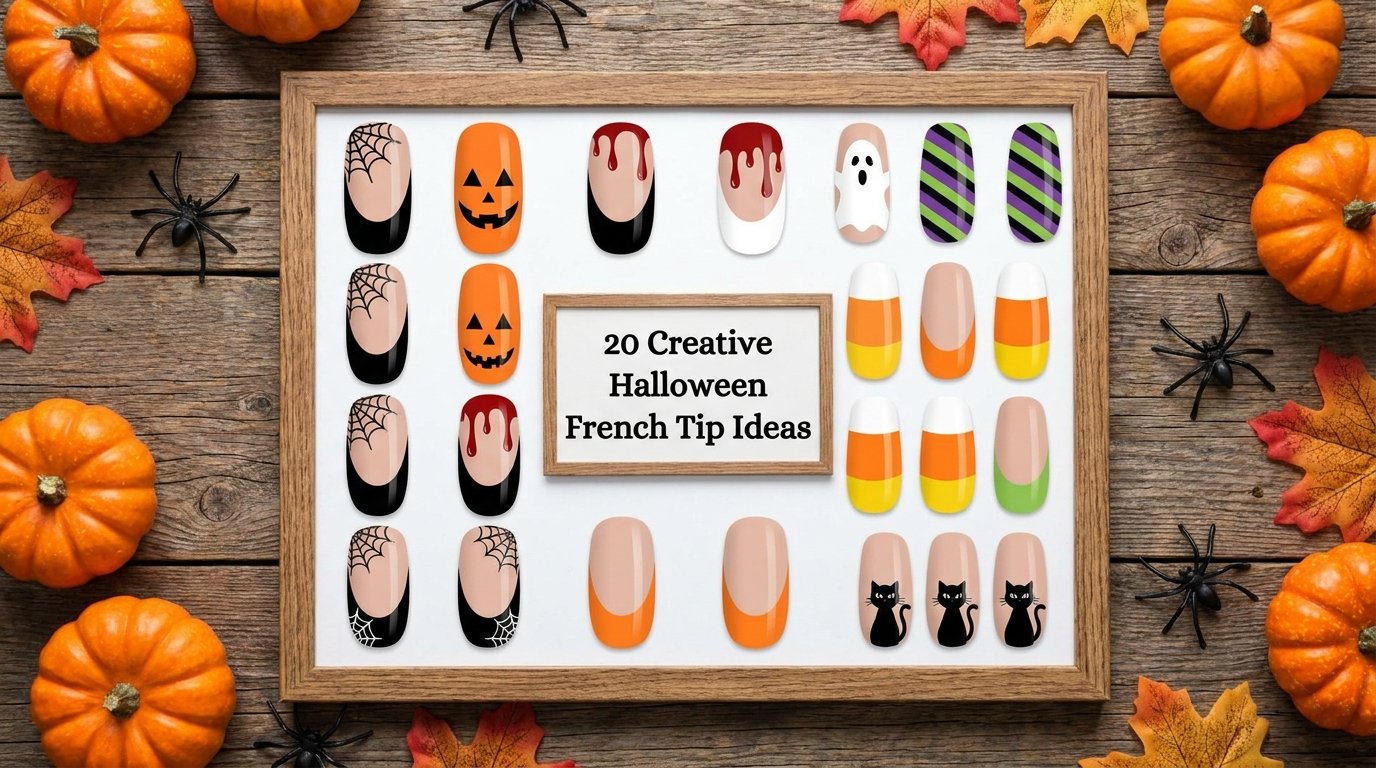
Crafting a chic but festive manicure that stays true to the classic French tip while signalling Halloween can be a fun challenge. This roundup blends the clean silhouette of a French manicure with bold Halloween motifs, using black, orange, and even neon accents for modern impact. Each idea is designed to work on traditional nail shapes, with practical tips for placement, colour pairing, and durability so you can recreate them at home or in a salon. Whether you have long nails or sporty short nails, there’s a Halloween nails French tip design here for you.
Yes, you can wear halloween nails french tip with confidence by pairing a crisp tip with seasonal motifs such as pumpkins, bats, or spiderwebs. The key is balancing contrast and negative space so the design remains readable at a glance and flattering on your hands.
1. Gothic Pumpkin French Tip
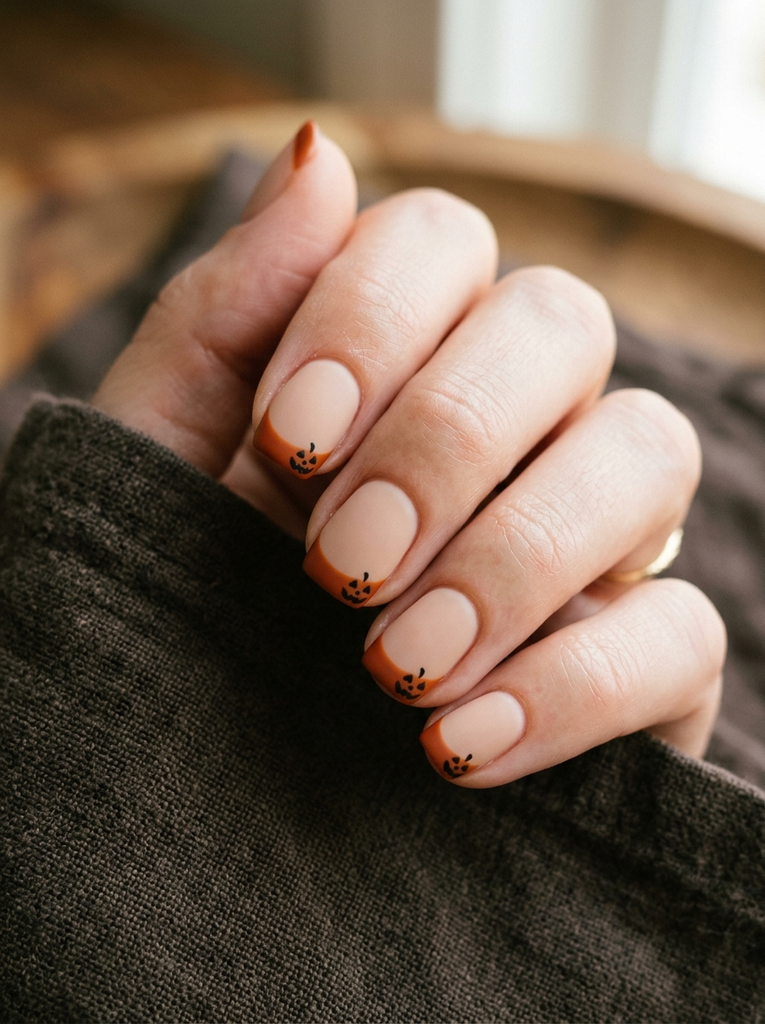
This design keeps the timeless French silhouette but treats the tip as a tiny stage for a carved pumpkin motif. The base is a nude or soft pink, and the tip is a deep orange with a black carved-pumpkin face painted along the curvature. The contrast between the warm pumpkin hue and the stark black lines reads clearly from a distance, which is ideal for photos. Use a fine brush to paint a tiny facial expression or leave a minimalist two-cut pumpkin silhouette for a cleaner look.
Colors and placement: nude base, orange tip, black details along the curved edge of the tip.
Practical tip: seal with a matte top coat to soften the glare on the orange and make the black lines pop without smudging.
2. Spooky Spiderweb French Tip
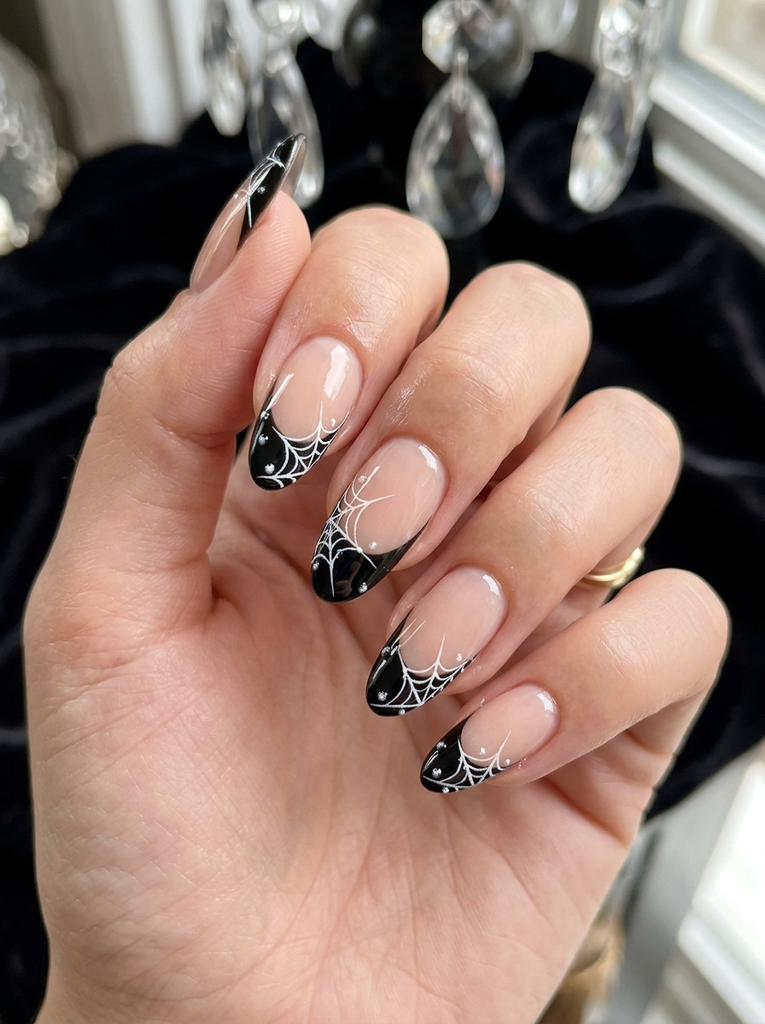
Spiderwebs offer instant Halloween vibes without overwhelming the French tip. Start with a sheer nude base and paint the tip in glossy black. On the tip, draw delicate white or silver spiderweb lines radiating from the sidewalls toward the center, then add a few tiny dots for dew drops. The lines can curve with the natural shape of your nail to keep the look cohesive and delicate rather than busy.
Colors and placement: black tip with white or silver web accents. Practical tip: use a thin liner brush and steady your hand by resting your pinky on the table while drawing the first sketch lines.
3. Orange French Tip Nails with Black Silhouettes
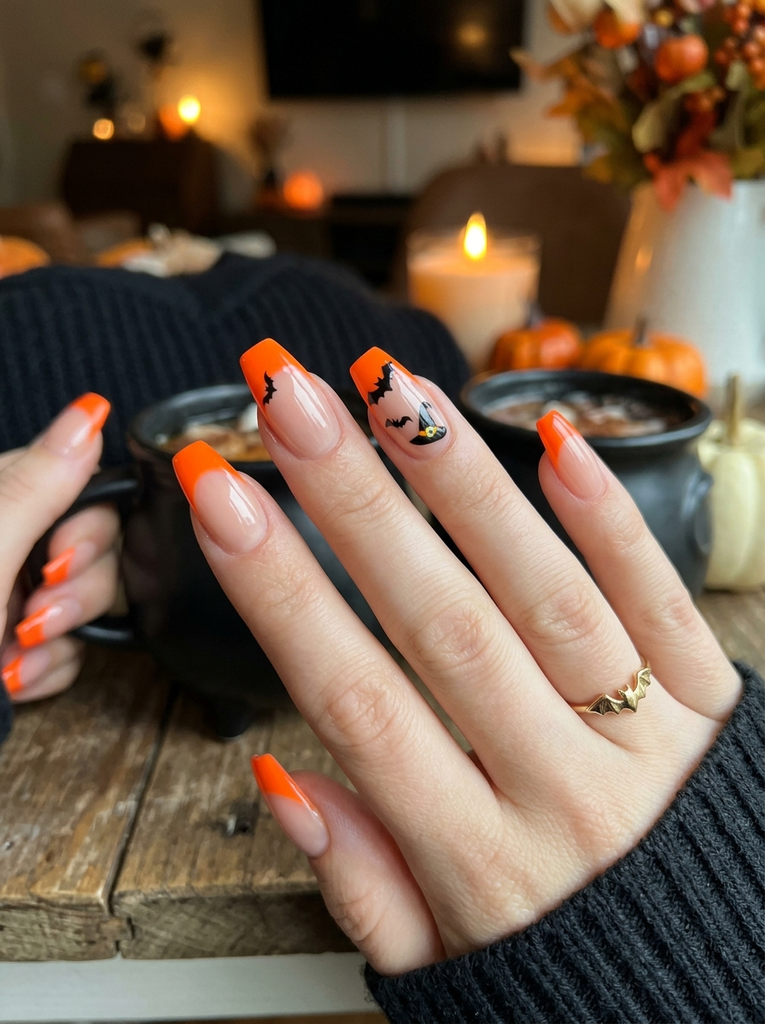
This idea plays up a bold orange French tip, then adds black Halloween silhouettes along the edge—think a tiny bat, a witch hat, or a haunted silhouette. The main focus is the bright orange tip, which makes the black shapes stand out. Keep silhouettes small to preserve the crispness of the tip line.
Colors and placement: bright orange tip with minimalist black shapes along the curve.
Practical tip: use negative space at the base to avoid crowding and make the shapes easier to paint.
4. Ghost Smile Line French Tip
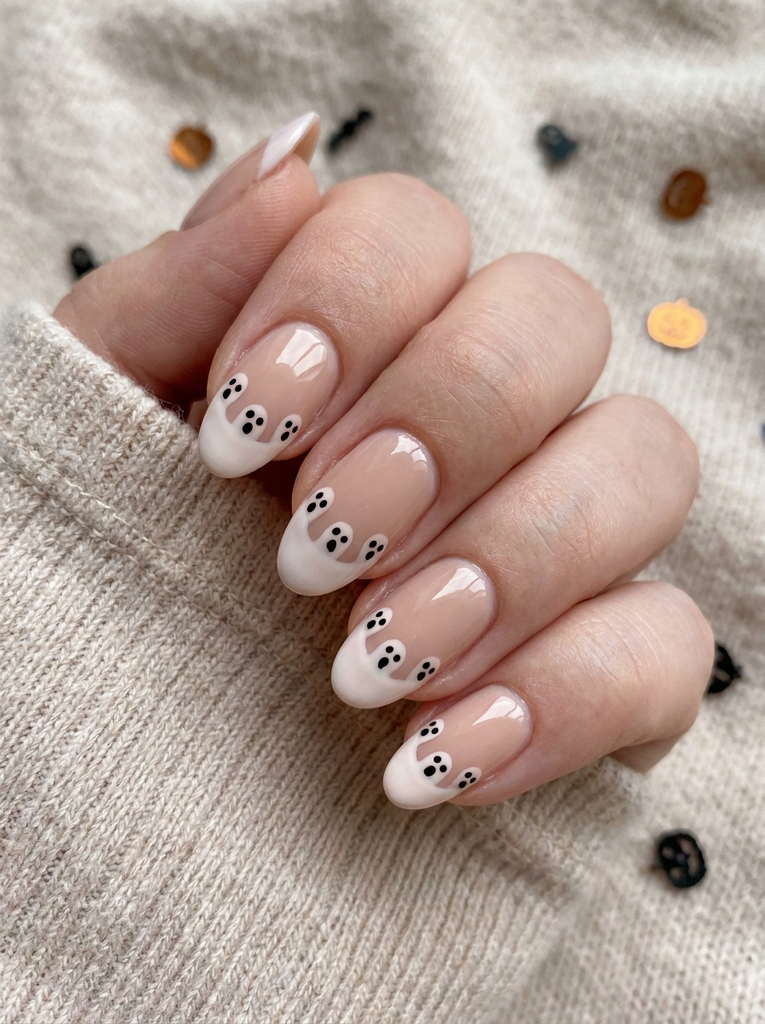
Turn the classic white smile line into a playful ghost motif. The base stays nude, while the tip is pale white. Paint tiny ghost faces or abstract mouths along the smile line, using thin black lines for eyes. The result is a cute, wearable Halloween nail that still reads as a refined French tip from afar.
Colors and placement: pale white tip with black ghost features; keep faces minimal for legibility. Practical tip: create a practice ghost on a piece of paper first to get the spacing right before painting on nails.
5. Witches’ Cauldron Swirl French Tip
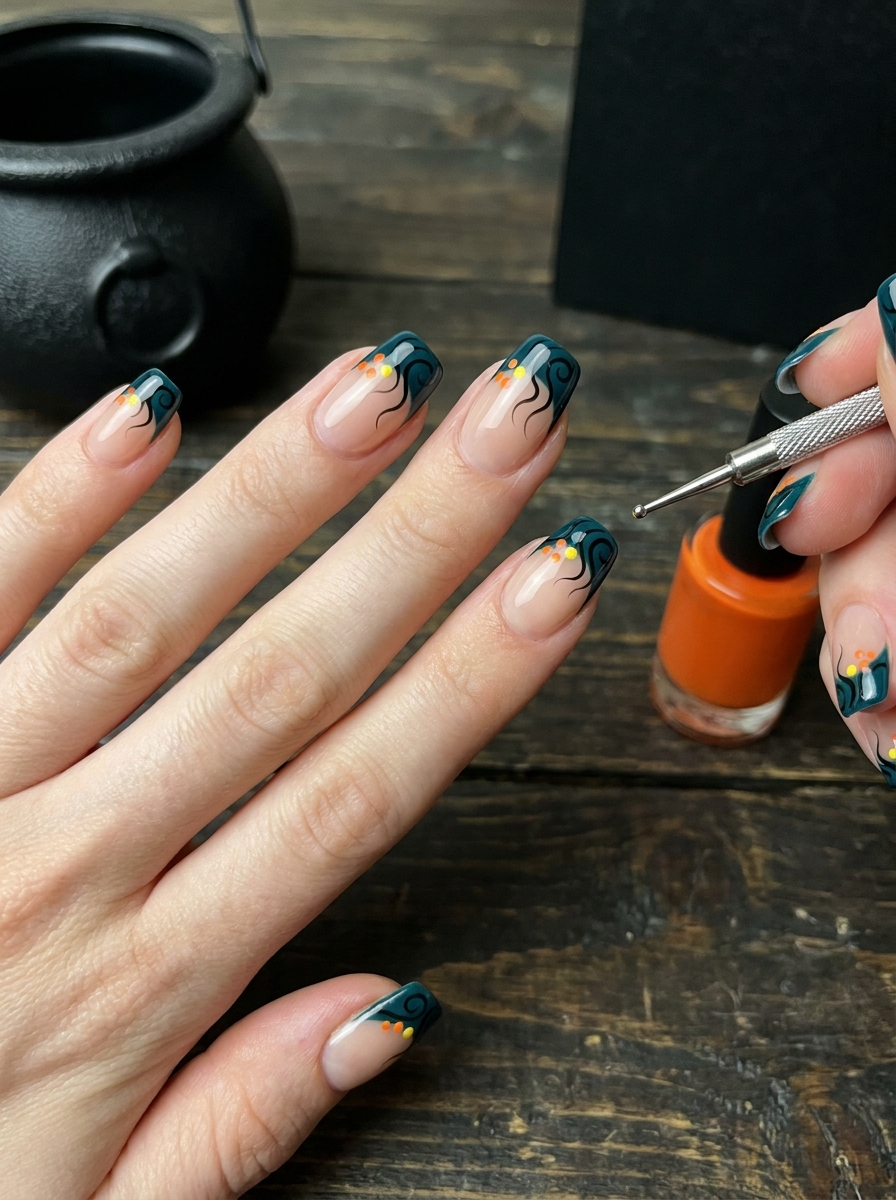
Imagine the swirl of a cauldron on each nail tip. Use a dark green or teal base on the tip, with a black swirling line that mimics steam, and add a few bright orange or yellow droplets as potion bubbles near the cuticle edge. This design feels playful yet fashionable and pairs surprisingly well with a nude base.
Colors and placement: dark tip with green glaze and orange/yellow bubbles. Practical tip: use a dotting tool for the bubbles to keep the look cohesive across nails.
6. Black Cat Paws French Tip
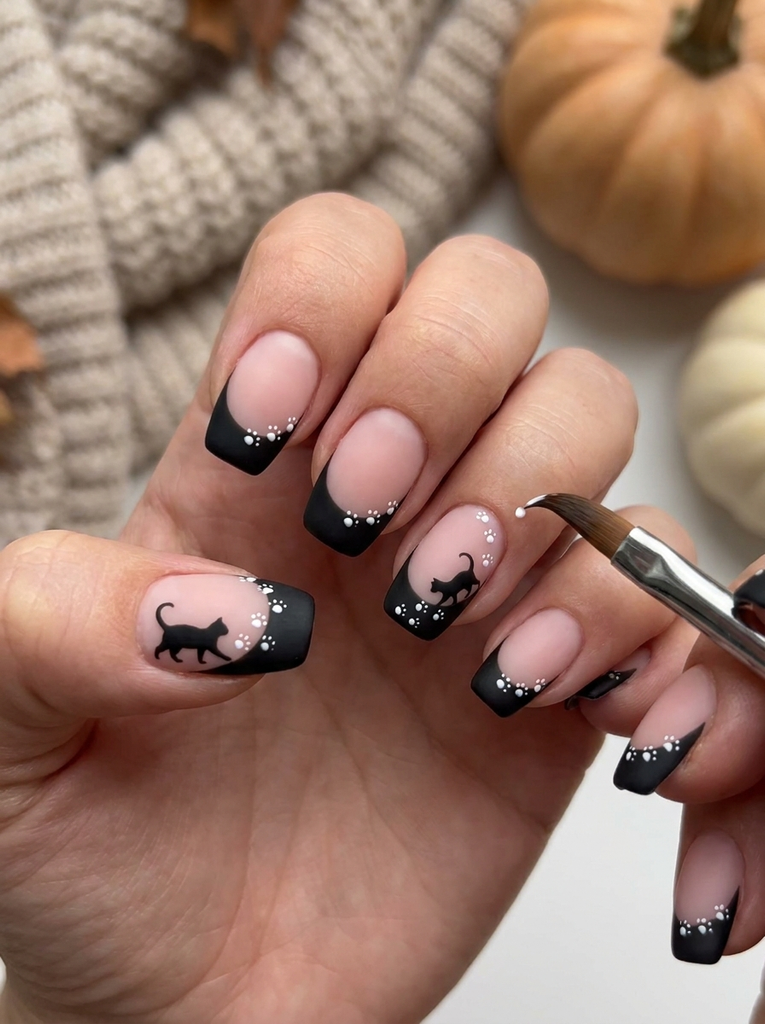
A mini black cat silhouette walking along the tip is instantly Halloween. The tip is black, and the body or paw prints can be left as negative space or painted in bright orange for a pop. Alternatively, paint tiny cat paw prints along the edge in white for a high-contrast look that remains chic.
Colors and placement: black or white paws on the tip; keep lines small to prevent crowding. Practical tip: use a curved brush to follow the tip’s edge for a smooth paw print arc.
7. Skeleton Bones French Tip
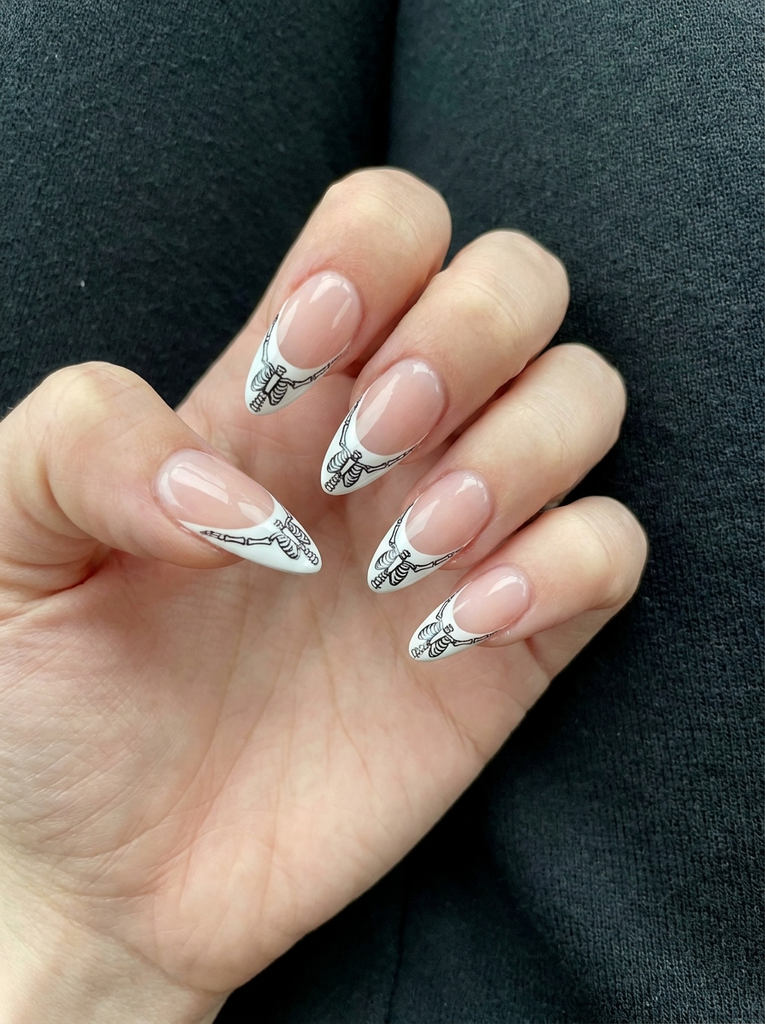
Skeleton bones across the tip add a graphic, edgy vibe. Paint the tip in white with fine black lines forming tiny bones that curve with the nail’s shape. This look is especially striking on almond or oval nails where the lines can follow the natural contour of the fingertip.
Colors and placement: white tip with black bone outlines. Practical tip: outline each bone first, then fill in, to keep the bones crisp and not smudged.
8. Bat Silhouette on French Tip
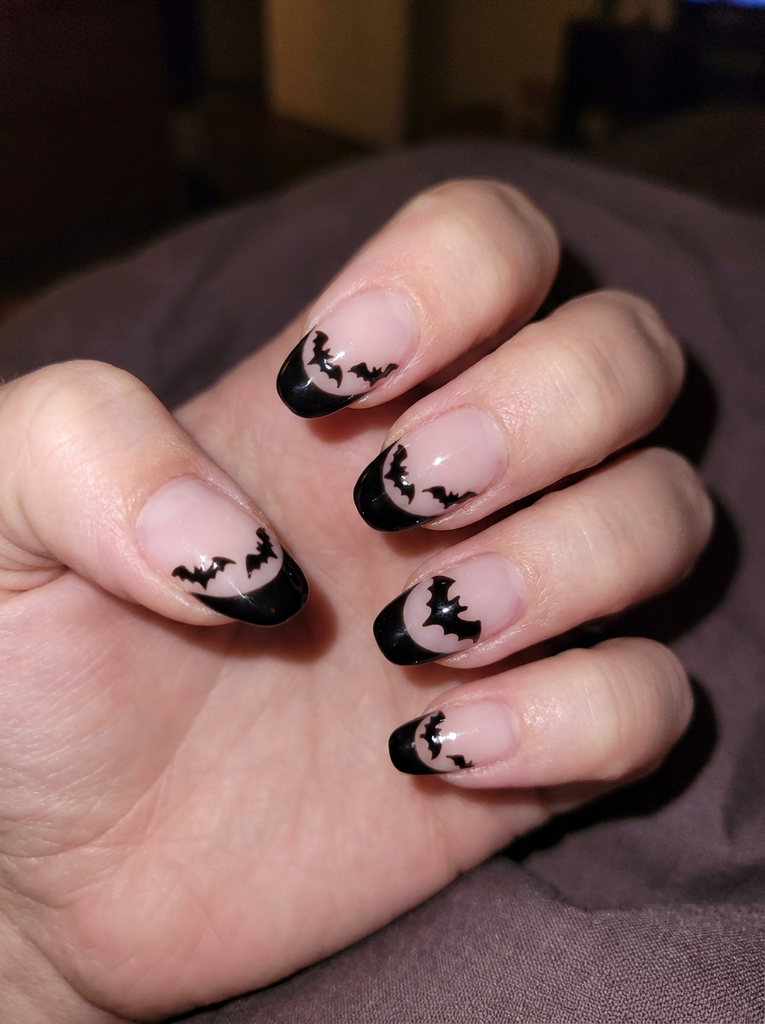
Black bat silhouettes perched along the tip create a classic Halloween tableau. Use a sheer or pale base and choose a glossy black for high contrast. A single large bat on each nail gives a bold impression, or add smaller bats trailing along the curve for a whimsical effect.
Colors and placement: black bats on the tip; keep the silhouette compact. Practical tip: position the bats so their wings align with the natural nail curve for a balanced look.
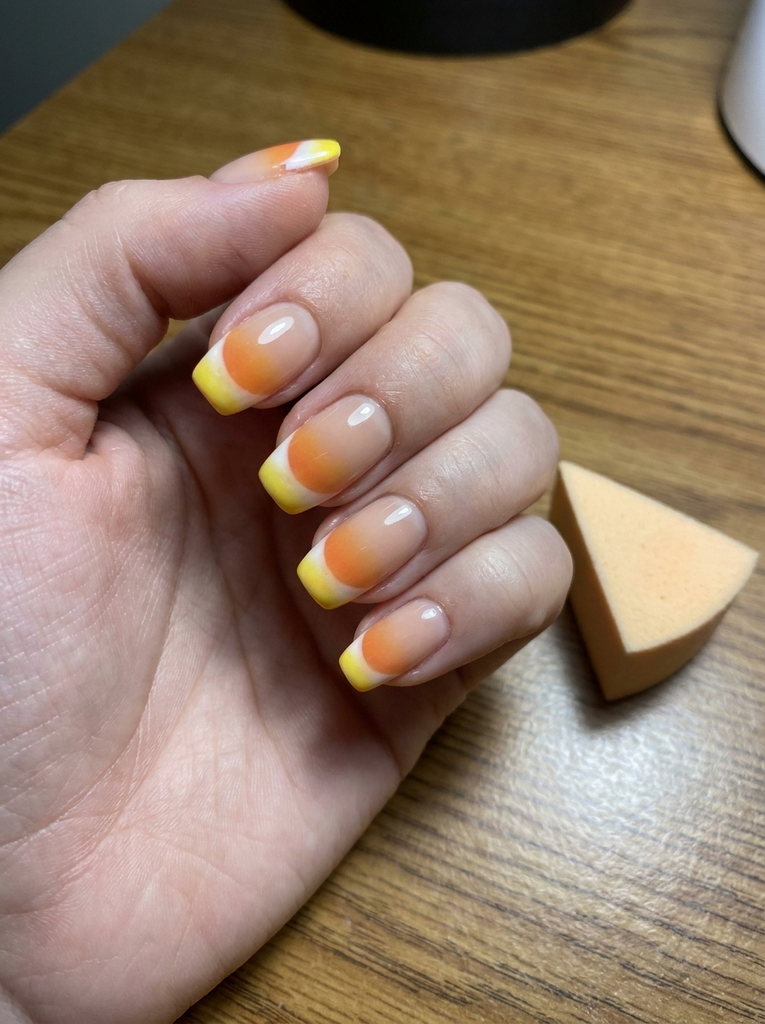
9. Candy Corn Gradient French Tip
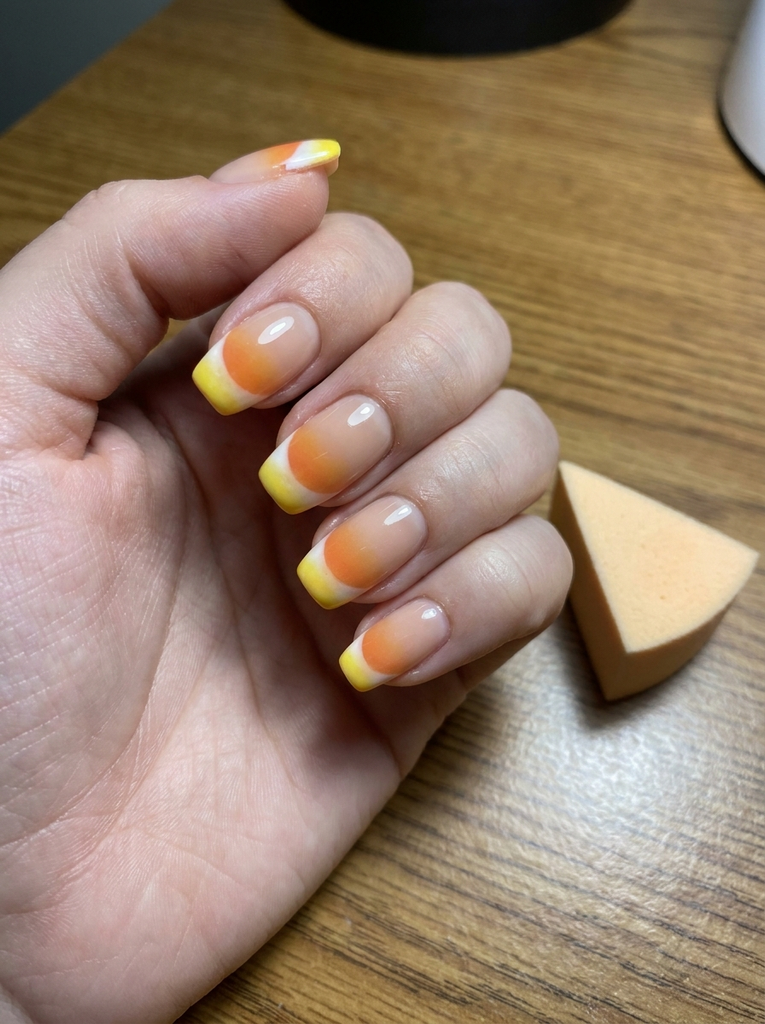
Candy corn inspired nails reinterpret the traditional tip with a tri-color gradient. Start with a nude base, then paint white near the cuticle, orange along the tip, and a thin yellow line where the white meets the orange to mimic candy corn sections. This design is playful and instantly recognizable as Halloween.
Colors and placement: tri-color gradient on the tip, white at the base, orange at the tip with a yellow separator. Practical tip: use a makeup sponge to blend the gradient for a seamless transition.
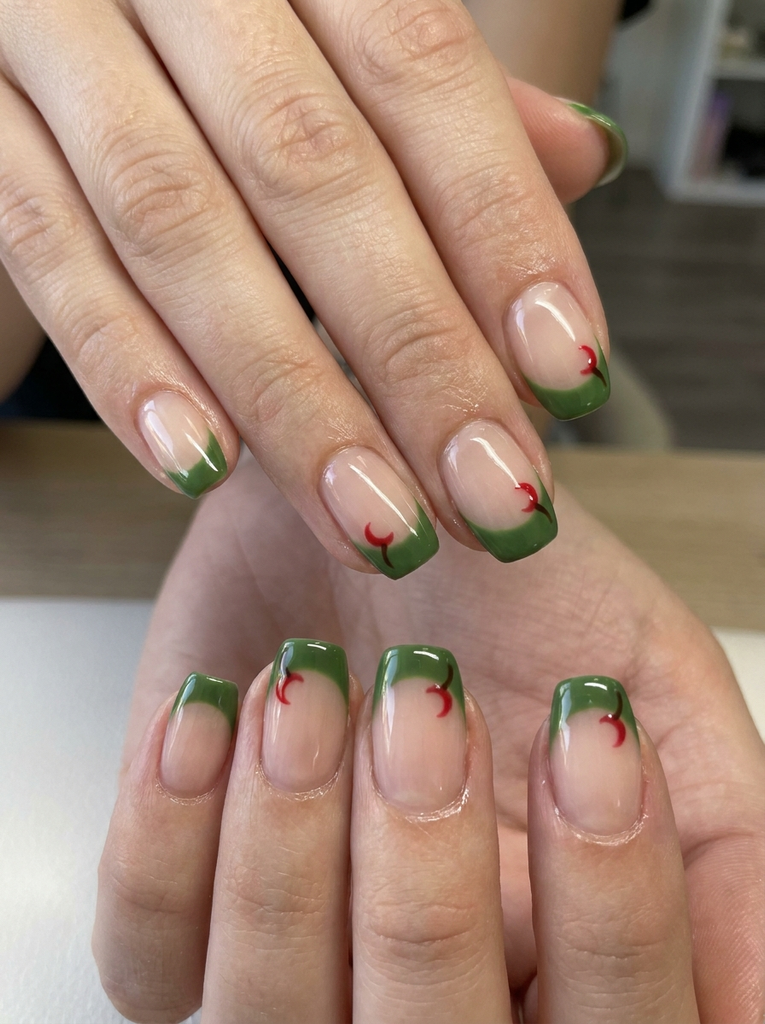
10. Poison Apple French Tip
A green poisoned apple motif dots the tip as the focal point. The tip can be painted deep green or apple-green with a tiny red bite mark and a brown stem along the curved edge. This idea blends a familiar Halloween symbol with the clean line of a French manicure.
Colors and placement: green tip with small red bite and brown stem.
Practical tip: keep bite marks tiny to avoid clutter and maintain the French silhouette.
11. Frankenstein Green French Tip
Bold neon-green or olive-green tips recall Frankenstein, but keep the rest of the nail natural to preserve balance. Add a single black bolt or stitch line near the edge for a subtle, modern twist. This look is particularly striking on medium to long nails where the color can truly pop.
Colors and placement: green tip with a small black bolt accent. Practical tip: use a fine brush for the bolt lines to keep them crisp against the bright green.
12. Graveyard Scene French Tip
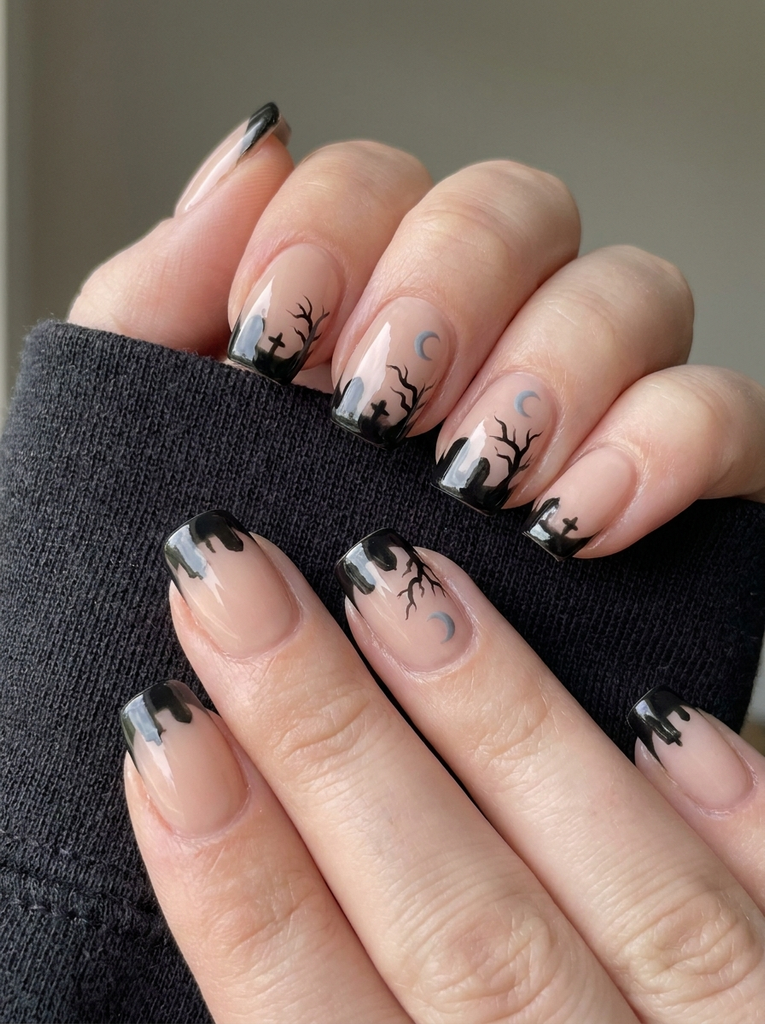
Create a tiny graveyard scene along the tip with dark silhouettes of tombstones, a crescent moon, and a few bare trees. Use a nude base to let the black silhouettes stand out, and a pale gray or white for the moon to add depth. This design is intricate but readable even from a distance when simplified.
Colors and placement: black silhouettes on the tip, gray moon for contrast. Practical tip: keep the cemetery elements minimal—two tombstones and a tree can tell the story without crowding the nail.
13. Moonlit Night with Stars French Tip
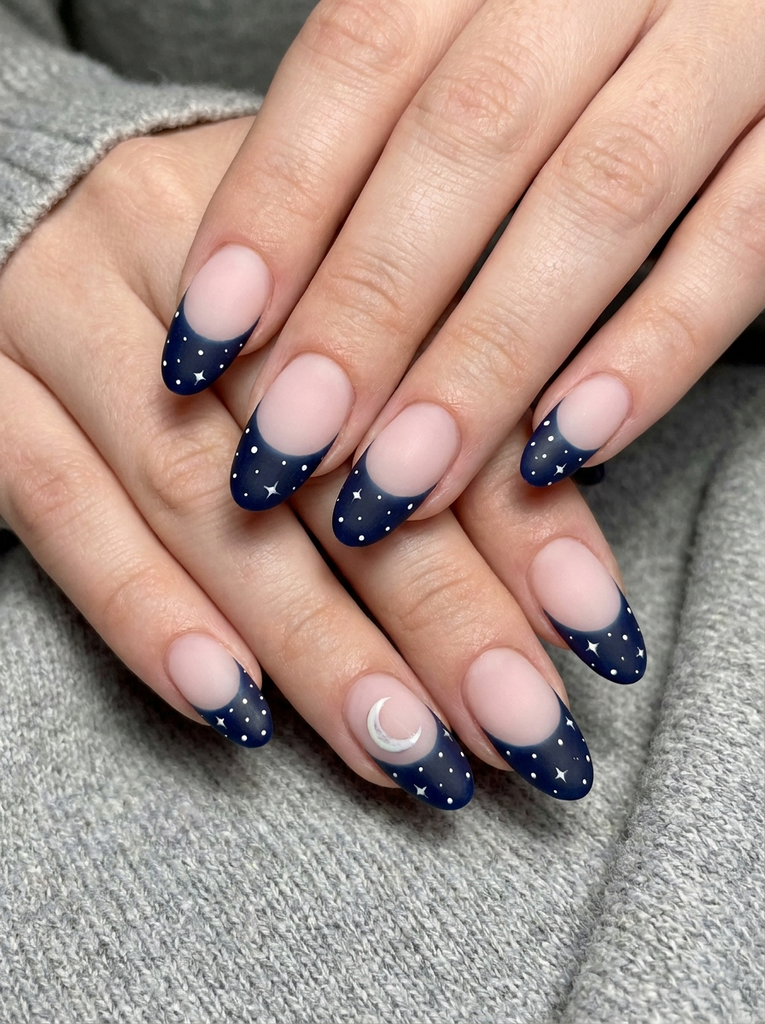
A deep navy or black tip dotted with tiny white stars creates a chic night-sky effect. A pale crescent moon on one or two nails adds variety while maintaining a cohesive look. This idea pairs well with matte top coats for a luxe finish.
Colors and placement: dark tip with white stars; crescent moon accent on one or two nails. Practical tip: use a dotting tool to place the stars for uniform sizing.
14. Vampire Bite Accent French Tip
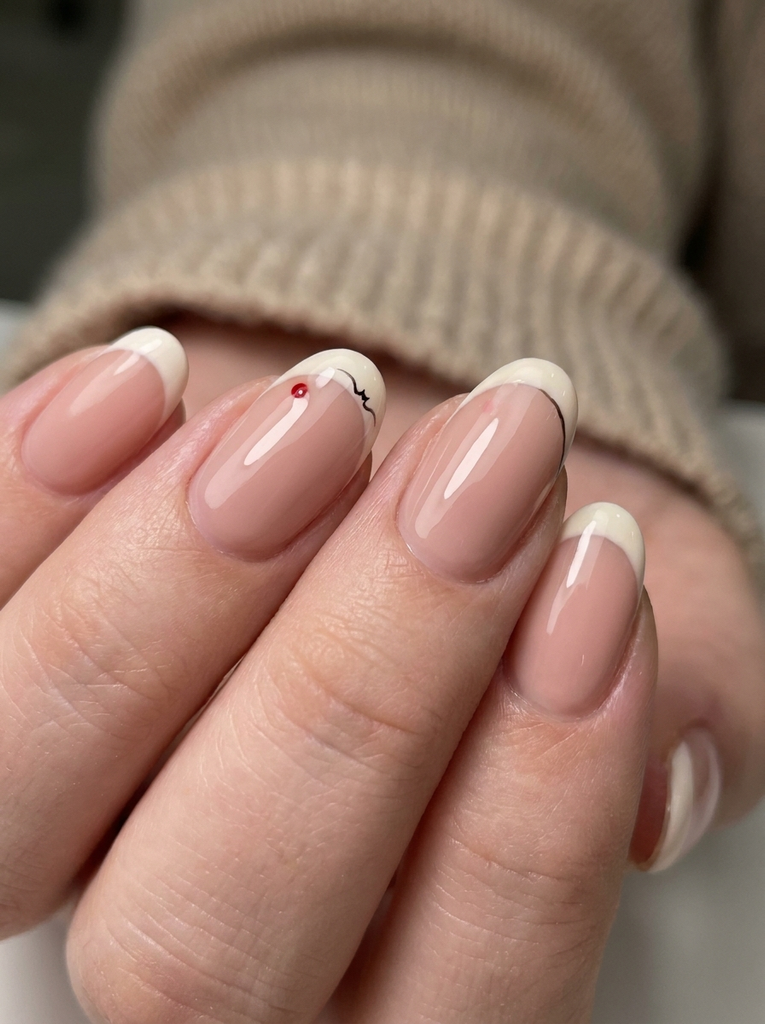
Transform the tip into a mini vampire bite with a tiny red puncture mark along the edge, and a thin black line suggesting a vampire silhouette along the tip. This is a subtle nod to Halloween that remains elegant when paired with a nude base.
Colors and placement: red bite mark on the tip; thin black vein line or silhouette details. Practical tip: do not overdo the bite mark; keep it small and precise for a refined look.
15. Pumpkin Patch Confetti French Tip
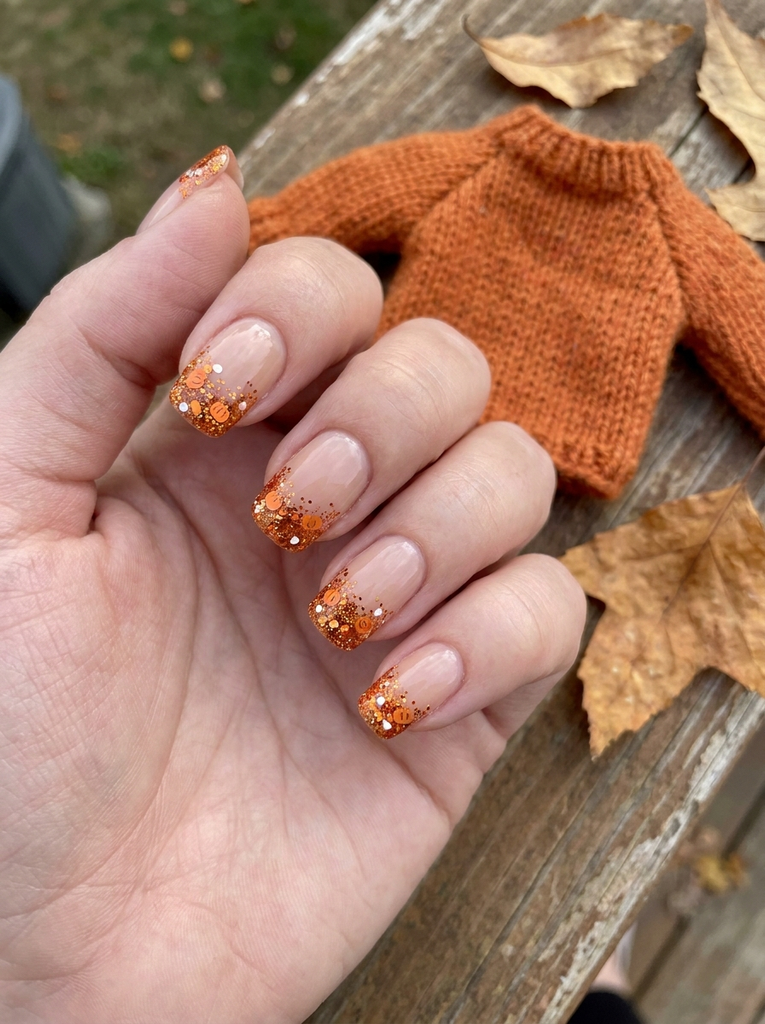
Turn the tip into a tiny pumpkin patch of confetti using orange micro-glitters or small orange and white confetti pieces scattered along the edge. The base remains nude, letting the confetti bits sparkle like pumpkins in a late autumn garden.
Colors and placement: orange confetti on the tip with occasional white specks. Practical tip: sprinkle confetti while the top coat is still wet for maximal adhesion.
16. Haunted House Silhouette French Tip
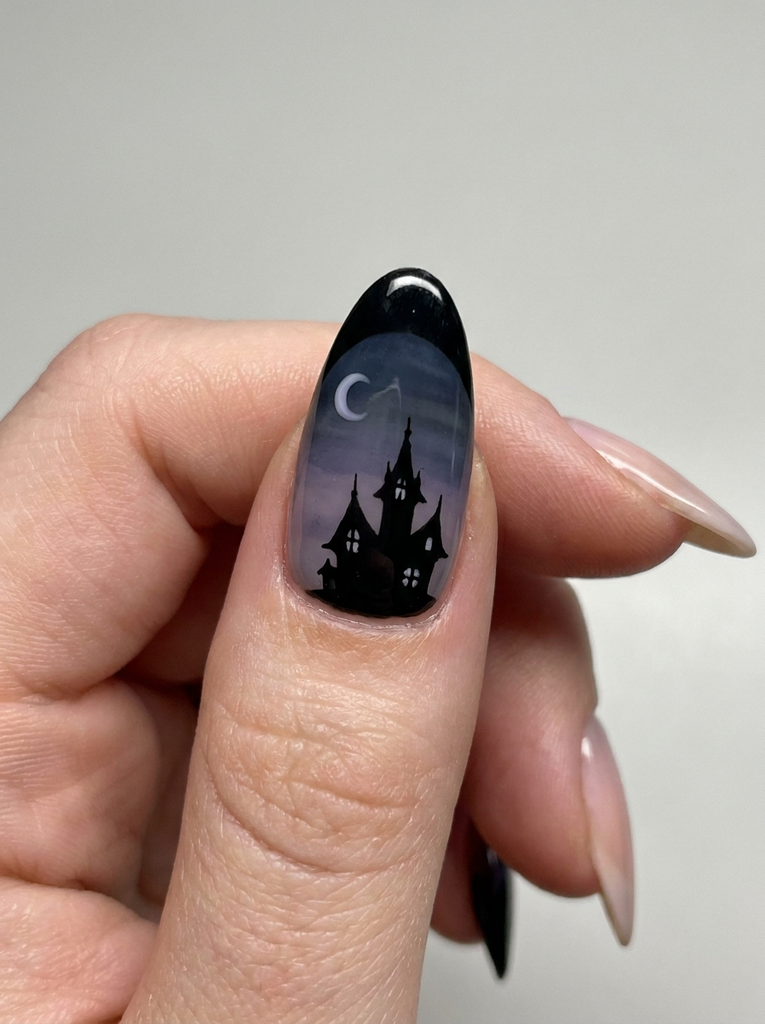
Paint a slender black haunted house silhouette along the tip, focusing on tall spires and a few tiny windows. Pair with a gradient sky effect using navy and charcoal near the cuticle, fading toward the tip. A single pale moon completes the eerie scene.
Colors and placement: black house outline on the tip; sky gradient above the silhouette. Practical tip: sketch the house lightly with a pencil brush first, then go over with a precise liner to avoid wobbly edges.
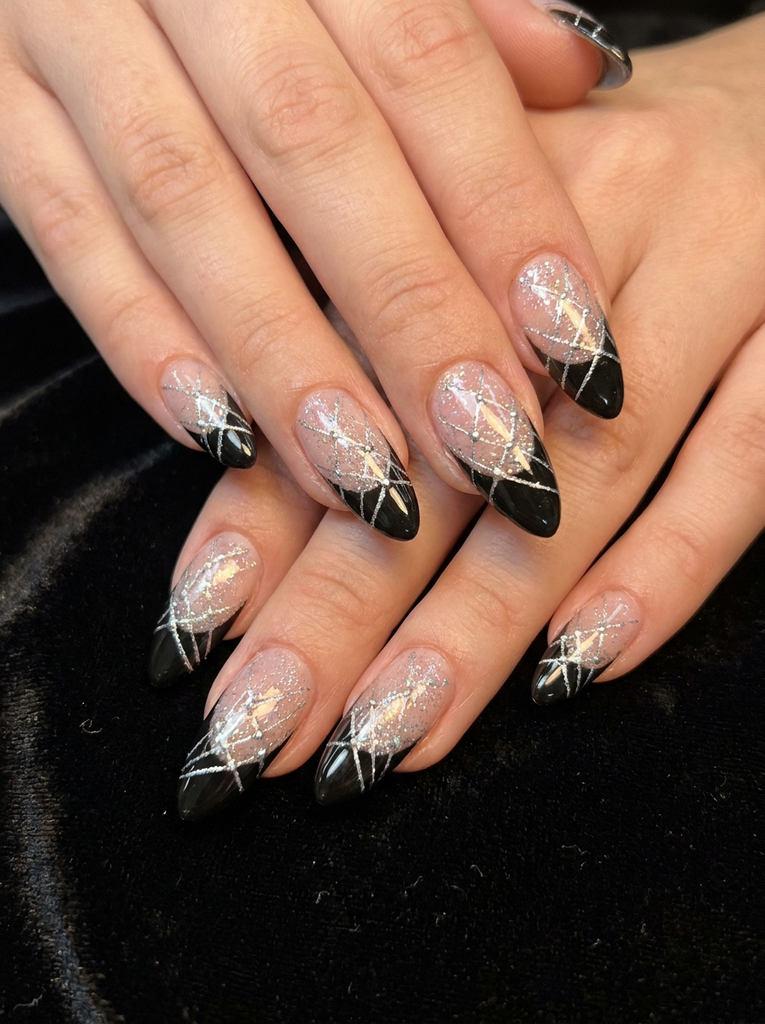
17. Spider Web Glitter French Tip
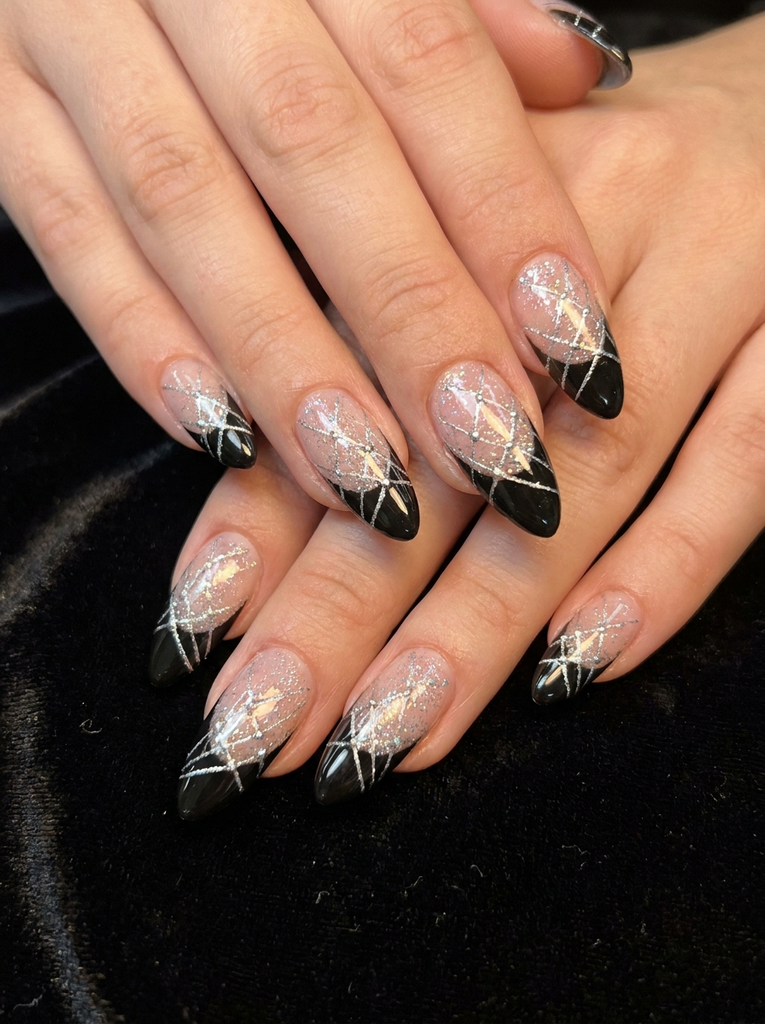
A streamlined black tip decorated with fine glitter and silver threads can mimic spiderweb magic without overwhelming the classic look. The glitter catches light beautifully, making the design photogenic for Halloween posts. Keep the web lines thin and intersecting at strategic points for a delicate finish.
Colors and placement: black tip with silver glitter and web accents. Practical tip: apply a clear top coat to lock in glitter and prevent snags on longer nails.
18. Boo Lettering French Tip
Tiny ‘Boo’ lettering along the edge of the tip adds a playful vibe. Start with a light nude base and a white or pale pink tip, then carefully write the letters in black or dark purple for contrast. This design is cute, readable, and distinctly Halloween themed.
Colors and placement: white tip with black or dark purple lettering. Practical tip: practice the handwriting on paper first to ensure even letter shapes on each nail.
19. Halloween Almond French Tips
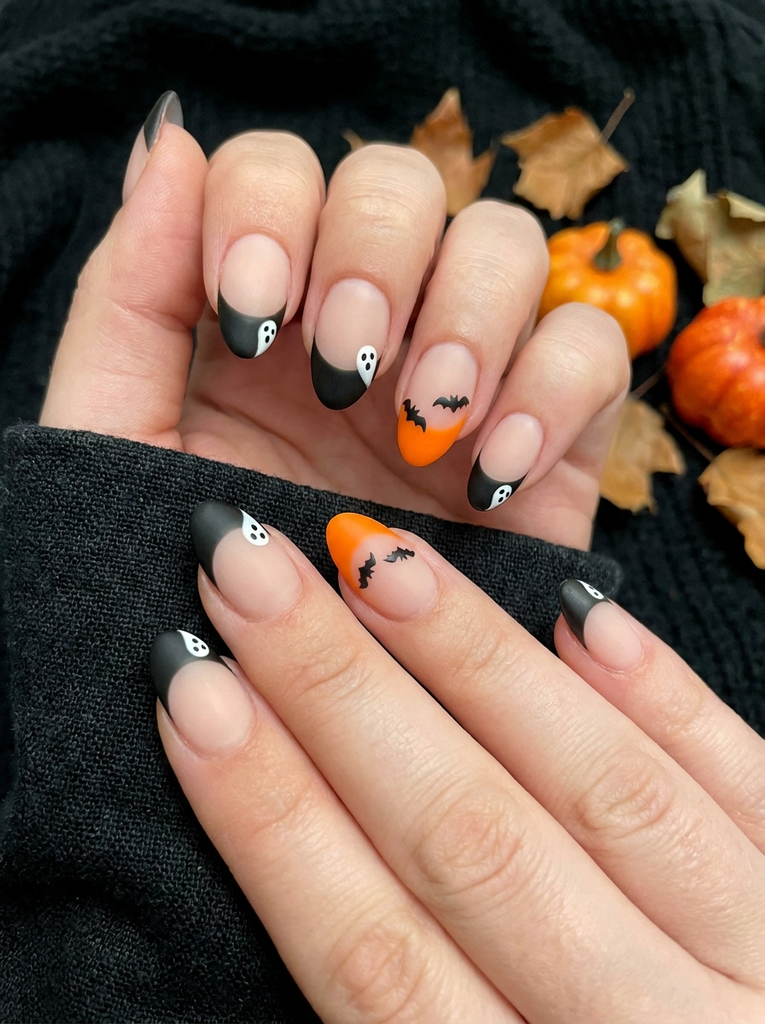
Almond nails are perfect for Halloween accents because the tapered shape gives more surface for tiny details while staying flattering on short nails. Paint the tips black or orange and add minimalist motifs such as a ghost face or tiny bat along the edge. For short nails, consider one accent nail per hand with full motif to avoid visual crowding.
Colors and placement: black or orange tips on almond shapes; choose one or two nails per hand for intricate accents. Practical tip: use striping tape to create neat tip lines before painting motifs for crisp results on short nails.
20. Minimalist Halloween French Tip
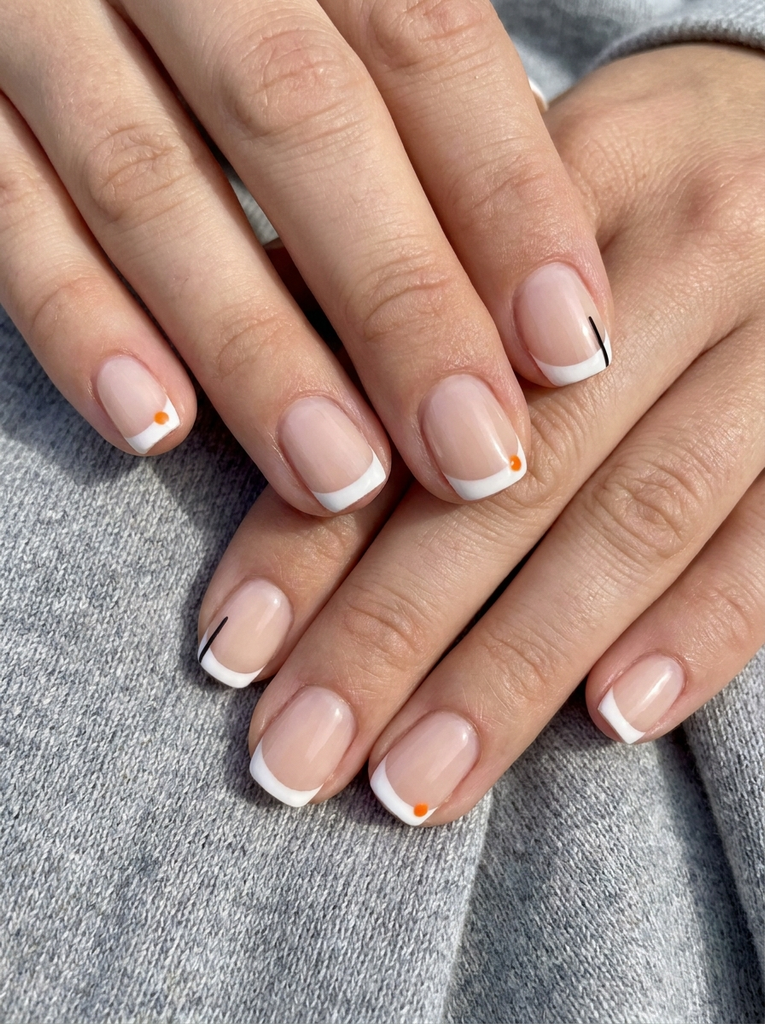
This idea embraces minimalism with a tiny Halloween twist. Keep the tip a classic clean white or pale nude, but add a single black line or a tiny orange dot near the corner of each nail. It reads as sophisticated while still nodding to Halloween, and it’s particularly flattering on short nails where less is more.
Colors and placement: minimal accents on the tip, either a thin line or a dot. Practical tip: consistency across nails matters more than complexity for this look to stay chic.
FAQs
How do I choose the right base for halloween nails french tip designs?
Choose a nude or sheer base to preserve the classic French shape. This lets the color at the tip and the Halloween motifs stand out while keeping the manicure versatile for everyday wear.
What colors are best for halloween nails french tip designs?
Black, orange, and white are the classics, but you can also use neon greens, purples, and deep purples for a modern twist. The key is keeping high contrast at the tip for readability.
Can these designs be done on short nails?
Absolutely. Short nails benefit from simplified motifs and a smaller tip area. Focus on a single motif or a tiny silhouette along the tip to maintain legibility and balance.
How long do halloween nails french tip designs last?
With proper prep and topcoat, expect 1–2 weeks of wear depending on your adhesive method and daily activities. A durable top coat and a strong base coat will extend wear, especially for intricate designs on longer nails.
Are these designs easy to recreate at home?
Yes, especially with practice brushes, dotting tools, and striping tape. Start with simple motifs and gradually add details as your technique improves. Patience and a steady hand go a long way.
Conclusion
By combining the timeless elegance of a French tip with bold Halloween motifs, you can achieve nails that are festive, stylish, and versatile. The 20 ideas above cover a range of colors, finishes, and levels of detail, ensuring there is something for every nail length and skill level. Start with a single statement nail or adopt a full set for a cohesive Halloween manicure that truly speaks to your personal style, all anchored by the halloween nails french tip concept.