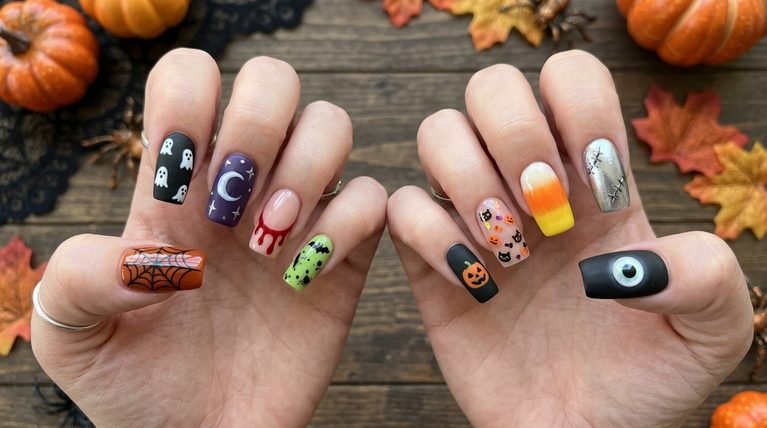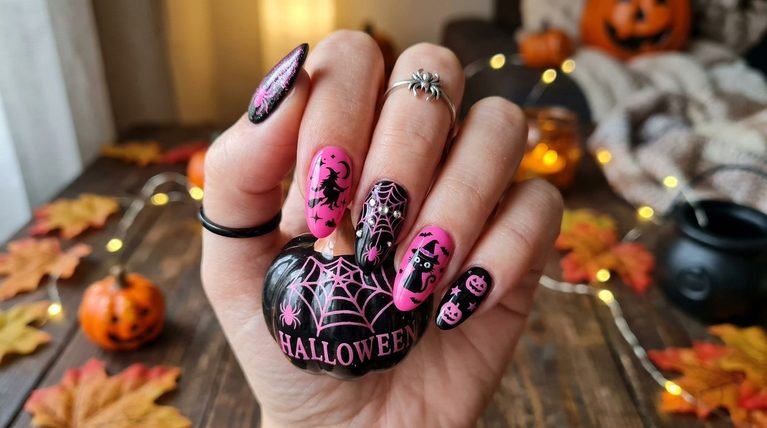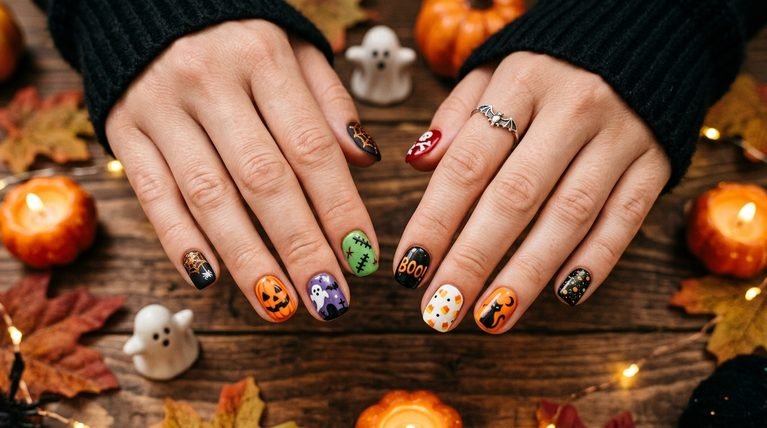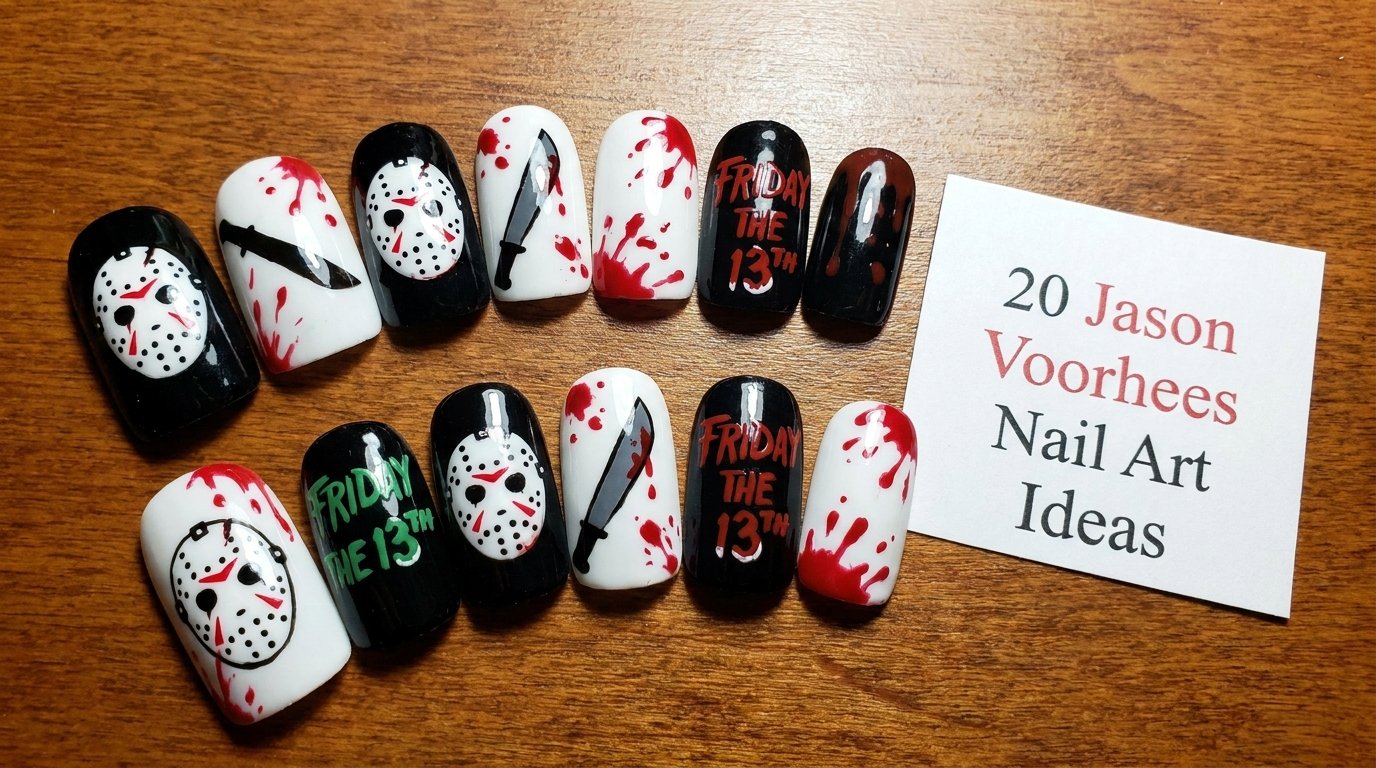
Halloween Nails Jason Mask: 20 Jason Voorhees Nail Art Ideas
Looking for halloween nails jason mask ideas that feel brand new rather than повторяя the same spooky motifs? This guide brings 20 distinct Jason Voorhees-inspired nail designs. Each idea is paired with practical tips, suitable nail shapes and lengths, and finish choices to help you recreate the look at home or in a salon.
1. Jason Mask Silhouette French Tips
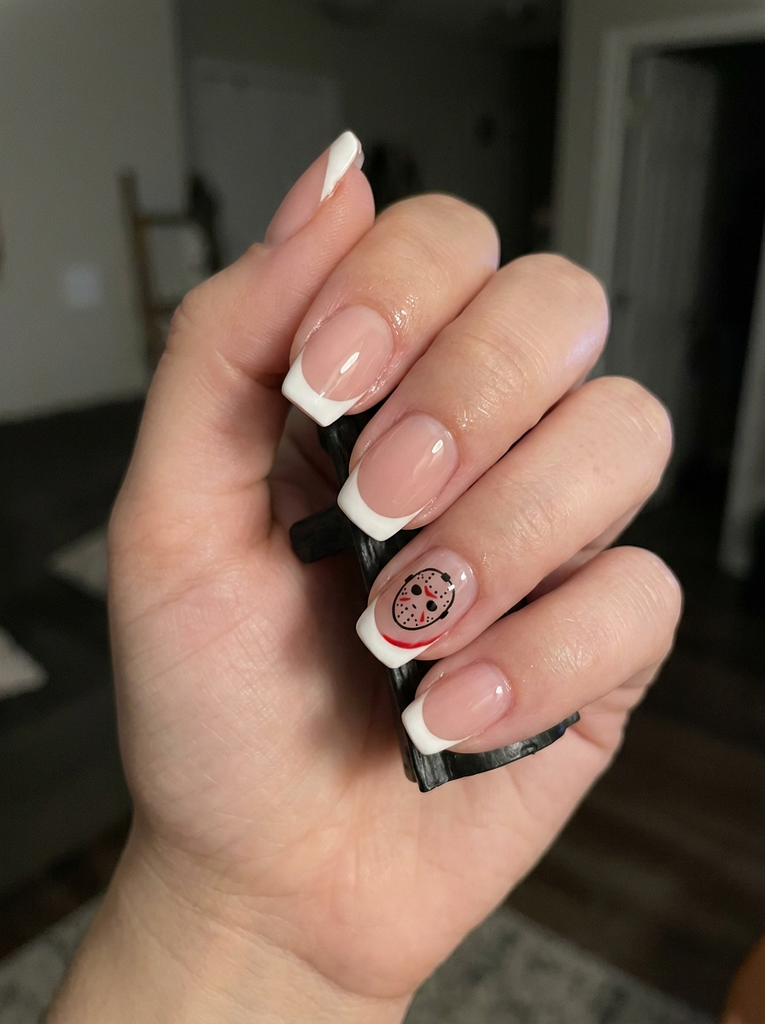
Begin with a sheer pink nude base to keep the look wearable. Create crisp white French tips on all nails, then add a tiny black Jason mask silhouette on the accent nail with a fine liner brush. Finish with a subtle red accent line under the mask for a hint of gore without going overboard, and seal with a glossy top coat to preserve the design.
- Best for: Nail enthusiasts who want a graphic yet elegant Halloween look.
- Difficulty: Medium; requires steady hand for clean silhouette lines.
- Best occasion: Halloween parties, cosplay events, night out after dark.
- Tip: Practice the mask outline on a nail wheel first to avoid symmetry issues.
2. Voorhees Blood Splatter Gradient
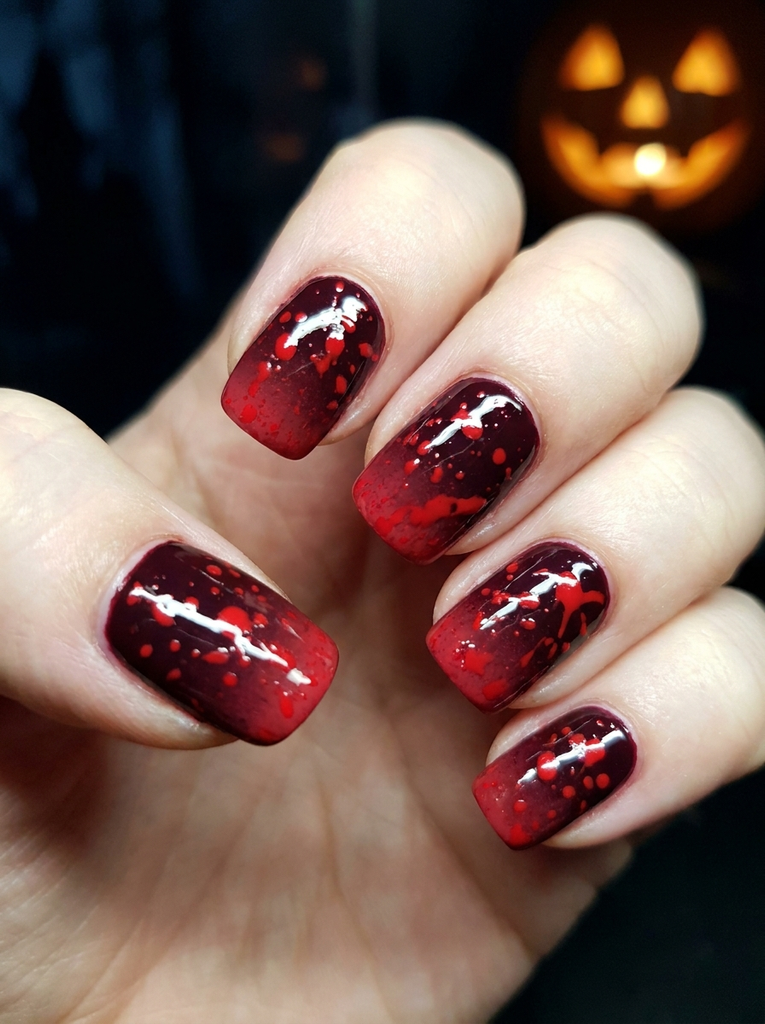
Choose a dark base—black or deep burgundy—to let the red pop. Build a gradient from the cuticle with a lighter red blending toward the tip. Flick on random red splatters using a stiff brush or old toothbrush for a chaotic, cinematic effect. A high-gloss top coat will keep the splatters sharp and vivid.
- Best for: Short to medium nails that can host bold art without crowding the surface.
- Difficulty: Medium; control over splatter placement matters.
- Best occasion: Horror movie marathons, Halloween nights, photoshoots.
- Tip: Practice on paper towels or a nail wheel to perfect the splatter pattern.
3. Hockey Mask Nails
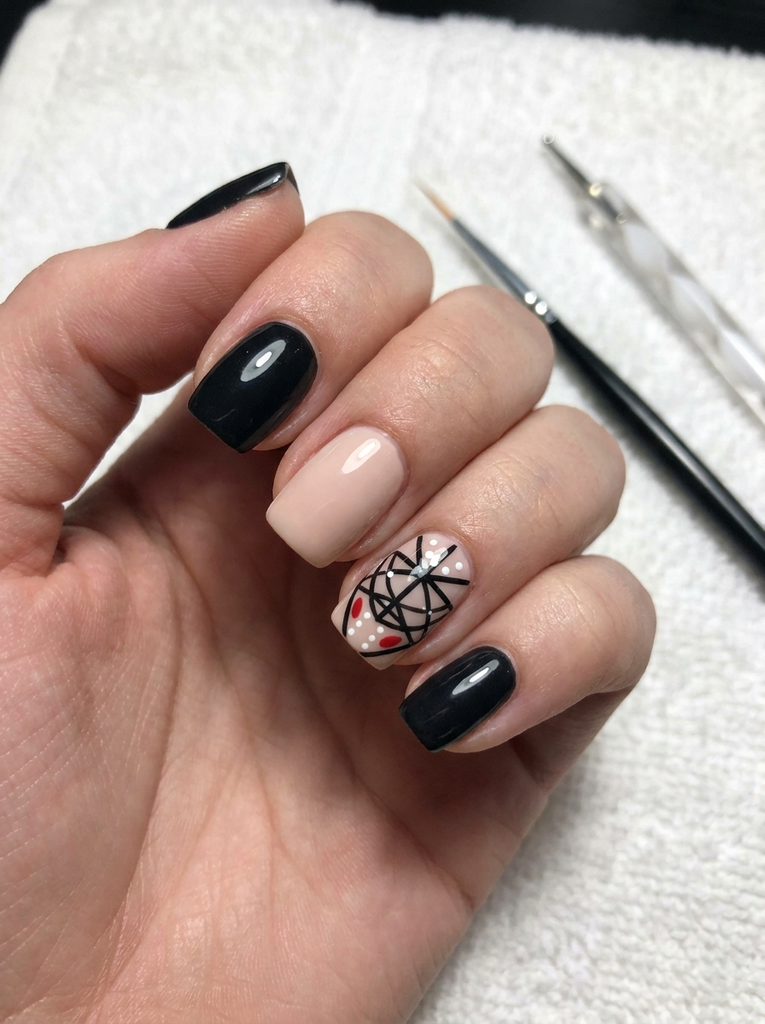
Opt for white or pale base nails and paint black lines to mimic the iconic hockey mask across two nails. Use small white dots to suggest air holes and a red accent around the mouth area for a pop of color. Keep the lines thin and precise; curing between layers helps prevent smudges.
- Best for: Clean-lined nail art lovers and fans of sharp geometry.
- Difficulty: Medium; careful freehand line work required.
- Best occasion: Halloween parties, gaming events, conventions.
- Tip: Use a striping brush for the mask lines and a dotter for the holes.
4. Checkered Jason Voorhees Nails
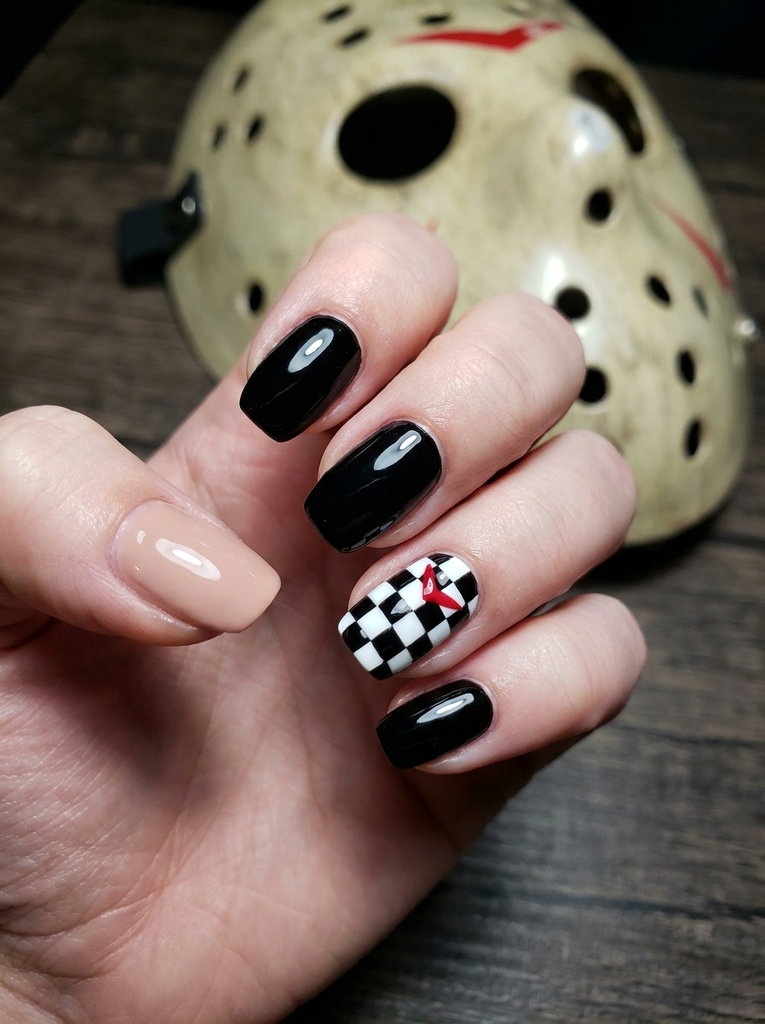
Create a black and white checkerboard on one or two nails for a nod to the mask’s grid. Alternate black and white squares with clean, even spacing. Maintain a high-gloss finish to keep the contrast crisp, and leave the rest of the nails solid black or nude to avoid visual overload.
- Best for: Geometric design lovers who want something graphic yet restrained.
- Difficulty: Medium; achieving even checks takes patience.
- Best occasion: Parties, photoshoots, casual cosplay events.
- Tip: Use a vinyl checkerboard nail wrap as a guide for speed and accuracy.
5. Red Black Stripes with Mask Accent
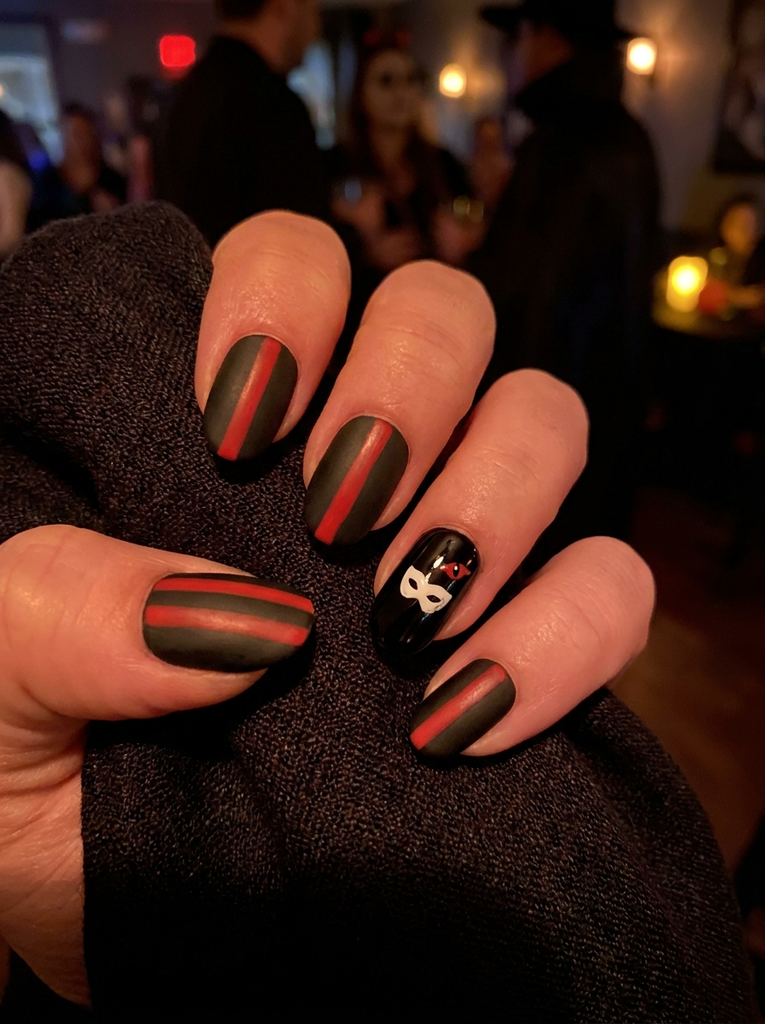
Paint a base of black on most nails with vertical red stripes or half-mrench stripes for a dramatic silhouette. Choose one nail as a canvas for a tiny white mask outline or small red-accented eye motif. A matte top coat on the striped nails creates a modern, moody vibe.
- Best for: Fans of bold, graphic contrast.
- Difficulty: Easy to Medium depending on stripe precision.
- Best occasion: Halloween parties, club nights, themed events.
- Tip: Use striping tape to keep stripes straight.
6. Jason Mask Face Art on an Accent Nail
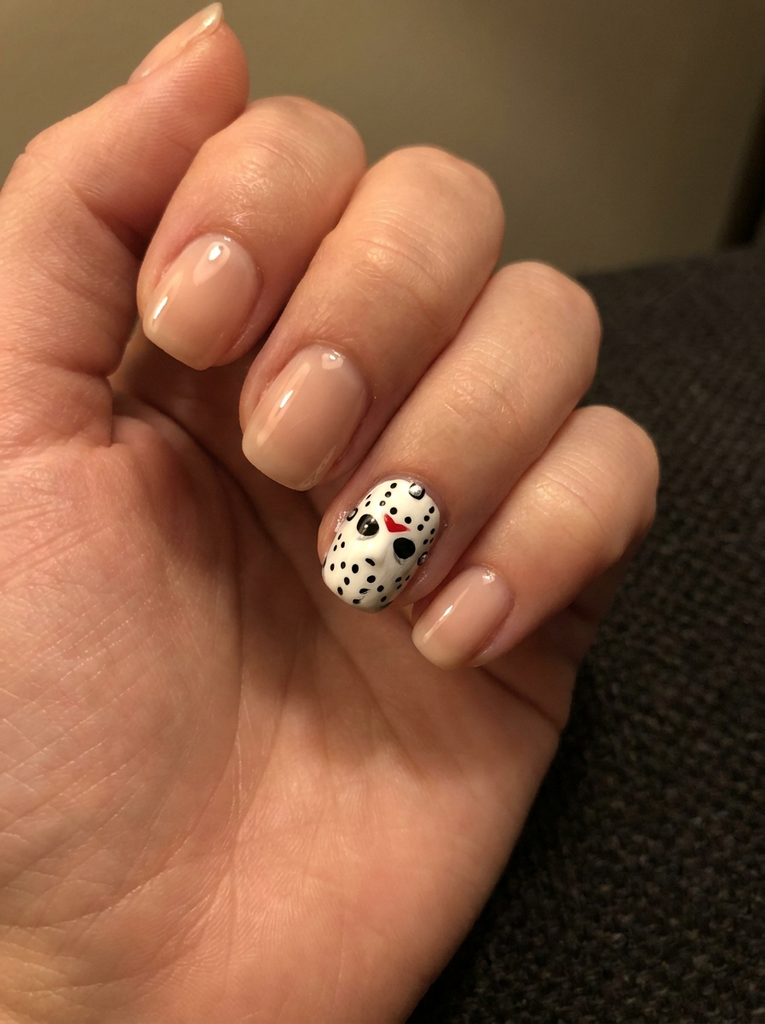
Keep the rest of the nails simple with a sheer base or a solid black. On the accent nail, paint a concise Jason mask face using white and black lines, with a tiny red dot for a bleeding effect. Consider a tiny dot of metallic silver for the mask screws to add a subtle shine.
- Best for: Accent-nail lovers who want a focal point without overwhelming the hand.
- Difficulty: Medium; precision lines are key for readability.
- Best occasion: Parties, social media photo days, cosplay shoots.
- Tip: Cure in thin layers to prevent flooding in the lines.
7. Blood Drip Ombre Nails
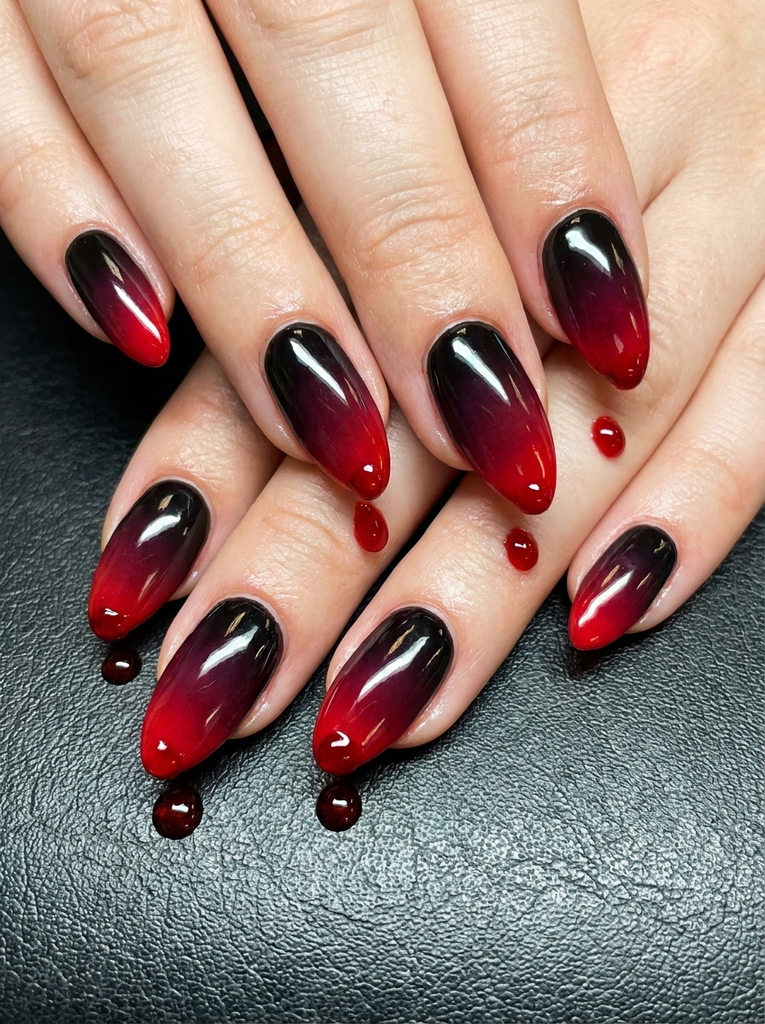
Work from a black or deep burgundy base up into a bright red tip with a waterfall ombre. Add fine red droplets at the tip or running down the free edge for a dripping effect. A glossy finish helps the drips look fresh and wet rather than flat.
- Best for: Those who love gradient effects with a horror twist.
- Difficulty: Medium; gradient blending requires steady control.
- Best occasion: Halloween parties, photo sessions, theme nights.
- Tip: Dabbing reduces brush streaks on the gradient; seal with top coat.
8. Glitter Mask Outline
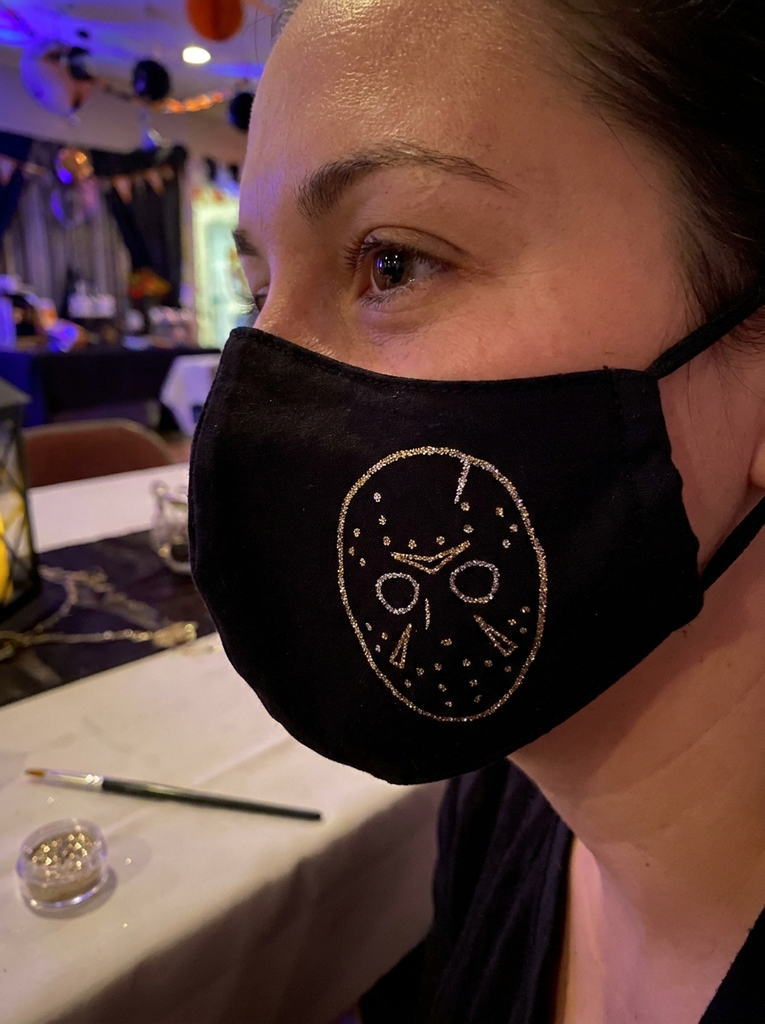
Use a black base and outline a simplified hockey mask silhouette with fine glitter liner or metallic polish. The glitter adds texture without overpowering the mask shape. Keep the glitter confined to the outline to preserve legibility and avoid a bulky look.
- Best for: Festive, glam Halloween looks with a horror edge.
- Difficulty: Easy; mainly adherence to a clean outline.
- Best occasion: Costume parties, New Year’s events with a horror theme.
- Tip: A thin brush helps maintain a delicate glitter line.
9. UV Glow Jason Mask Nails
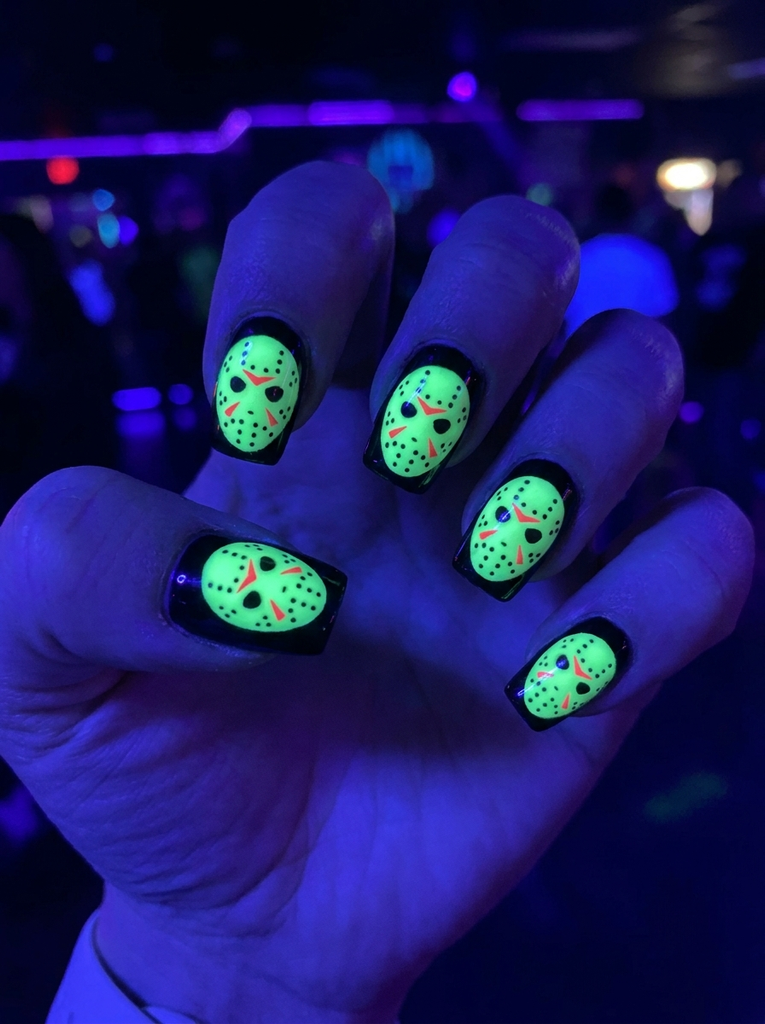
Paint a dark base and add a Jason mask motif that glows under UV light. Use neon green or electric blue for the glow elements to contrast with black. Apply a clear glow-ready top coat for even brightness when under club lighting or UV photography.
- Best for: Nightlife events and Halloween parties with black-light vibes.
- Difficulty: Medium; requires a glow-safe pigment or gel polish.
- Best occasion: Dance floors, haunted houses, dark-photo sessions.
- Tip: Test under UV light before the event to confirm brightness.
10. Jason Nail Charms and Tiny Details
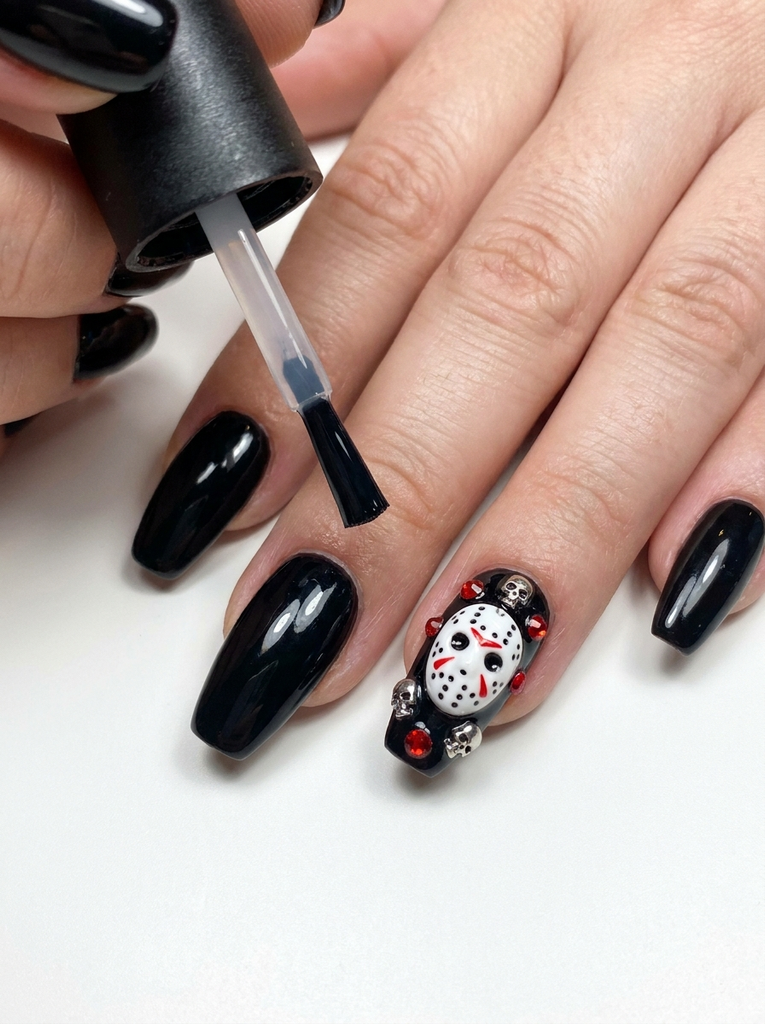
Adorn one or two nails with tiny hockey mask charms, red rhinestones, or skull-themed studs. Keep the other nails sleek with a solid color that matches the charms. Secure charms with a strong top coat to prevent snagging and ensure longevity.
- Best for: Nail art lovers who like 3D accents on a few nails.
- Difficulty: Easy to Medium; securing charms is the main challenge.
- Best occasion: Costume parties, photo booths, or social events.
- Tip: Use a medium-viscosity top coat to lock in small pieces.
11. Marble Swirl with Mask Accent
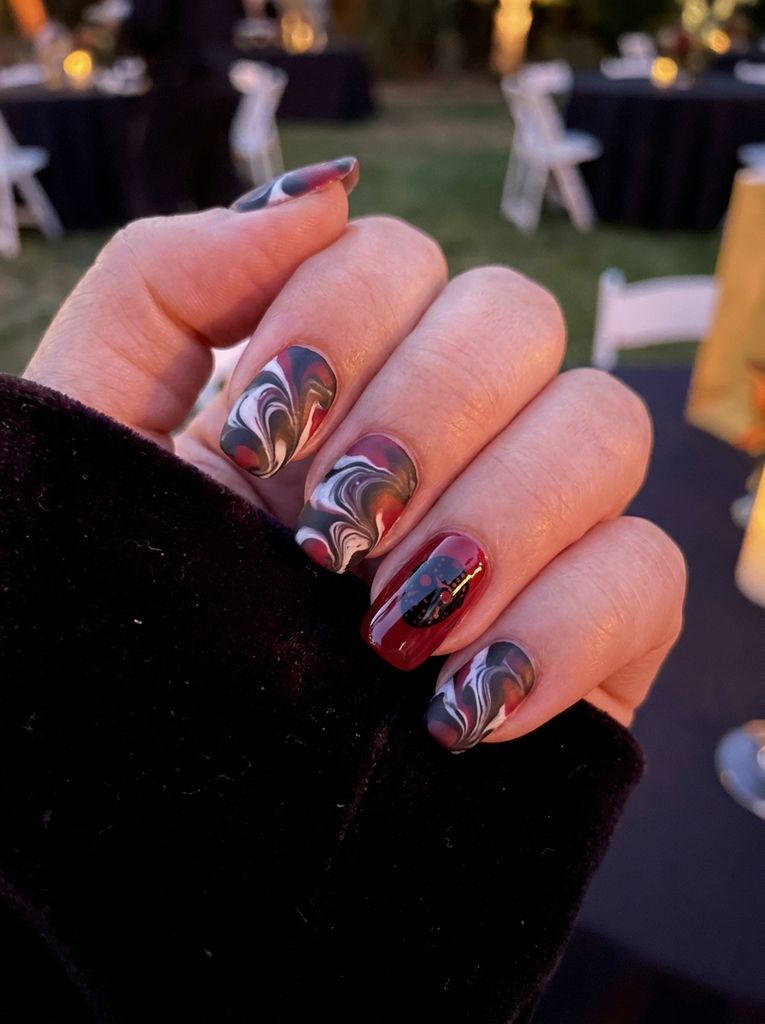
Swirl black, white, and a hint of red to create a marble look on the base nails. Feature a small mask silhouette on the ring finger as your focal point. Keep the rest of nails slightly matte to contrast the glossy marble swirls.
- Best for: Lovers of classic nail art with a horror twist.
- Difficulty: Medium; marble technique requires blending skill.
- Best occasion: Halloween dinners, gallery nights, cosplay events.
- Tip: Layer thin coats to prevent muddy marble results.
12. Plaid Shield Mask Nails
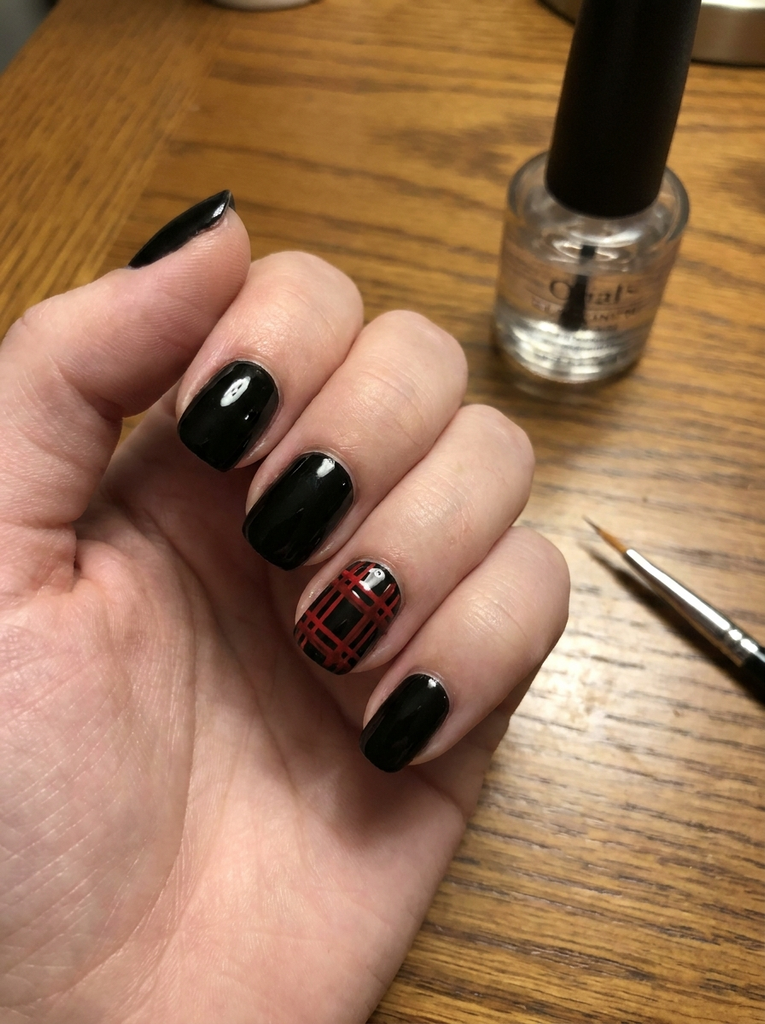
Paint a black base and overlay a red plaid shield pattern on the accent nail to evoke a guard motif from the mask. The plaid can be subtle or bold depending on your preference. Finish with a clear top coat to protect the plaid lines and keep color crisp.
- Best for: Fans of plaid textures and mixed-media nail art.
- Difficulty: Medium; precise lines and crossings needed.
- Best occasion: Daytime events with a Halloween twist, casual gatherings.
- Tip: Use a fine nail art brush for the plaid intersections.
13. 3D Mask Accents
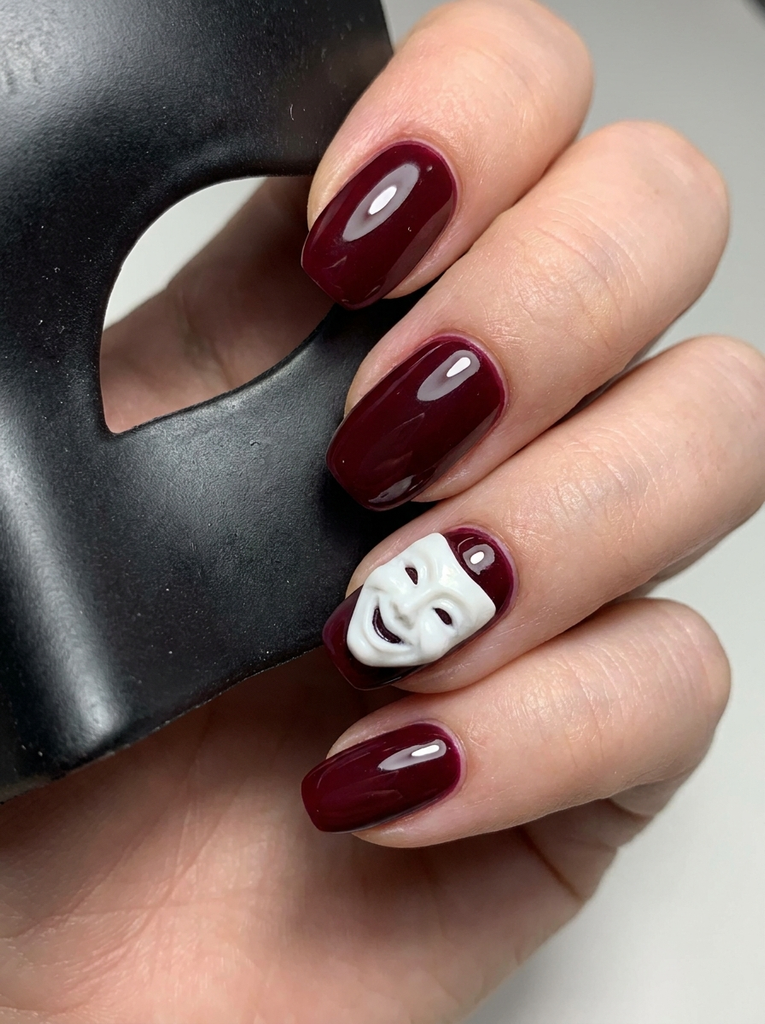
Bring the mask to life with tiny 3D resin or acrylic mask pieces applied on an accent nail. Keep the other nails solid to balance the protruding detail. Match the base with a dark red or black to highlight the 3D element and maintain cohesion.
- Best for: Textural nail art lovers seeking tactile drama.
- Difficulty: High; working with 3D pieces requires careful placement.
- Best occasion: Themed photo shoots, cosplay events, parties with bold styles.
- Tip: Use a gel adhesive and cap with a hard top coat for longevity.
14. Black Marble with Red Veins
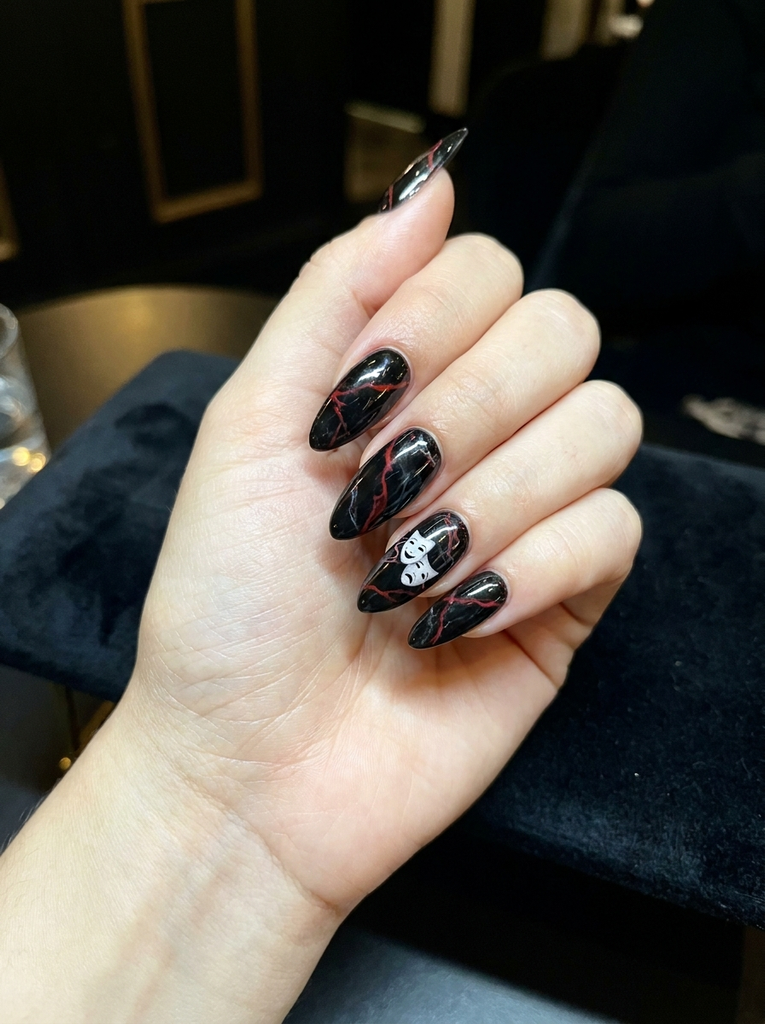
Create a black marble base with dramatic red veins running through the surface. Keep the veins thin to preserve the mask-inspired vibe. Add a small white mask detail on the ring finger to tie back to the theme without overpowering the marble.
- Best for: Sophisticated Halloween looks with a horror twist.
- Difficulty: Medium; marble structuring requires careful dragging and blending.
- Best occasion: Evening events, haunted galas, upscale Halloween parties.
- Tip: Clean the brush regularly to maintain vein clarity.
15. Mask Outline with Red Tips
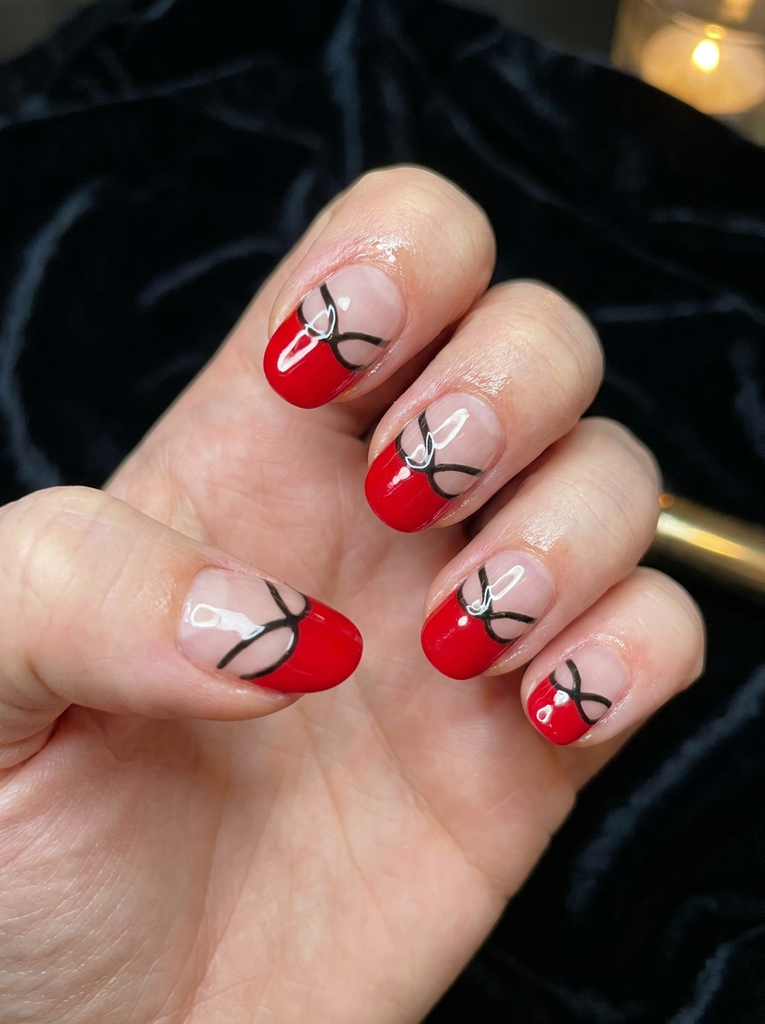
Paint a bold red tip on each nail and outline a small mask shape along the free edge with black. The negative-space effect makes the mask pop against the red tips. Finish with a high-gloss top coat to emphasize the crisp linework.
- Best for: Dramatic, high-contrast nail art fans.
- Difficulty: Easy to Medium; clean outline is key.
- Best occasion: Halloween nights out, masquerade-themed events.
- Tip: Use tape guides to keep the red tips and mask outline precise.
16. Skull Mask Fusion
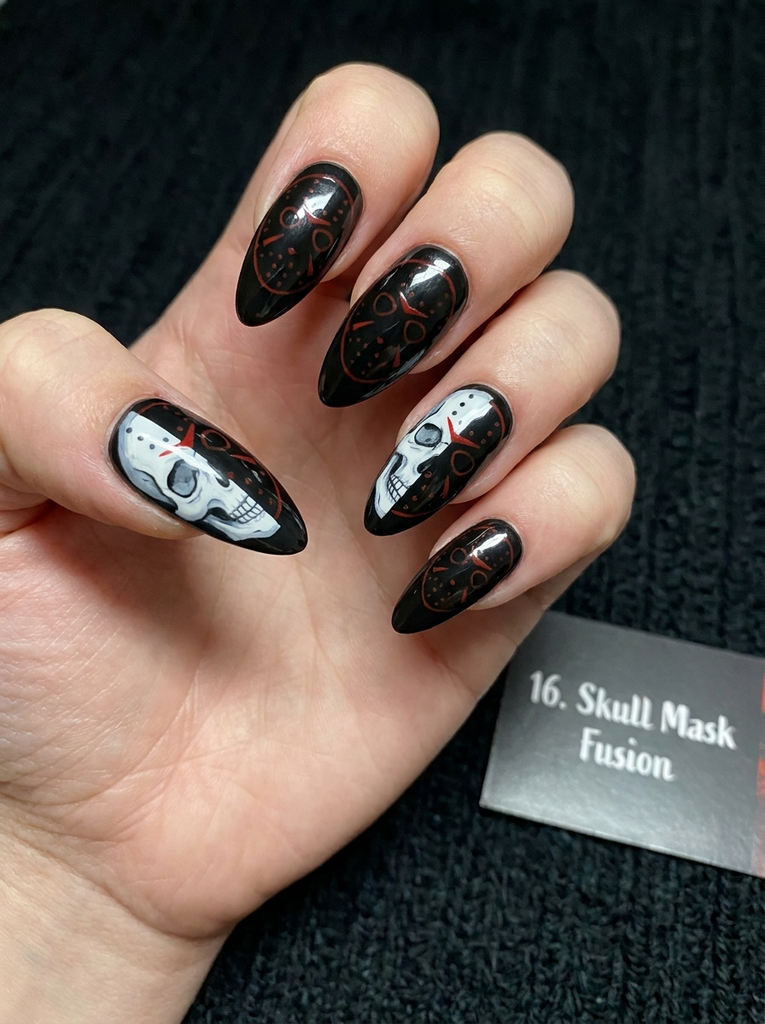
Blend a skull motif with a Jason mask silhouette on a couple of nails for a macabre fusion. Use white and light gray for the skull features, then overlay a dark mask motif on the other nails. Keep the palette limited to black, white, and red for cohesion.
- Best for: Fans of horror crossovers and layered storytelling in nail art.
- Difficulty: Medium; balancing two distinct motifs.
- Best occasion: Themed conventions, Halloween parties, photo shoots.
- Tip: Sketch the mask and skull lightly in pencil before painting.
17. Checkerboard Jason Nails
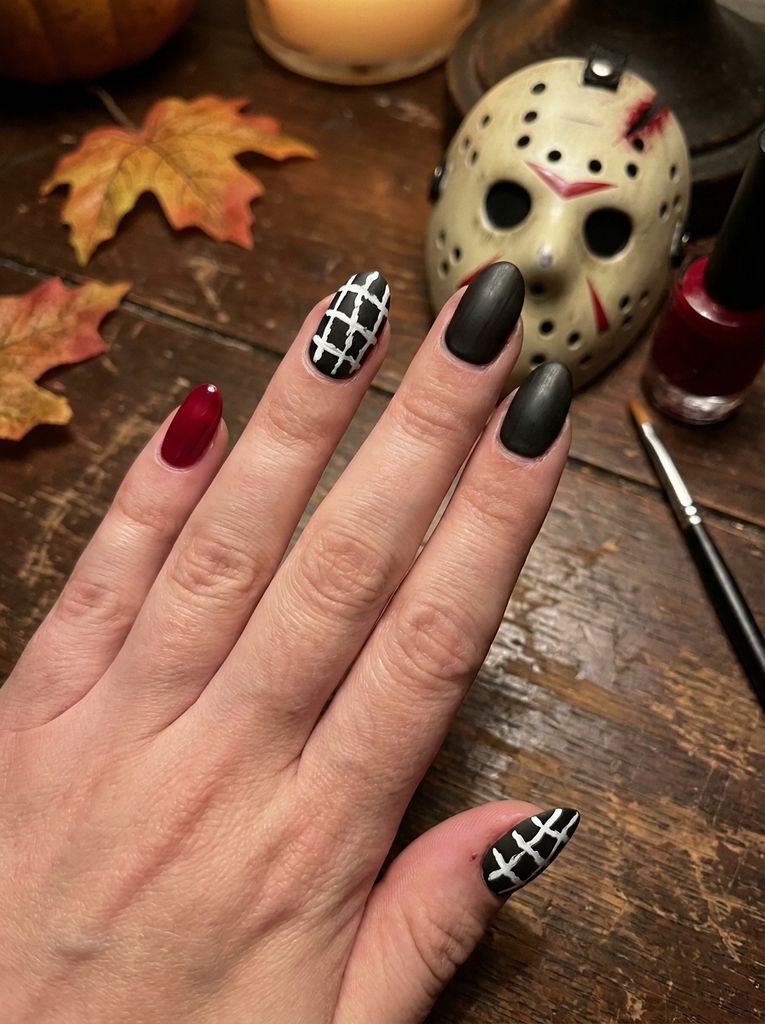
Revisit the checkerboard idea with a stronger Jason reference by using a jagged white grid over a black base. Limit the checkerboard to the ring finger or thumb to avoid overwhelming the hand. A single red accent nail ties the look to the horror theme and keeps it wearable.
- Best for: Fans of repeat patterns with a horror twist.
- Difficulty: Medium; grid accuracy matters for the effect.
- Best occasion: Halloween parties, cosplay days, fashion-forward events.
- Tip: Use a steady hand and a thin brush for the grid lines.
18. Tattoo-Style Jason Lines
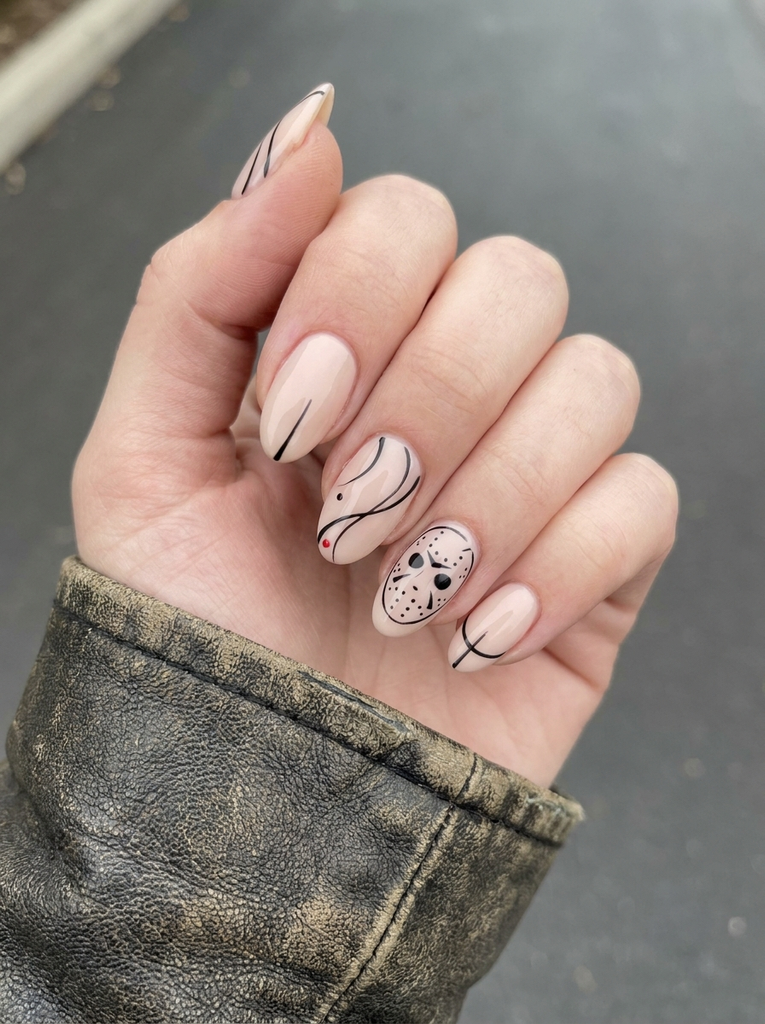
Channel a tattoo-inspired look with clean, fluid line work forming a Jason mask motif along the nail bed. Pair with a neutral base to let the lines breathe. A tiny red dot at the edge of the line adds a subtle blood reference without clutter.
- Best for: Minimalist horror lovers who still want a theme.
- Difficulty: Medium; line consistency is essential.
- Best occasion: Day-to-night events, casual gatherings with a Halloween vibe.
- Tip: Use a liner brush and steady breathing for smooth curves.
19. Distressed Jason Nails
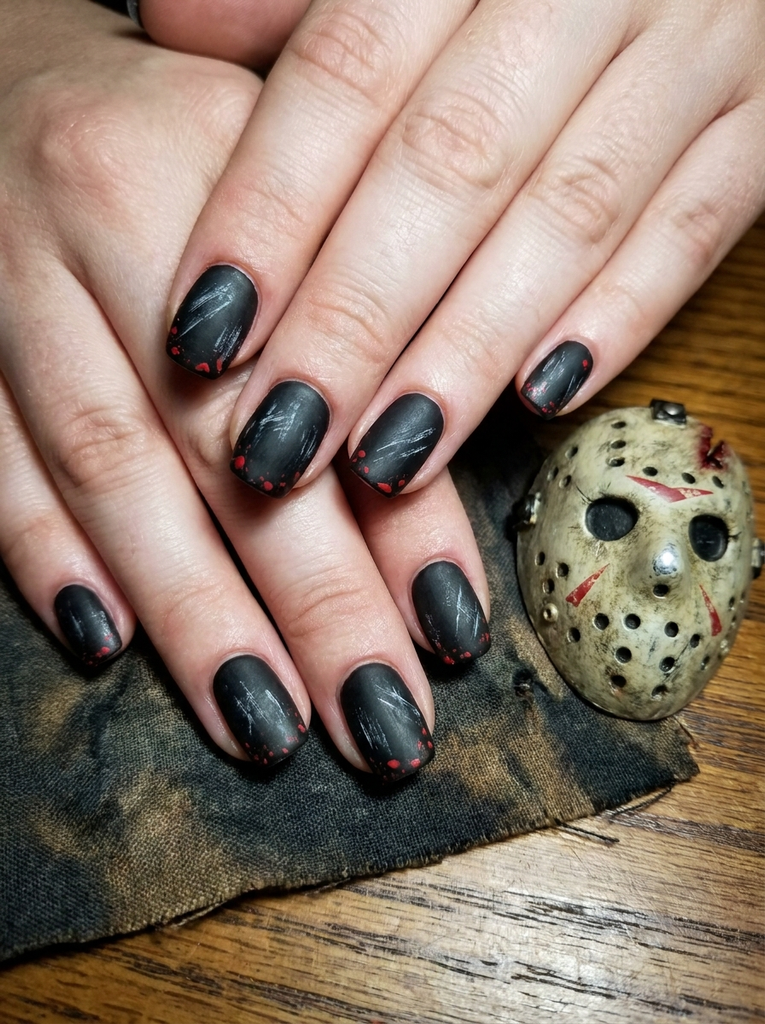
Apply a matte black base with light distressing to mimic weathered horror textures. Add small red chips or specks to suggest wear and tear. A matte top coat gives a vintage, gritty vibe that fits a killer-for-harvest aesthetic.
- Best for: Edgy styles that favor texture over gloss.
- Difficulty: Easy to Medium; distressing should look intentional, not sloppy.
- Best occasion: Gritty Halloween events, alternative fashion nights.
- Tip: Use a small sponge to dab color for controlled distressing.
20. Matte Black with Red Accents
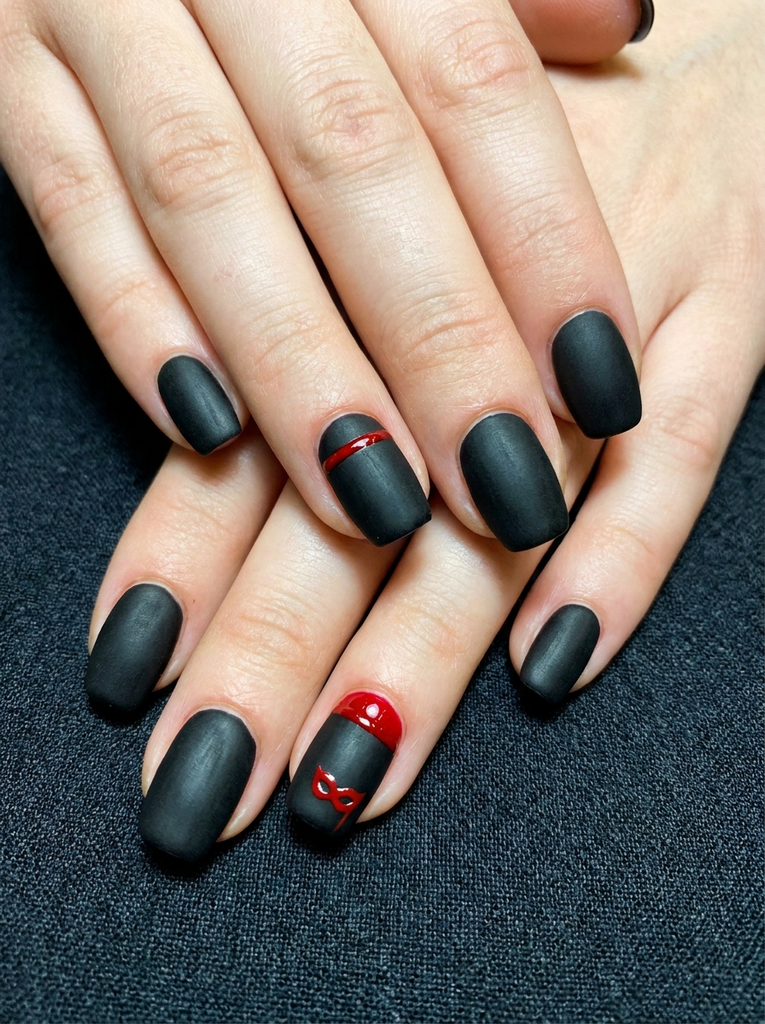
Keep most nails matte black for a sleek, ominous base. Add tiny red accents—like a single red line near the cuticle or a tiny mask on two nails—for a restrained, high-fashion horror look. A glossy top coat on the accent nails can create a subtle contrast against the matte base.
- Best for: Subtle, modern takes on horror themes.
- Difficulty: Easy; quick to replicate with a steady hand.
- Best occasion: Day-to-night events, office-appropriate Halloween offices, casual nights out.
- Tip: Use a dedicated matte top coat for the base color to maintain depth.
FAQs
What makes Halloween nails Jason mask designs unique?
They combine horror iconography with nail art techniques like negative space, line work, and small details. Each design uses color and pattern to echo the mask while staying practical for wear. The result is a collection of looks that range from graphic to tactile.
What colors work best for a Jason mask look?
Black, white, and red are the core trio, with nude bases and occasional accents for balance. Dark burgundy and deep charcoal can substitute for black when you want a softer silhouette. The key is contrast between light and dark elements to keep the mask readable.
Do these designs require special tools?
Fine liner brushes, striping tapes, dotting tools, and a steady hand are helpful. A small nail art brush for the mask lines and a toothpick or micro brush for tiny details can make a big difference. A good top coat helps protect delicate lines and any 3D elements.
Can I do these on natural nails?
Yes. Simpler versions translate well to natural nails, especially the negative-space hockey mask, simple silhouette tips, or small accent masks on a single nail. If your nails are short, focus on clean lines and compact motifs to maintain legibility.
How long do these designs last?
Like any nail art, wear time depends on base and top coats, nail health, and activity. A protective top coat and careful handling can help your Jason mask looks stay sharp for a week or more with proper maintenance.
Conclusion
The halloween nails jason mask theme offers 20 distinct directions, from graphic silhouettes to textured, 3D accents. Whether you prefer bold contrasts or subtler nods to Jason Voorhees, there is a design that fits your style and event. Pick a final idea based on your nail length, preferred finish, and how much time you want to spend on application.
If you’re ready to try one of these looks, save this guide for later and start with your favorite concept today. The Jason mask aesthetic can be playful or seriously moody, depending on your color choices and techniques.