Halloween Nails for Kids: 20 Cute Designs for Little Hands
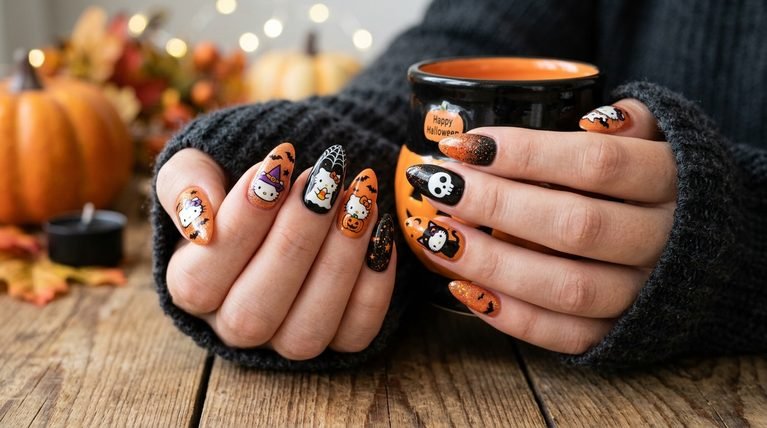
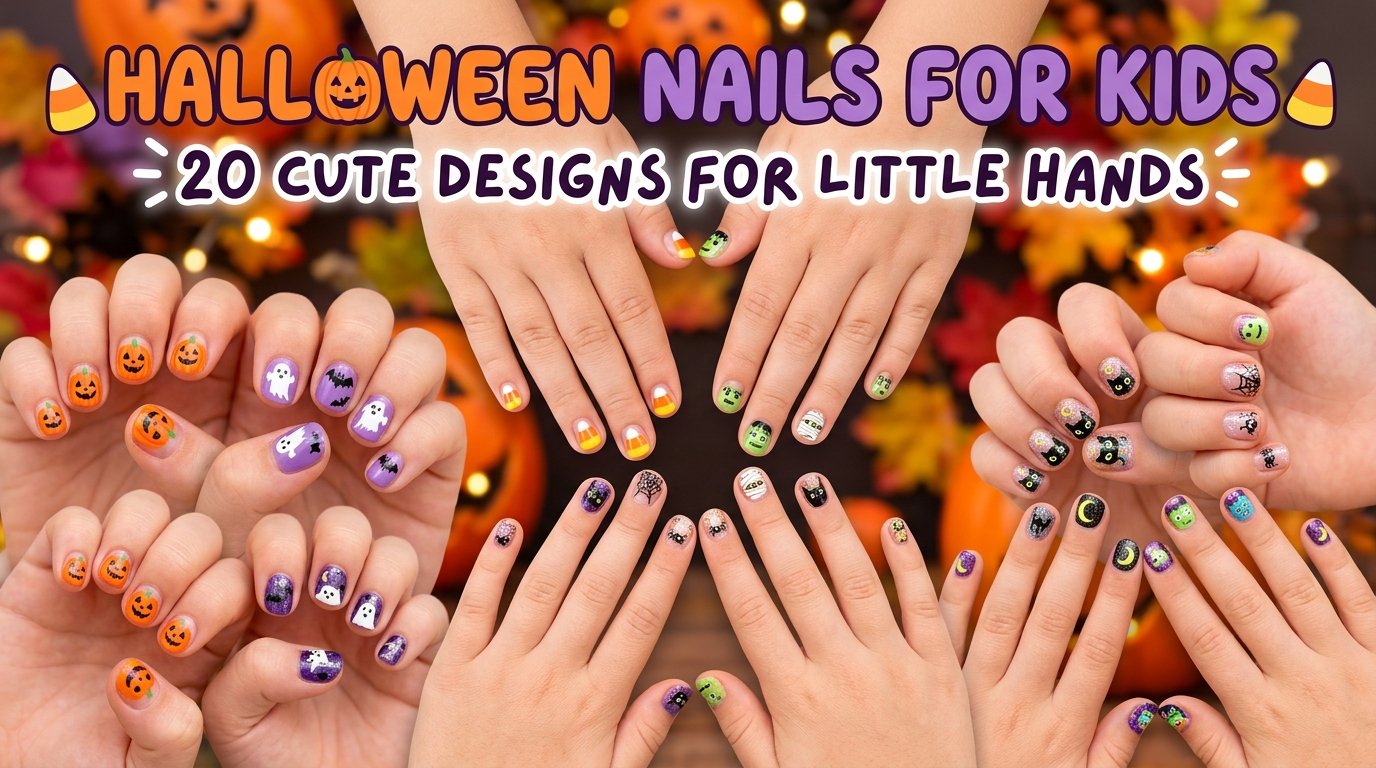
Halloween nail art doesn’t have to be scary to be fun. These Halloween nails for kids feature cute pumpkins, friendly ghosts, bats, candy-inspired colors, stars, and other playful designs that work beautifully on short little nails. Most ideas are simple enough to recreate at home with basic nail-art tools and a little patience.
Whether you’re getting ready for a Halloween party, school event, family photos, or trick-or-treating, these 20 kid-friendly Halloween nail designs offer plenty of cute inspiration.
1. Tiny Pumpkin Tips on Nails
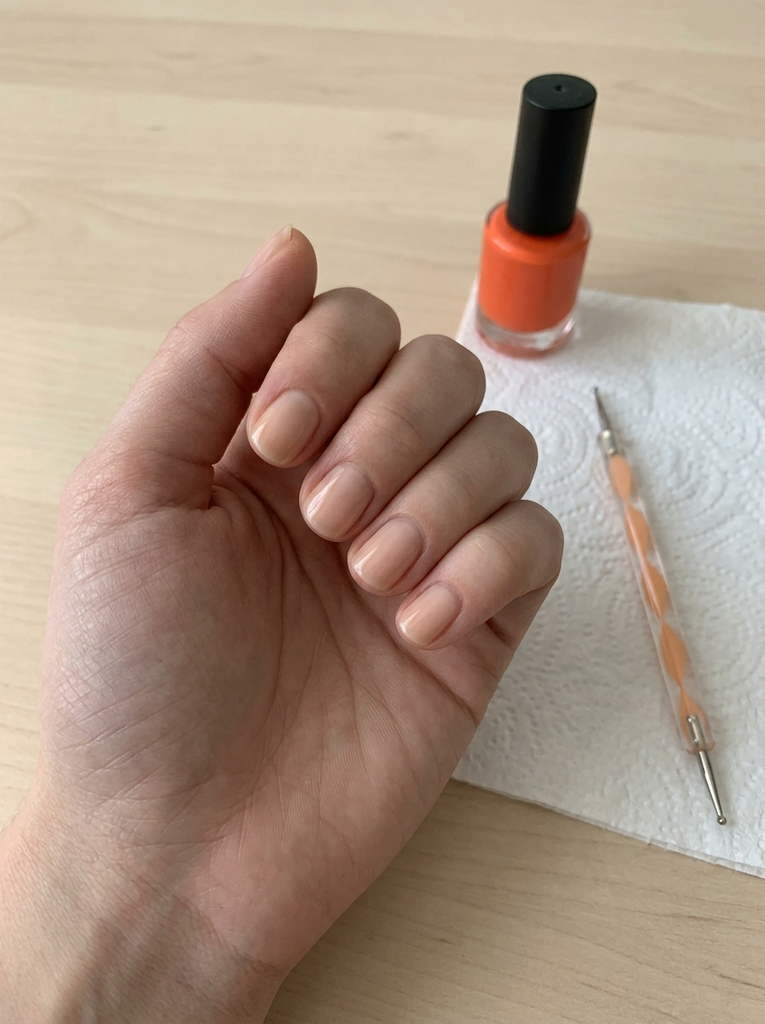
Tiny pumpkin tips are an adorable way to give little nails a festive Halloween look without covering the entire nail with a complicated design.
Start with a light or neutral base coat. Add small orange pumpkins near the tips and finish them with tiny green stems. You can place one pumpkin on each nail or decorate only two or three accent nails.
- Best for: Fall photos and school events
- Difficulty: Easy
- Best occasion: School parties, fall celebrations, family photos
- Tip: Use a small dotting tool or fine nail-art brush to create tiny pumpkin shapes.
2. Ghostly White Polka Dots
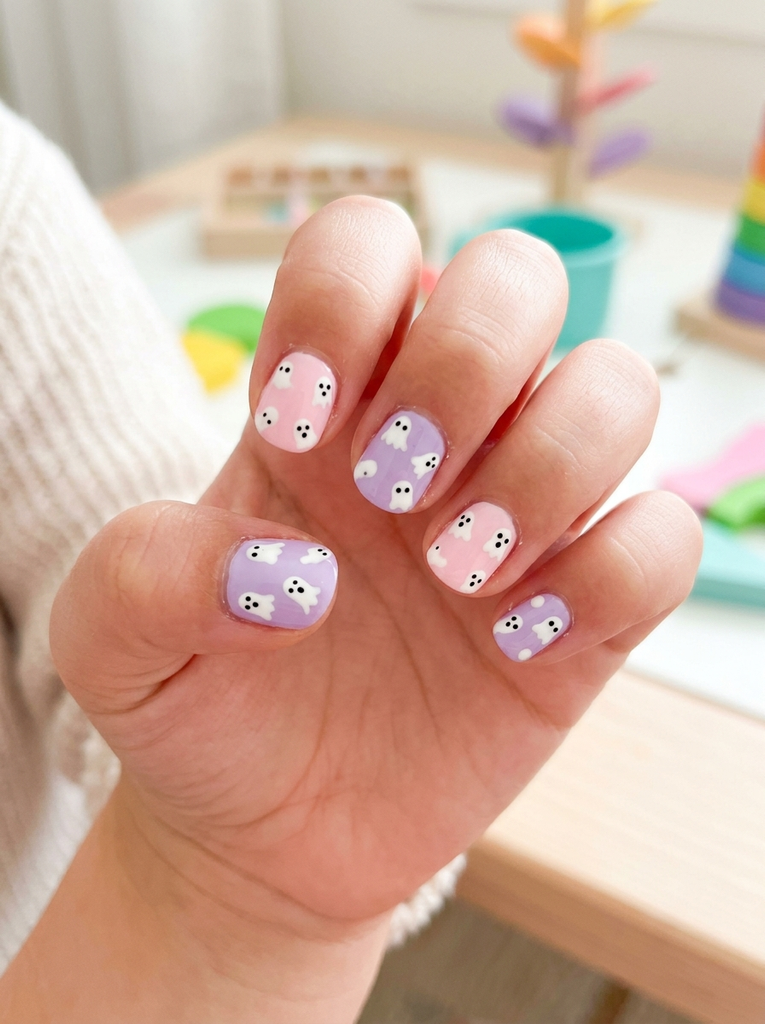
For a simple Halloween manicure, turn ordinary white dots into tiny ghost-inspired accents. This design is especially cute for younger children who may prefer something playful rather than spooky.
Apply a pastel, pink, purple, or black base color and add small white shapes across the nails. A couple of tiny black dots can create simple ghost faces.
- Best for: Subtle Halloween vibes
- Difficulty: Easy
- Best occasion: School days, classroom parties, group photos
- Tip: Keep the ghost shapes rounded and small for a softer, kid-friendly appearance.
3. Candy Corn Trio
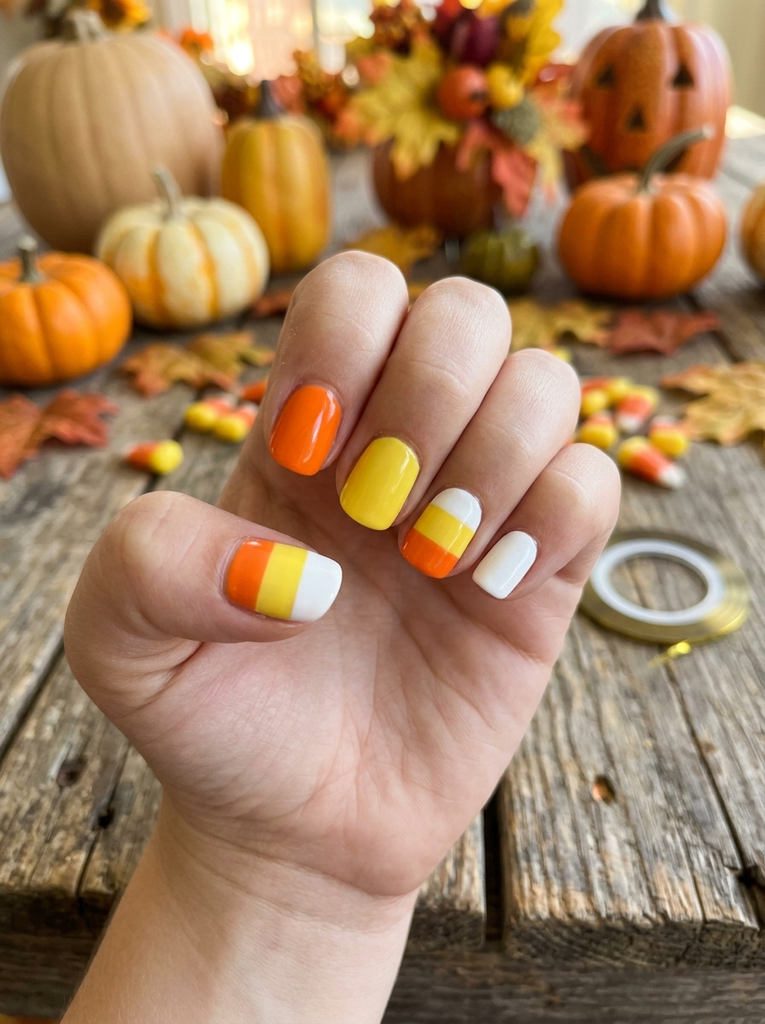
Candy corn colors instantly make a manicure feel like Halloween. This design uses the classic combination of white, yellow, and orange for a bright and cheerful look.
You can paint each nail in a different candy-corn shade or create three small color sections on individual nails. For younger children, using stickers can make the process much easier.
- Best for: Candy-themed Halloween looks
- Difficulty: Medium
- Best occasion: Halloween parties and classroom activities
- Tip: Use thin nail-art tape to separate the colors and create cleaner lines.
When your manicure feels complete, pair it with Hair Color Ideas for Brunettes that create a coordinated beauty look without requiring complicated styling or extra time.
4. Moonlit Night Sky With Stars
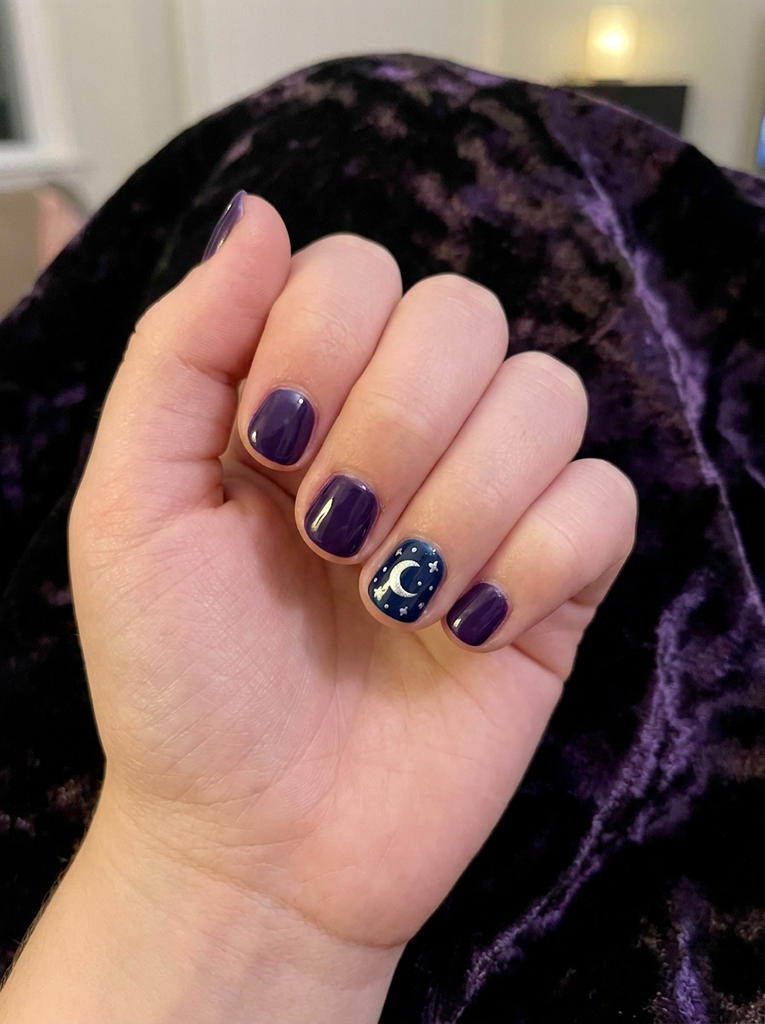
Create a tiny Halloween night scene with a dark blue, purple, or black background decorated with a crescent moon and little stars.
This design can be kept very simple by using a few dots for stars and one small moon on an accent nail. It gives kids a magical Halloween look without relying on scary characters.
- Best for: Magical Halloween themes
- Difficulty: Medium
- Best occasion: Evening events and family gatherings
- Tip: Use a thin brush for the moon and a dotting tool for tiny stars.
5. Cute Bat Silhouette Design
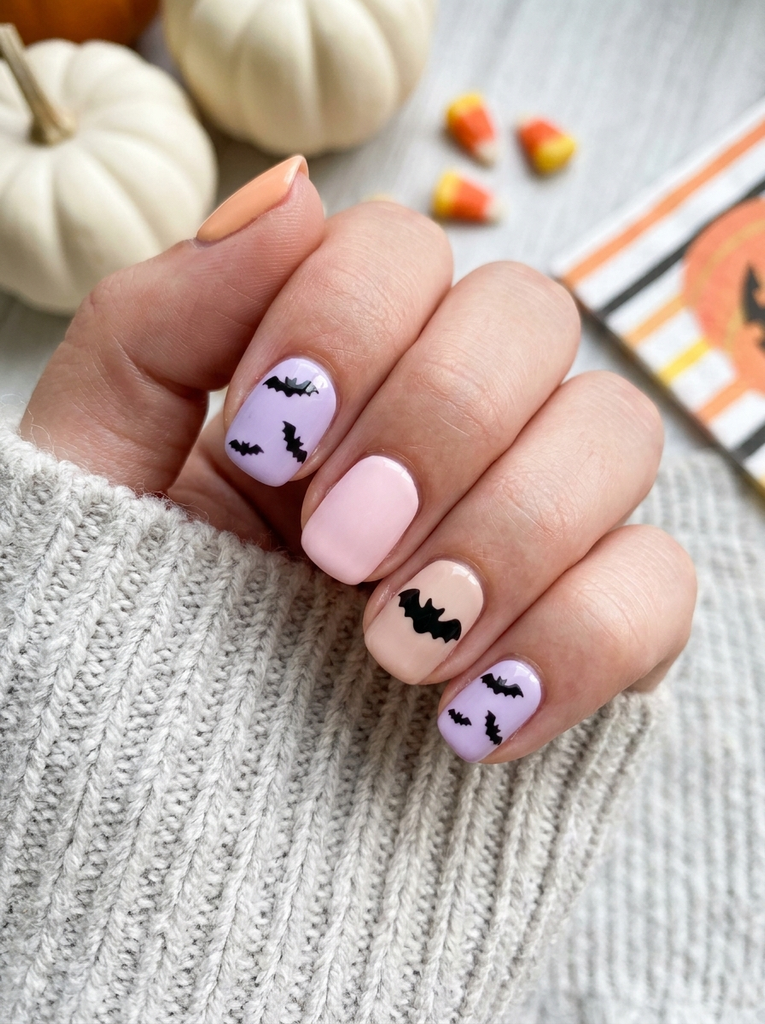
Bats are one of the easiest Halloween shapes to turn into kid-friendly nail art. Instead of detailed bats, use small black silhouettes against a light orange, purple, pink, or nude background.
A single bat on an accent nail can be enough to make the manicure feel festive.
- Best for: Classic Halloween accents
- Difficulty: Easy
- Best occasion: Halloween parties and trick-or-treating
- Tip: Keep the wings rounded and small for a cute rather than scary appearance.
6. Witch Hat Fun on Short Nails
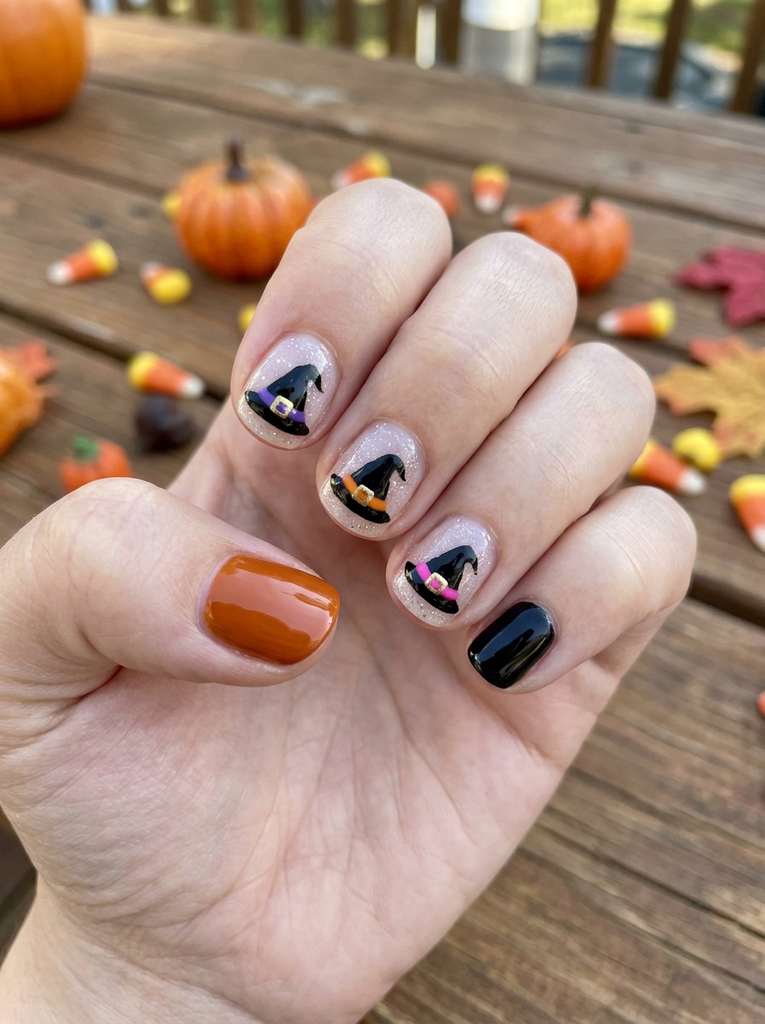
Tiny witch hats are perfect for short Halloween nails. Paint a small black triangle or hat shape and add a purple, orange, or pink band around it.
You can place the hats on accent nails while keeping the other nails a solid Halloween color.
- Best for: Playful Halloween character looks
- Difficulty: Easy
- Best occasion: School events, Halloween parties, and playdates
- Tip: Use a fine brush or nail sticker if drawing a tiny hat feels difficult.
7. Spider Web Gradient
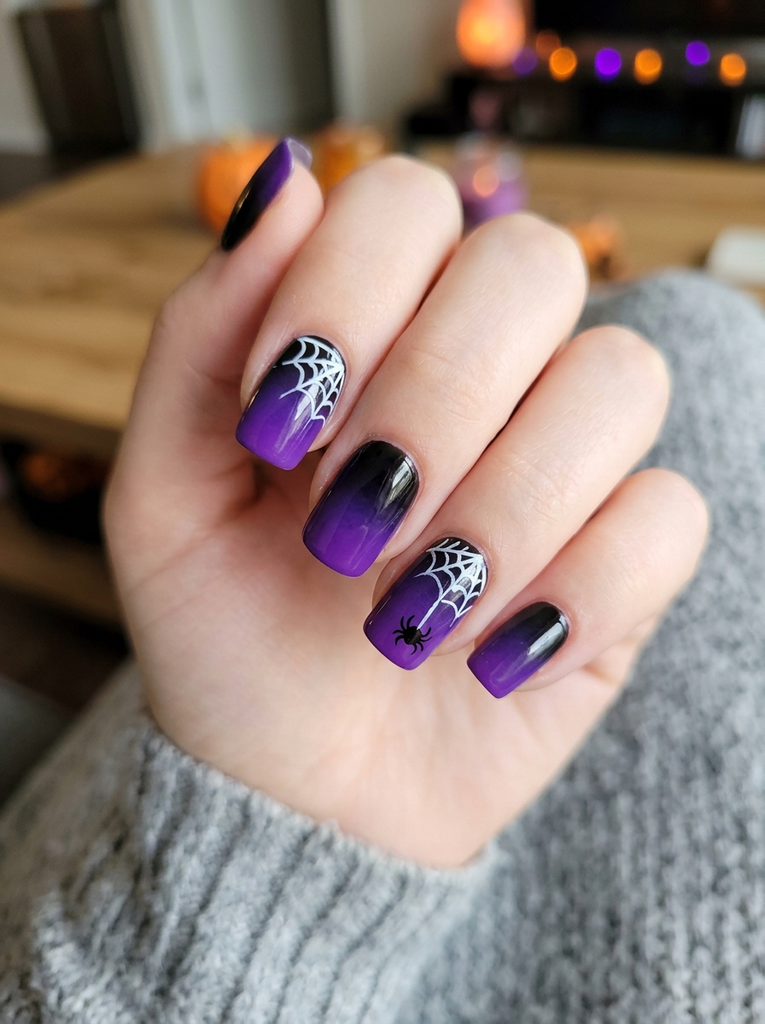
A spider-web design can look spooky while still being cute when paired with soft Halloween colors. Start with a purple-to-black or pink-to-orange gradient, then add a small white spider web.
For younger children, decorate only one or two accent nails instead of creating webs on every nail.
- Best for: Cute spooky effects
- Difficulty: Medium
- Best occasion: Halloween parties and family photos
- Tip: Practice the web pattern on paper before painting it onto the nails.
8. Friendly Monster Faces
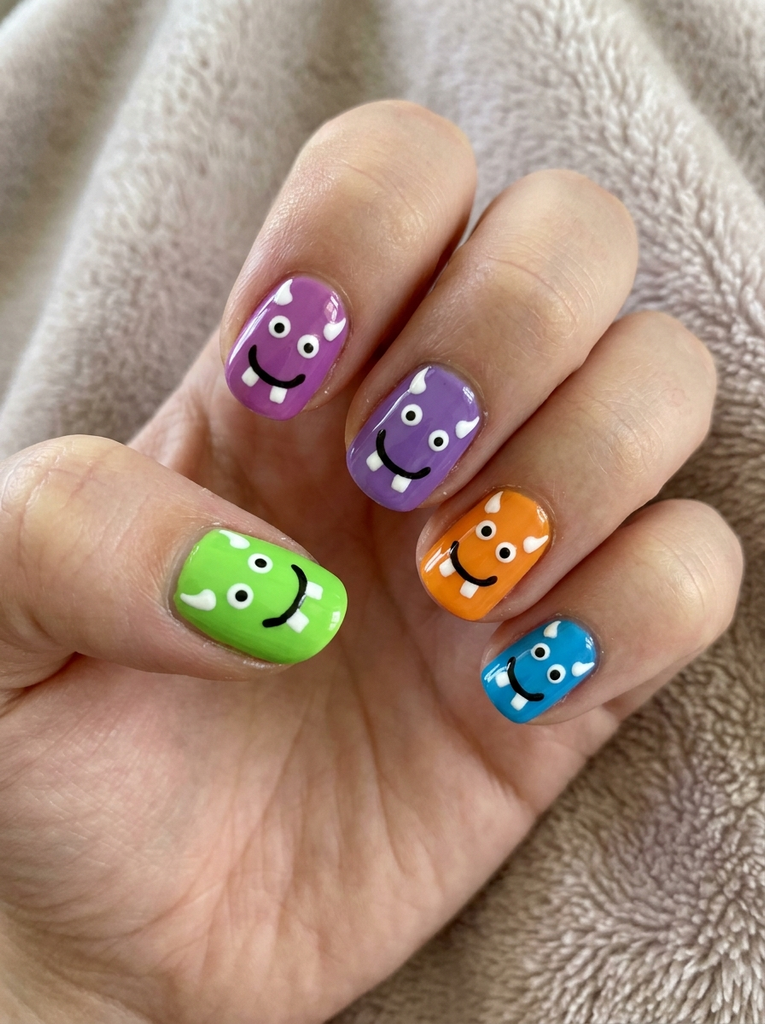
Turn Halloween monsters into colorful, silly characters instead of frightening creatures. Use bright colors such as green, purple, orange, and blue for the backgrounds.
Add simple eyes, smiles, teeth, or tiny horns to create different monster faces across the nails.
- Best for: Cute character nails
- Difficulty: Easy
- Best occasion: Sleepovers, birthday parties, and Halloween events
- Tip: Use a dotting tool to create evenly sized eyes.
9. Black Cat Eyes
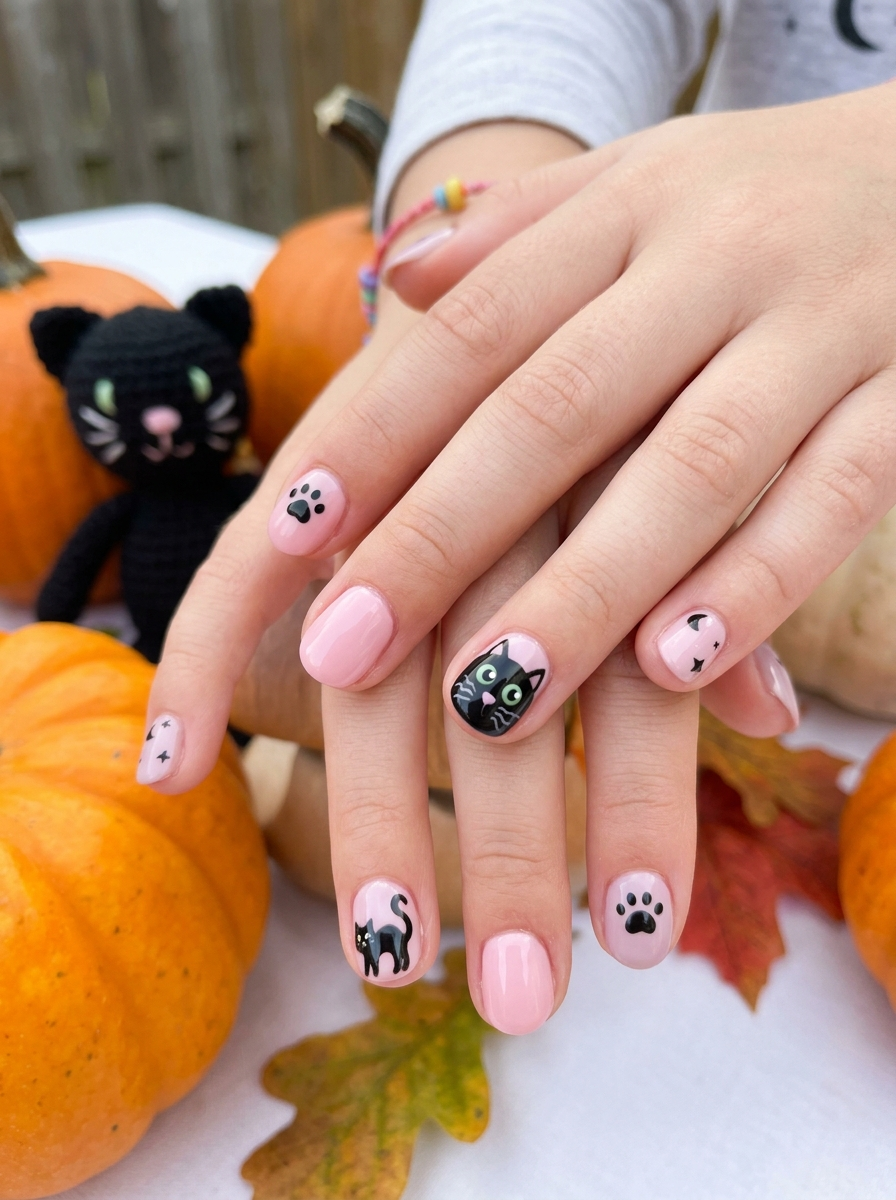
Black cat-inspired nail art is a classic Halloween choice. For a kid-friendly version, use rounded cat eyes, tiny whiskers, or a simple cat face rather than sharp or dramatic details.
A soft pink, purple, orange, or nude background makes the black design stand out.
- Best for: Classic Halloween style
- Difficulty: Easy
- Best occasion: Family photos, school events, and parties
- Tip: Keep the eyes rounded and friendly for a softer look.
10. Mummy Wrap Stripes
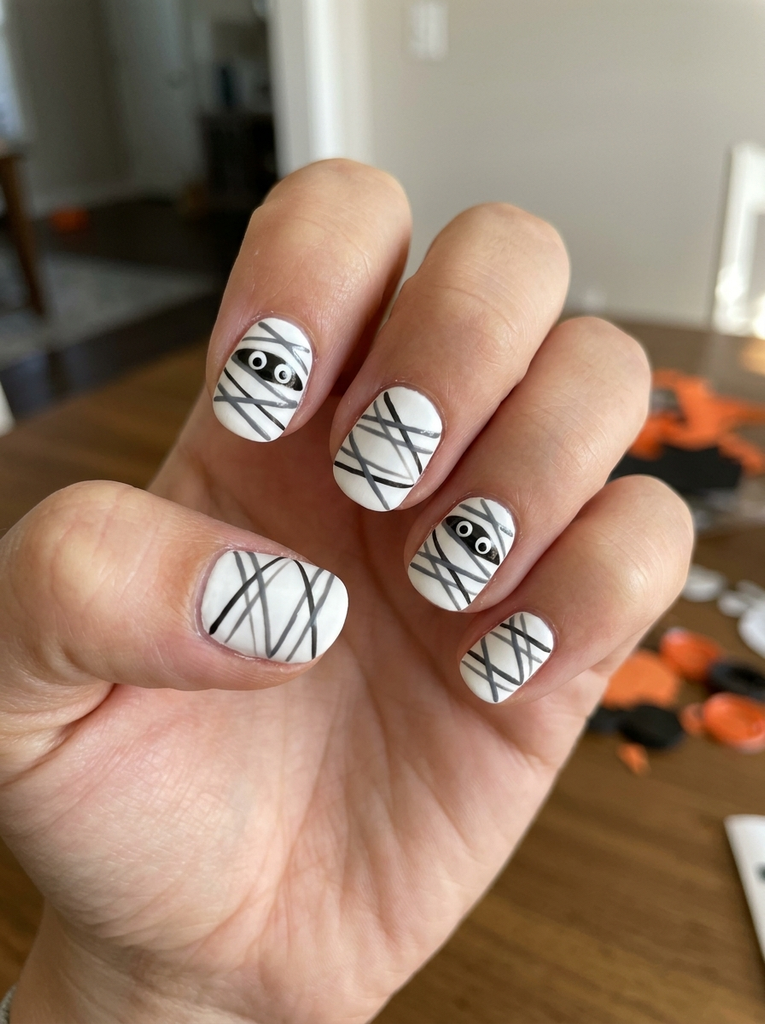
Mummy nails are easy to recreate because the design doesn’t require perfect lines. Start with a white or light gray base and add thin black or gray lines that cross the nail like mummy bandages.
Add two small eyes to one or two nails for an extra-cute effect.
- Best for: Simple Halloween nail art
- Difficulty: Easy
- Best occasion: School events, Halloween crafts, and family activities
- Tip: Make the lines slightly uneven to create a fun handmade mummy effect.
11. Haunted House Silhouette
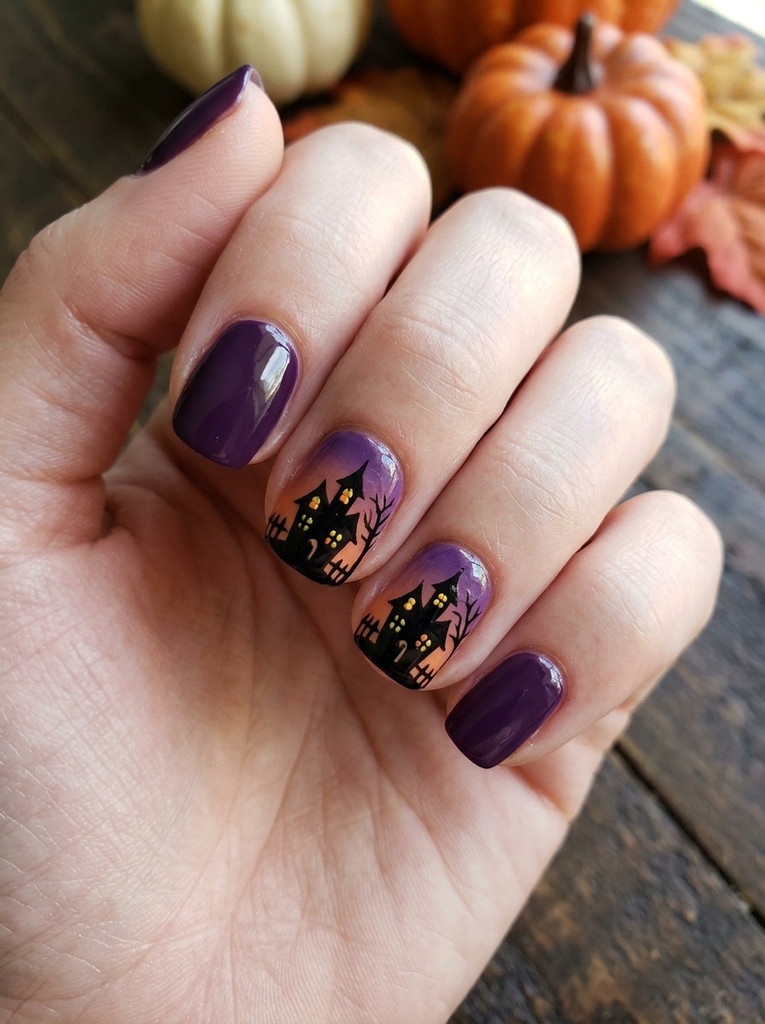
A tiny haunted house can turn an ordinary manicure into a miniature Halloween scene. Use a dark silhouette with small yellow or orange windows against a purple or sunset-colored background.
Because detailed houses can be tricky on small nails, use the design on one or two accent nails.
- Best for: Spooky-chic Halloween looks
- Difficulty: Medium
- Best occasion: Halloween parties and photo days
- Tip: A small nail-art stencil or sticker can make the house much easier to create.
12. Jack-o’-Lantern Faces
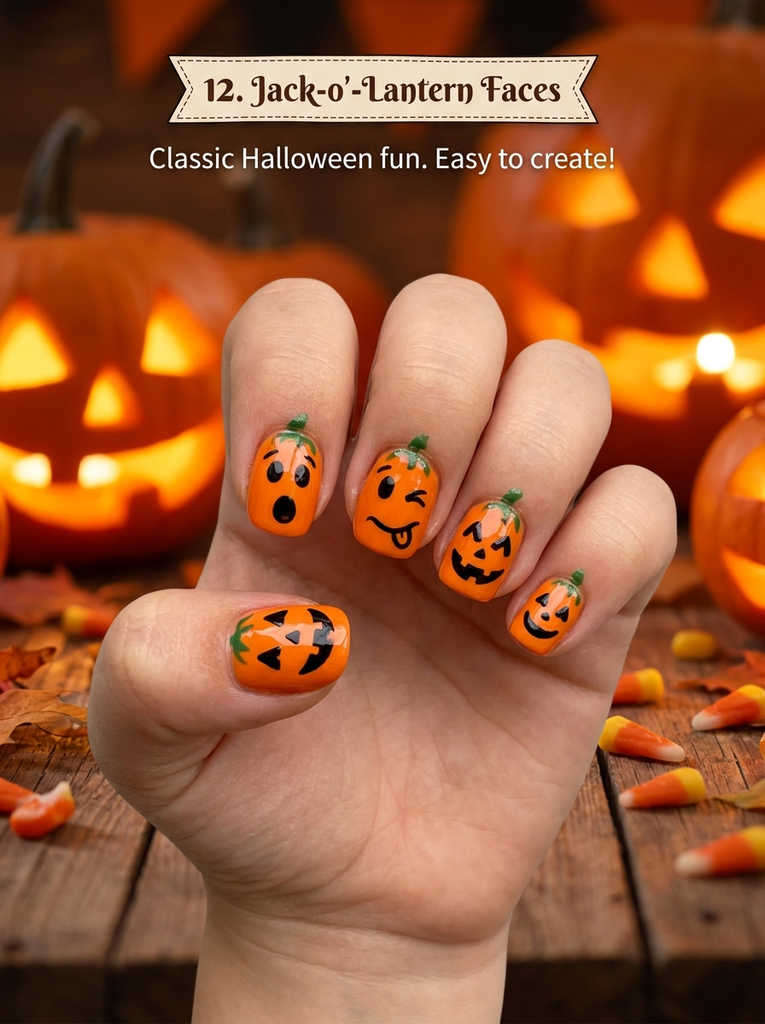
Jack-o’-lantern nails are one of the most recognizable Halloween designs for kids. Use orange polish as the base and add simple black eyes, noses, and smiling mouths.
You can create different expressions on each nail, from happy faces to silly surprised faces.
- Best for: Classic Halloween fun
- Difficulty: Easy
- Best occasion: Trick-or-treating, school parties, and Halloween photos
- Tip: Practice the facial shapes on paper first to make each pumpkin look neat.
13. Skeleton Bones Nail Art
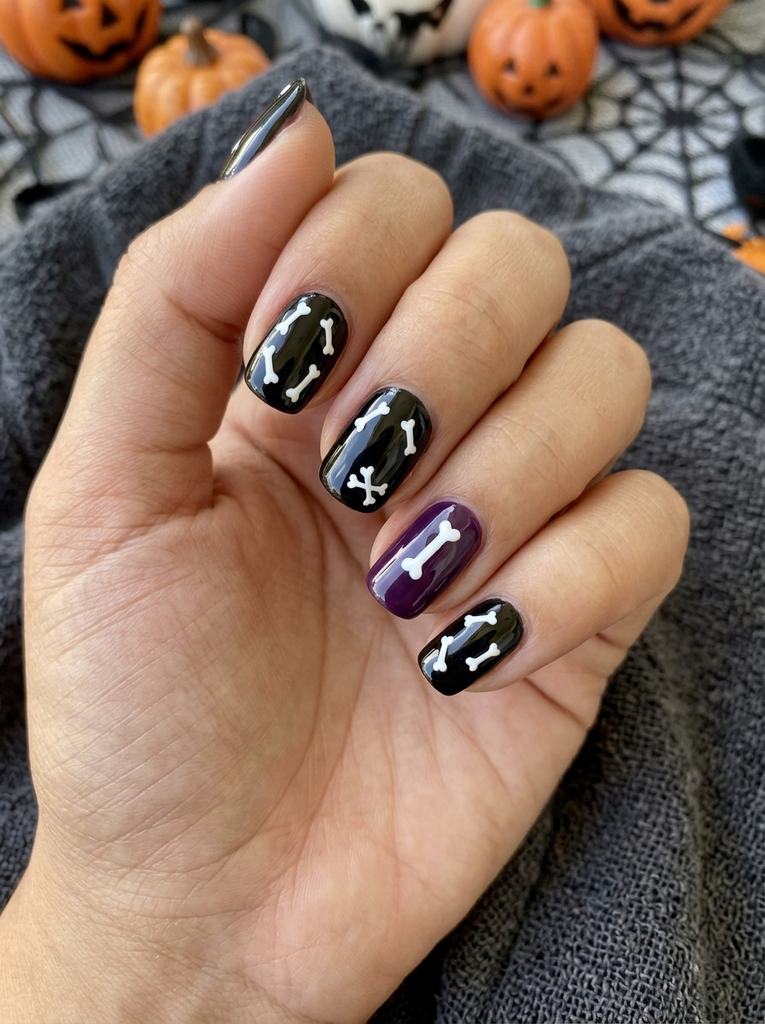
Skeleton-inspired nails can be cute when you keep the design simple. Instead of drawing a full skeleton, use tiny white bone shapes on a black or dark purple background.
This works especially well as an accent nail paired with solid Halloween colors.
- Best for: Classic spooky details
- Difficulty: Medium
- Best occasion: Class parties and family Halloween gatherings
- Tip: Use a very fine brush to create small bone segments without making the design too crowded.
14. Candy Neon Stripes
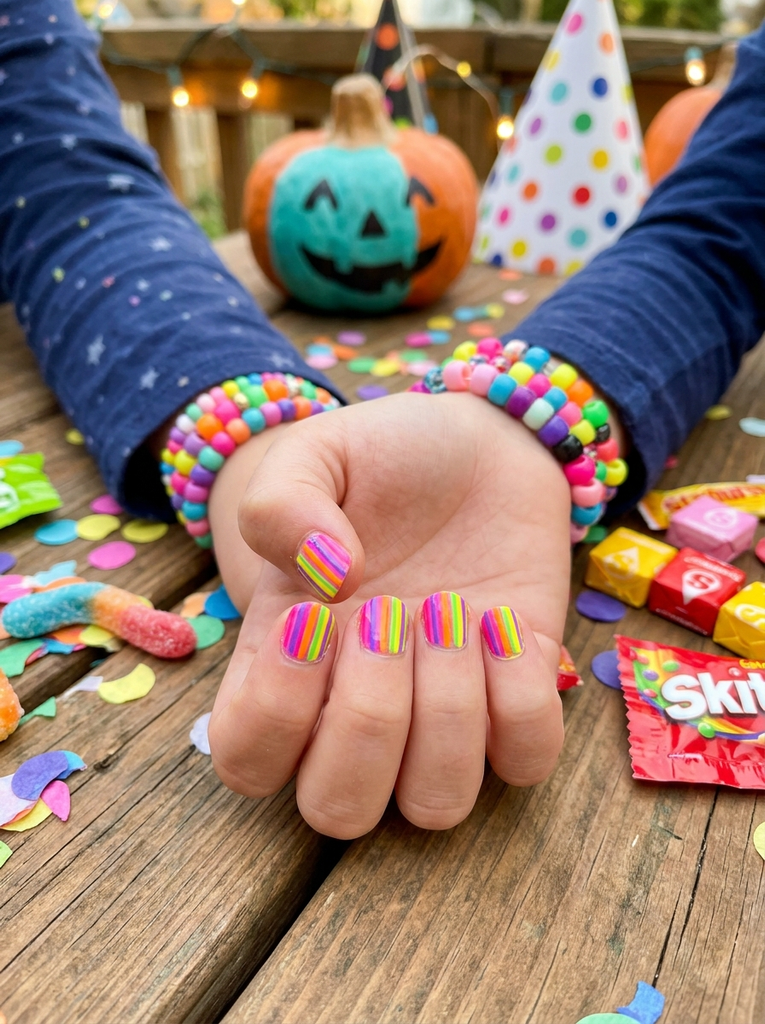
For kids who love bright colors, candy-inspired neon stripes are a fun alternative to traditional black-and-orange Halloween nails.
Combine shades such as pink, purple, orange, yellow, and green in thin stripes. The result feels festive, colorful, and playful.
- Best for: Bright and cheerful Halloween looks
- Difficulty: Medium
- Best occasion: Birthday parties, Halloween parades, and celebrations
- Tip: Use striping tape to make the colorful lines cleaner and more even.
15. Autumn Halloween Leaf Accents
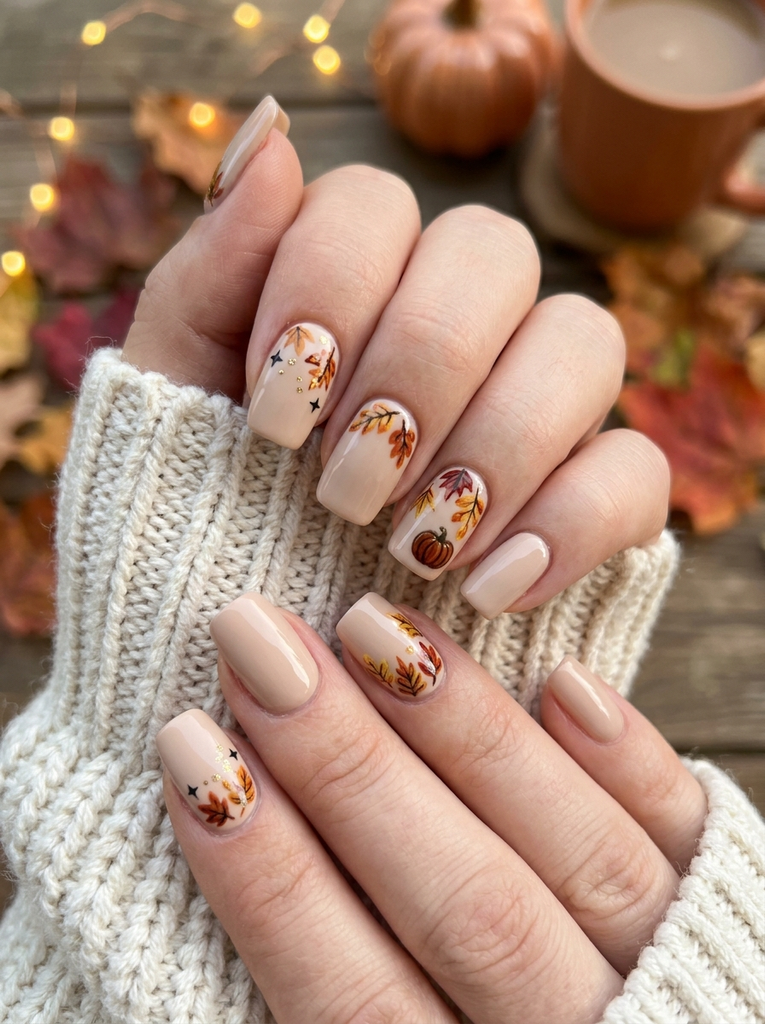
Combine fall and Halloween with tiny autumn leaves. Orange, yellow, brown, and red leaves look beautiful over a neutral or soft beige base.
You can add a tiny pumpkin, dot, or star beside the leaves for an extra Halloween touch.
- Best for: Autumn-inspired nail art
- Difficulty: Easy
- Best occasion: School days, fall celebrations, and family photos
- Tip: Use small leaf stickers if painting detailed leaves is difficult.
16. Pumpkin Patch Gradient
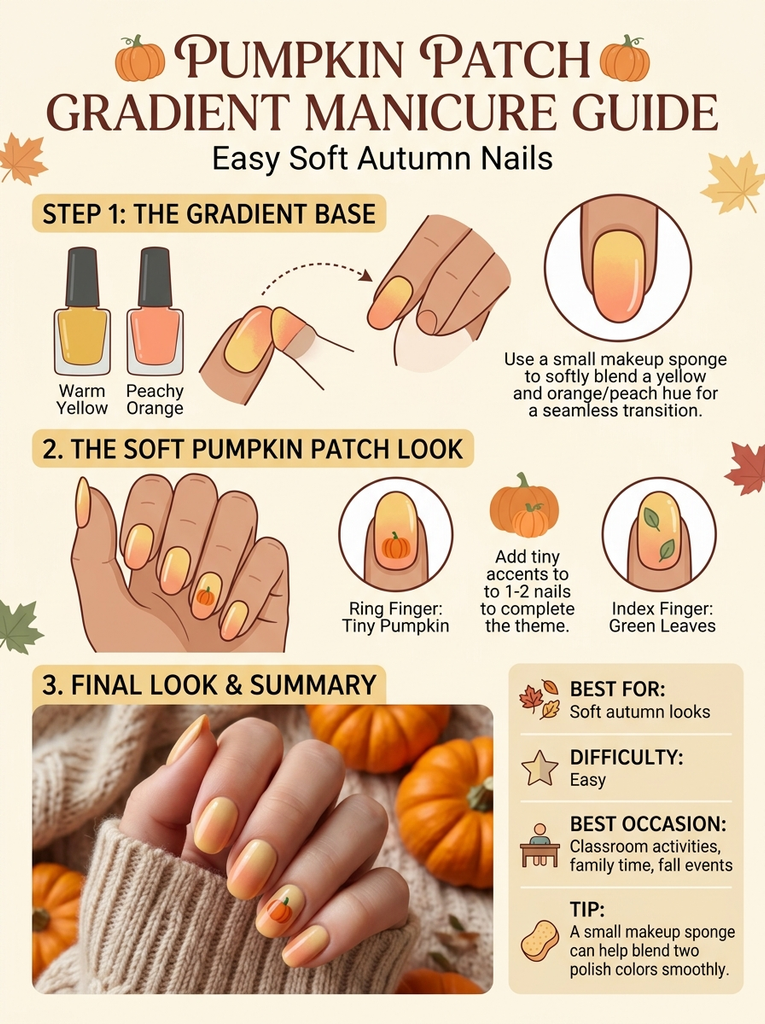
A pumpkin patch gradient creates a soft seasonal manicure without requiring complicated character art. Start with a warm yellow, orange, or peach base and blend two shades together.
Add tiny pumpkin shapes or green leaves to one or two nails to complete the pumpkin-patch theme.
- Best for: Soft autumn looks
- Difficulty: Easy
- Best occasion: Classroom activities, family time, and fall events
- Tip: A small makeup sponge can help blend two polish colors smoothly.
17. Non-Scary Ghosts and Bats
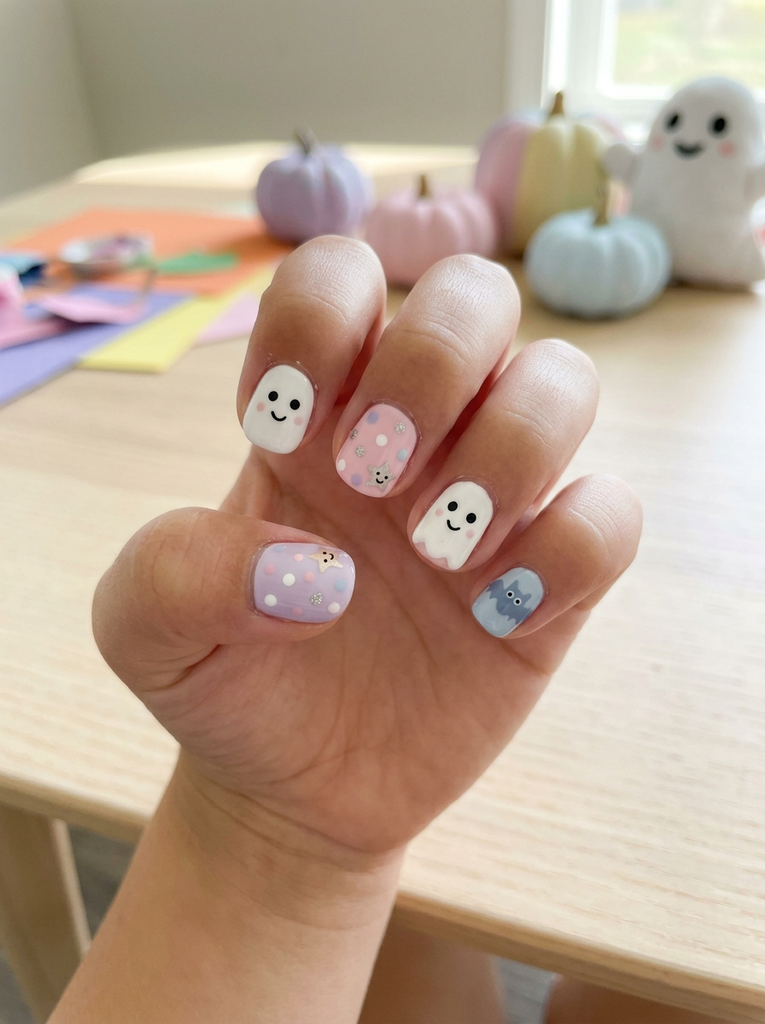
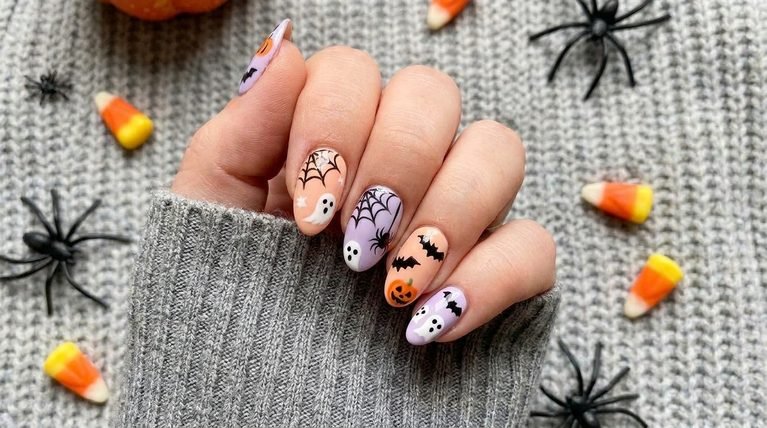
If your child likes Halloween but doesn’t enjoy scary designs, choose friendly ghosts and tiny bats. Use rounded shapes, smiling faces, and soft colors such as lavender, pink, white, and light blue.
This combination creates a playful Halloween manicure that works especially well for younger children.
- Best for: Cute and non-scary Halloween nails
- Difficulty: Easy
- Best occasion: School, daytime events, and family gatherings
- Tip: Use rounded edges and simple faces to keep the designs friendly.
18. Glitter Pumpkin Nails
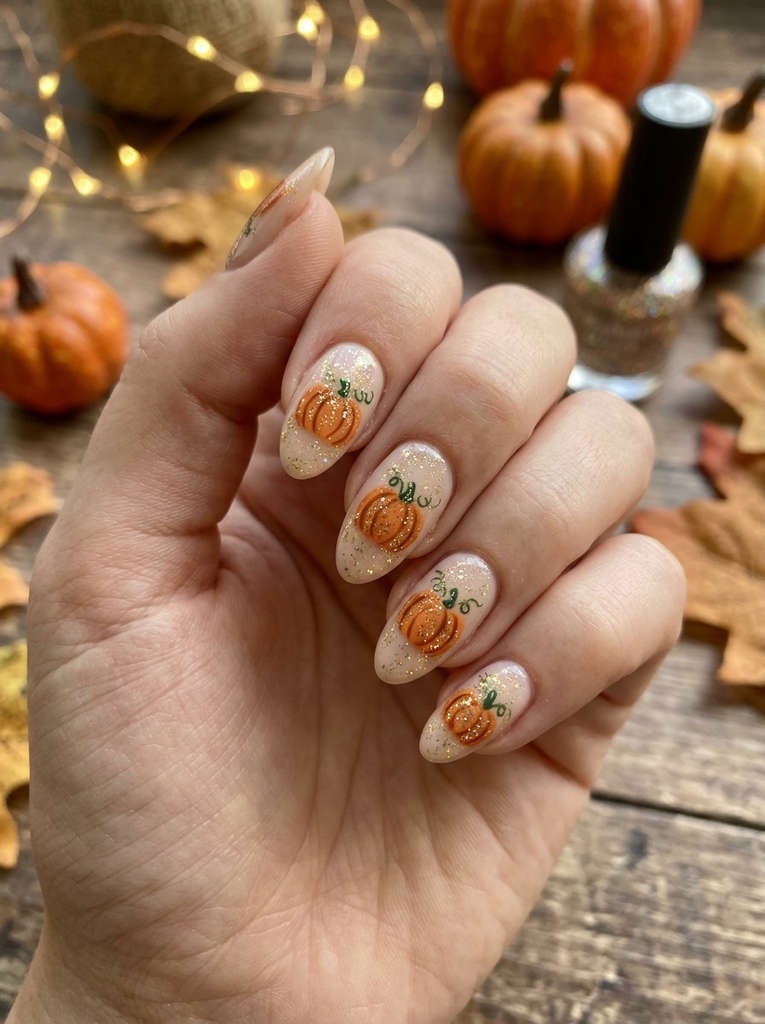
Add a little sparkle to Halloween with glitter pumpkins. Start with an orange base or draw tiny pumpkins over a neutral background, then add a small amount of glitter.
You can also use glitter polish only on the pumpkin details instead of covering the entire nail.
- Best for: Sparkly Halloween accents
- Difficulty: Easy
- Best occasion: Halloween parties and photo days
- Tip: Apply glitter carefully and finish with a smooth top coat so the surface doesn’t feel rough.
19. Boo Lettering Nails
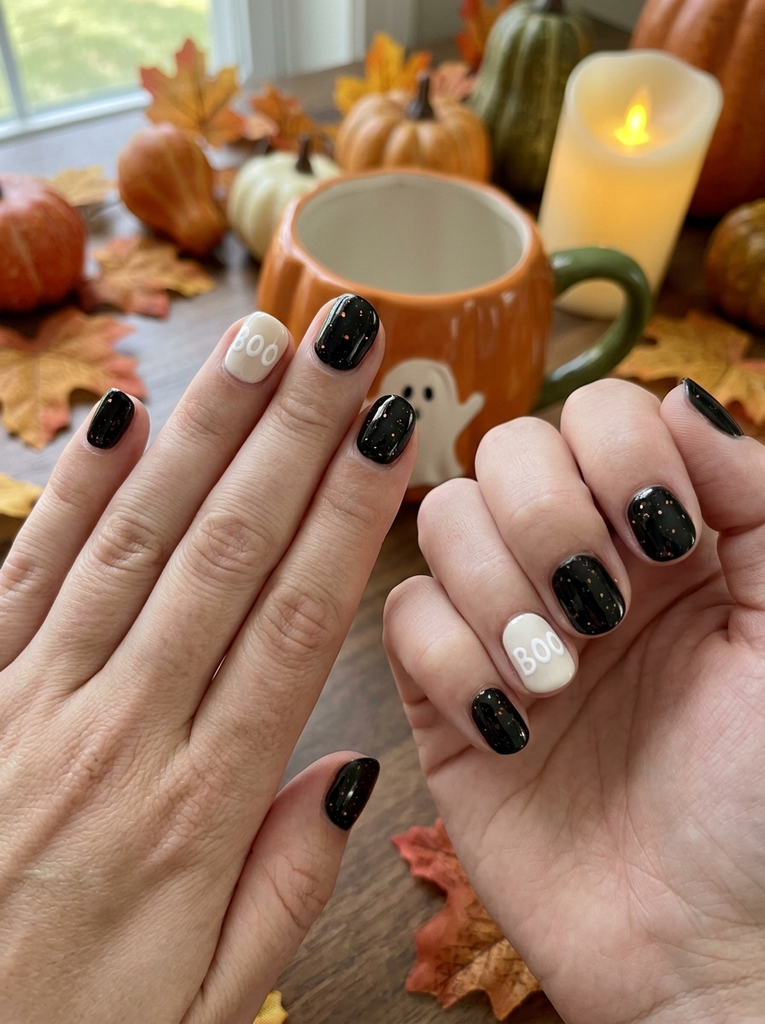
Tiny “BOO” lettering is simple, recognizable, and perfect for Halloween. Paint the word on one or two accent nails while keeping the remaining nails in a matching Halloween shade.
White lettering works especially well over black, purple, or orange polish.
- Best for: Word-based Halloween designs
- Difficulty: Easy
- Best occasion: Classroom activities and Halloween parties
- Tip: Use small nail stickers if painting tiny letters is difficult.
20. Confetti Halloween Nails
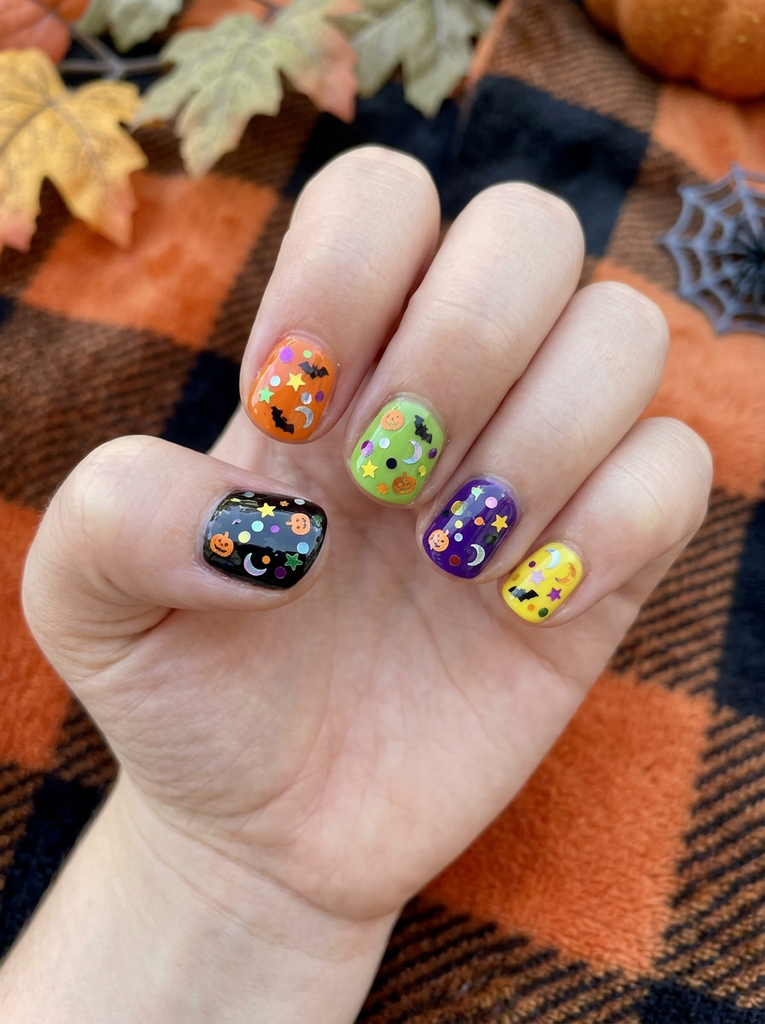
Halloween confetti nails are perfect for children who love colorful designs. Use tiny dots, stars, pumpkins, bats, and other simple shapes in Halloween colors.
You can create a different pattern on every nail or keep the design consistent across the manicure.
- Best for: Party-ready nails
- Difficulty: Easy
- Best occasion: Birthday parties, Halloween events, and celebrations
- Tip: Place small pieces of nail confetti onto slightly tacky polish and seal everything with a clear top coat.
FAQs About Halloween Nails for Kids
Are these Halloween nails for kids suitable for all ages?
These ideas are designed to be simple and kid-friendly, especially for short natural nails. Younger children should have an adult supervise the application and removal of nail products. Choose products that are appropriate for children and avoid applying polish to irritated or damaged skin.
What nail-art tools work best for kids’ Halloween designs?
You don’t need a large collection of tools. A small nail-art brush, dotting tool, cotton swabs, nail stickers, and a clear top coat are enough for many of these designs. For younger children, stickers and simple dots can be easier than detailed hand-painted artwork.
How long do kids’ Halloween nail designs last?
The manicure can last several days depending on the polish used, the top coat, and how active the child is. Washing hands frequently, playing outdoors, and picking at the polish can cause the design to wear away sooner.
How can I safely remove Halloween nail polish from a child’s nails?
Use a gentle nail-polish remover and cotton pads, and avoid aggressively scraping or peeling the polish. After removal, wash the hands and apply a gentle moisturizer to help keep the nails and surrounding skin comfortable.
Are nail stickers a good option for children’s Halloween nails?
Yes. Nail stickers and decals can make Halloween nail art much easier, especially for younger children or beginners. They allow you to create pumpkins, ghosts, bats, stars, and other designs without needing advanced painting skills.
What nail shape works best for kids’ Halloween nail art?
Short, natural nails are generally the easiest choice for children’s Halloween designs. Keeping the nails short also gives simple designs such as pumpkins, ghosts, dots, and stripes enough space without requiring long extensions or complicated techniques.
Conclusion
These Halloween nails for kids prove that festive nail art can be cute, colorful, and simple enough for little hands. From tiny pumpkins and friendly ghosts to candy stripes, glitter accents, and playful monsters, there are plenty of designs to choose from.
For younger children, focus on short natural nails, simple patterns, and easy-to-remove products. Pick a few favorite designs, keep the application fun, and let your child choose the colors and characters they like most.
Whether you’re preparing for a Halloween party, school celebration, family photos, or a fun afternoon at home, these 20 Halloween nail ideas can add a little extra magic to the season.