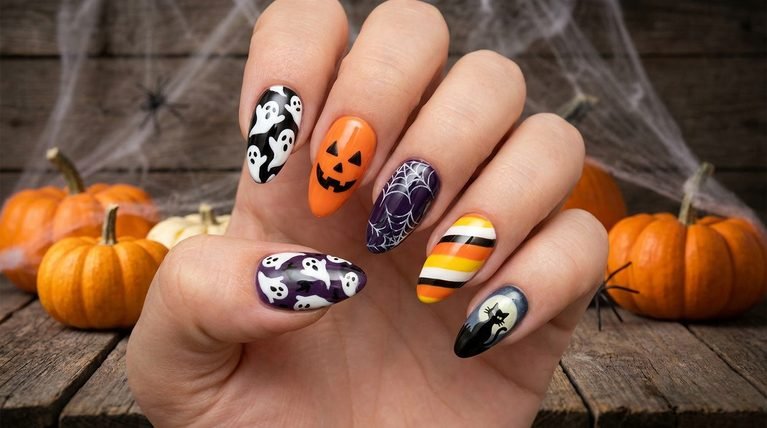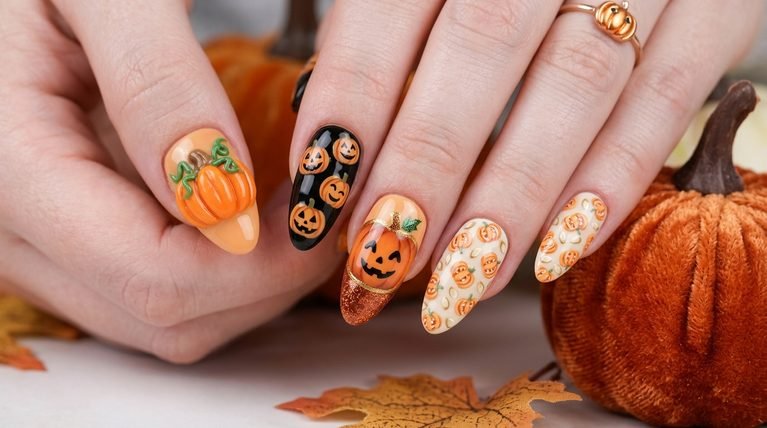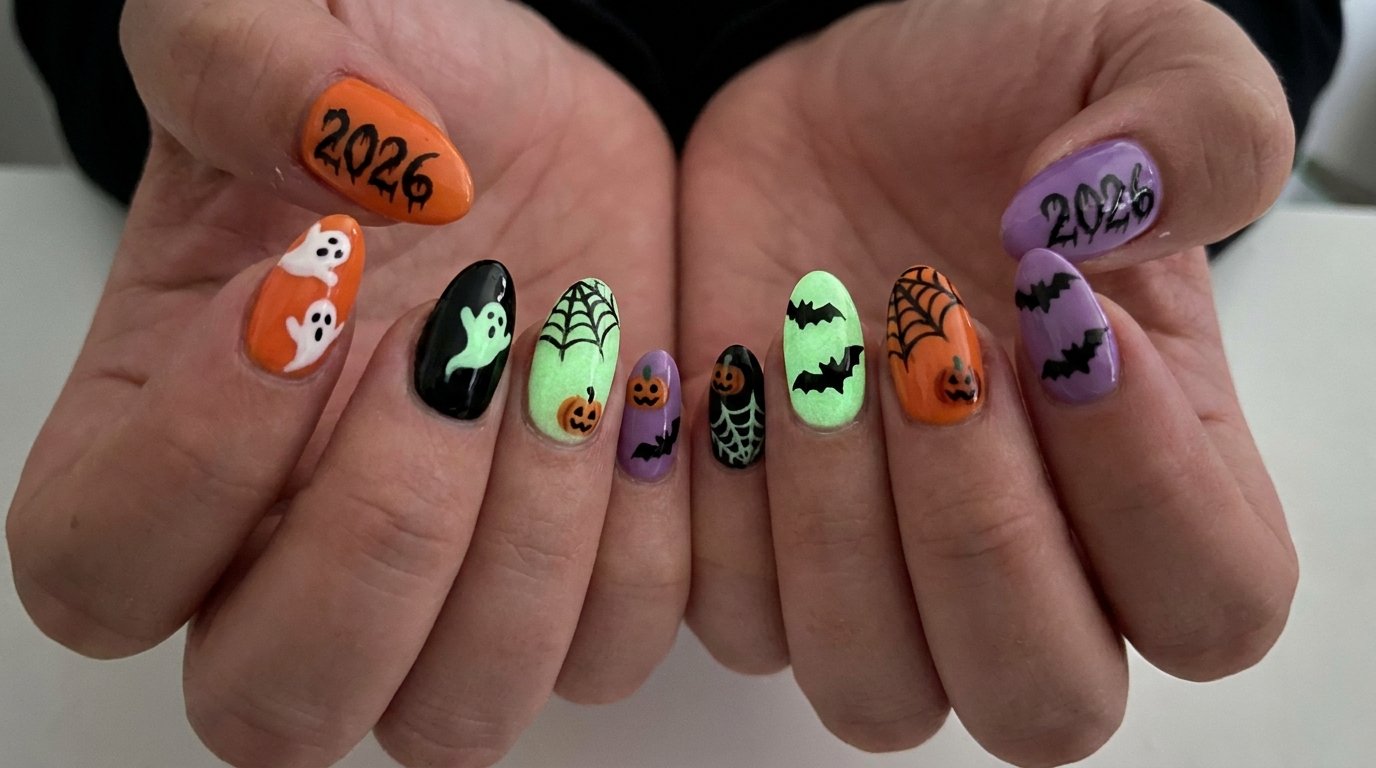
Halloween nails ideas 2026: 20 Creative Nail Designs for a Spooky Season
Looking for fresh, reader-friendly ideas for halloween nails ideas 2026? This guide breaks down 20 distinct designs with practical tips, perfect nail shapes, and helpful styling details to inspire your next manicure. Each concept is crafted to be visually clear and Pinterest-friendly, so you can imagine the look before you pick up a brush.
1. Halloween nails ideas 2026 – Pumpkin Glow Gradient
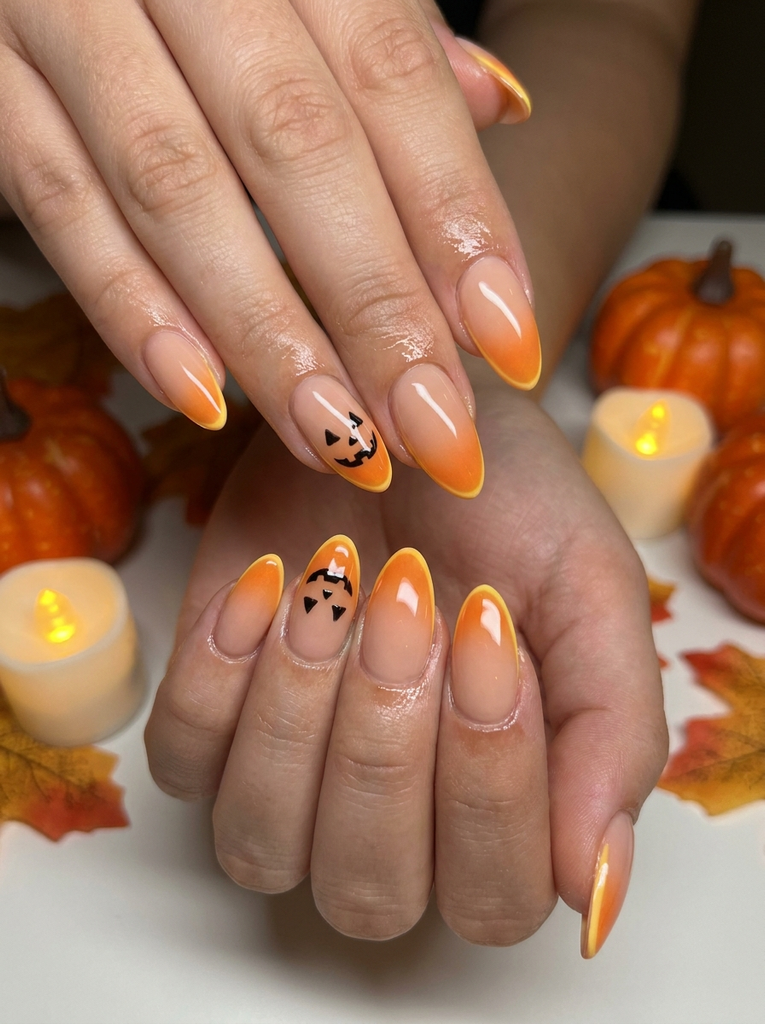
A soft nude base supports a vivid pumpkin-orange gradient that travels from mid-nail to the tip. Add a subtle yellow highlight along the free edge to mimic candlelight. Accent one nail with a tiny jack-o’-lantern face for whimsy. Finish with a glossy top coat to lock in the glow. This style suits medium to long nails and works best with a mild almond or oval shape.
- Best for: All-around festive look, especially for photos.
- Difficulty: Moderate
- Best occasion: Parties, photoshoots, Halloween events
- Tip: Use a thin brush for the pumpkin face to keep lines crisp.
2. Spider Web Lattice
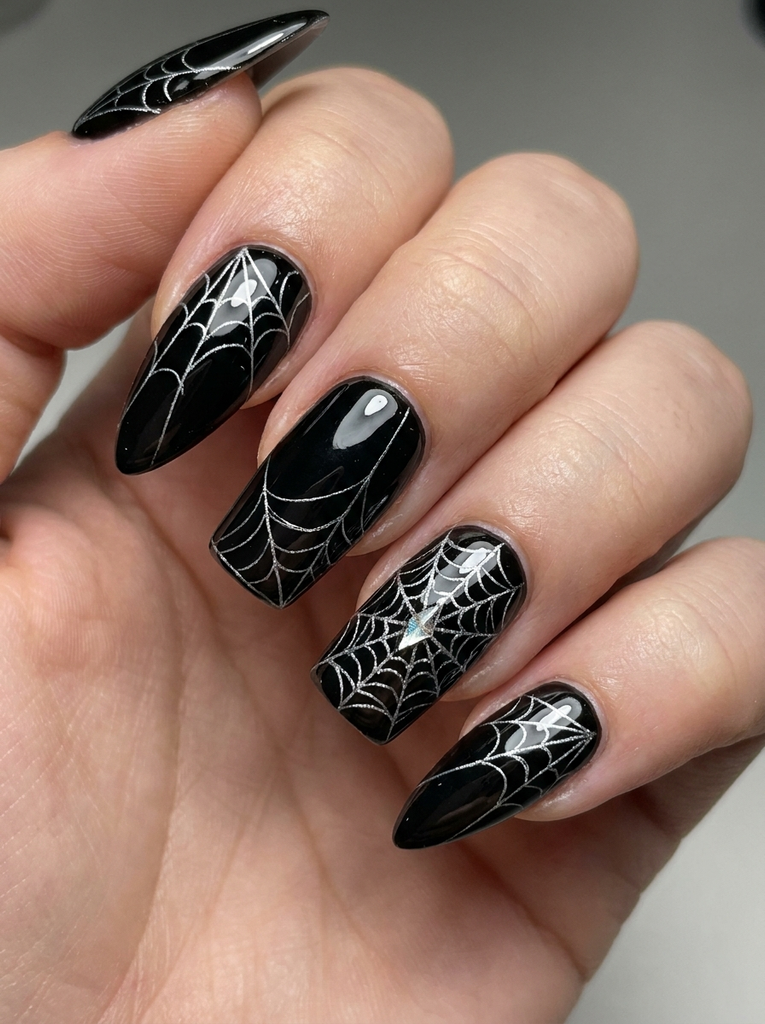
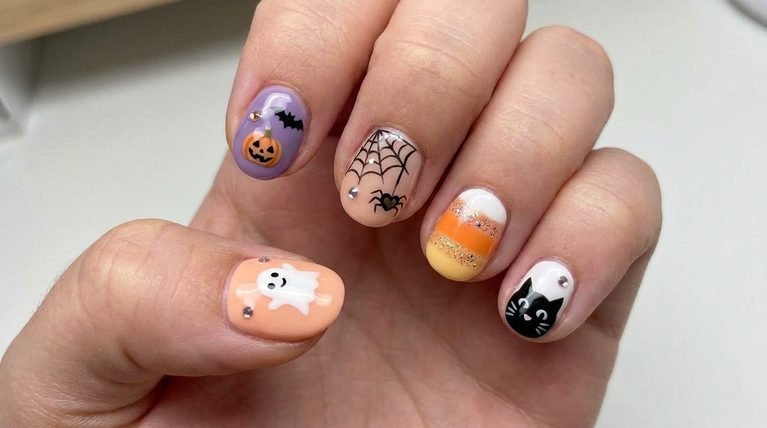
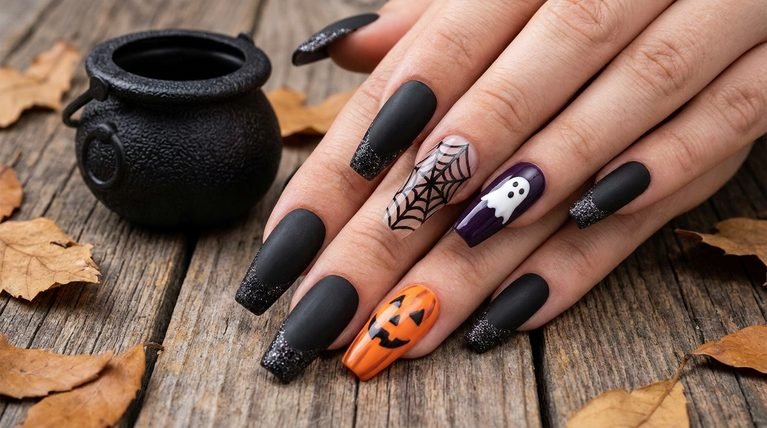
Choose a glossy black base on square or stiletto nails for a modern silhouette. Use a fine white or silver liner to paint delicate spiderweb patterns across each nail, with a single nail featuring a denser web mid-fan. A subtle silver shard accent adds a touch of texture without overpowering the design. Pair with a high-shine top coat for a clean, crisp finish.
- Best for: Statement nails with a sleek vibe
- Difficulty: Moderate
- Best occasion: Evening events, club nights
- Tip: Practice the web lines on a sheet of plastic first to steady your hand.
Beyond colorful manicures, feminine tattoo designs offer another way to express your personality with delicate artwork, meaningful symbols, and beautiful placement ideas.
3. Pumpkin Gradient Nails
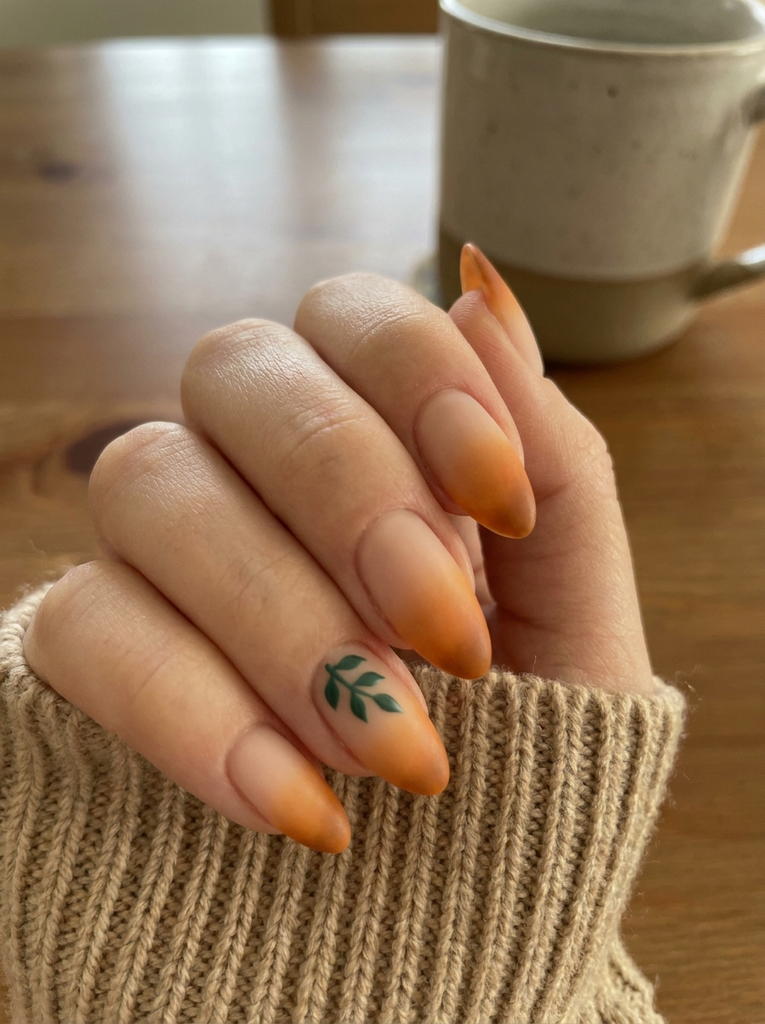
Apply a sheer nude base and sweep pumpkin orange across the midsection, fading toward a rich amber at the tip. The gradient reads pumpkin-inspired rather than full-on ombre, so keep edges soft. A tiny leaf motif in forest green on the base nail adds a seasonal touch. Finish with a satin top coat to soften the color transition.
- Best for: Subtle seasonal statement
- Difficulty: Easy
- Best occasion: Workdays that allow playful nails
- Tip: Build the gradient with a small amount of product on a makeup sponge for a seamless fade.
4. Black Cat Silhouette
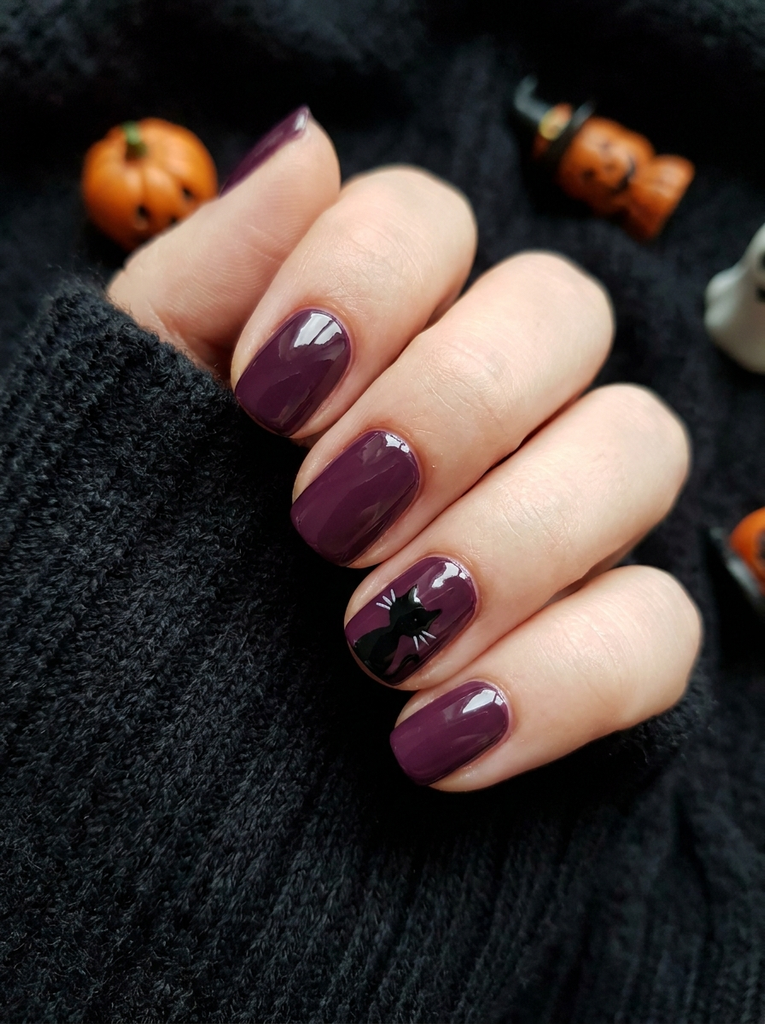
Opt for a jet-black base or a deep plum for a moody canvas. Paint a cute cat silhouette on the accent nail with a fine liner brush, keeping the shape simple and recognizable. Add tiny white whiskers for a playful contrast. A glossy finish makes the design pop against the dark background.
- Best for: Playful yet chic Halloween looks
- Difficulty: Easy to Moderate
- Best occasion: Casual parties, dates
- Tip: Use liquid latex around the nail to keep edges clean while painting small shapes.
5. Moon Phase Design
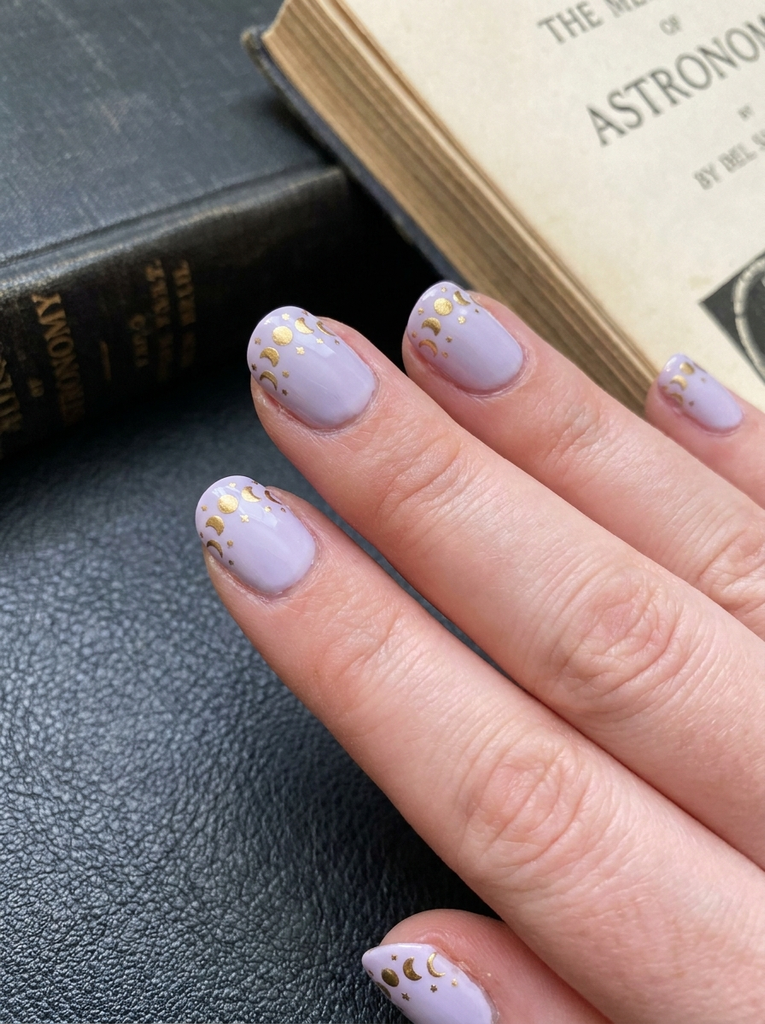
Begin with a pale lavender or lilac base to mimic twilight. Create a row of crescent moons in metallic gold or silver along the free edge, then add tiny stars above. Extend the design across all nails or keep it on two coordinated nails. The finish is semi-gloss to keep the celestial feel intact.
- Best for: Subtle cosmic mood
- Difficulty: Moderate
- Best occasion: Themed gatherings, date nights
- Tip: Use a dotting tool for precise star shapes.
6. Graveyard Nightscape Scene
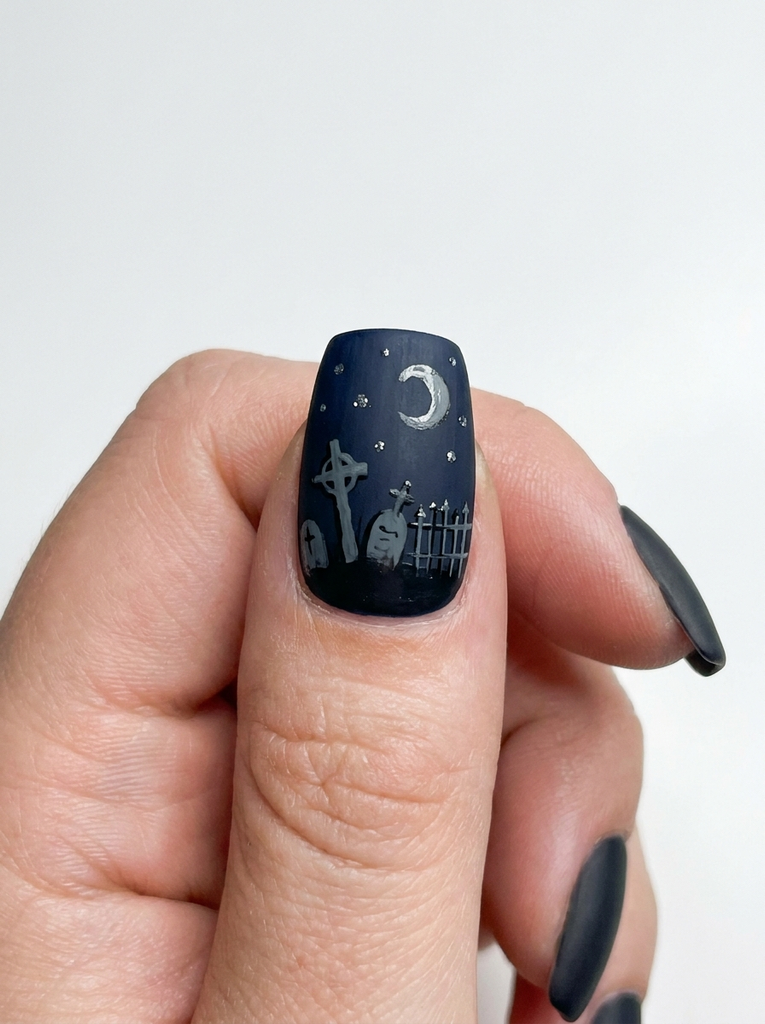
Paint a dark navy or charcoal base with a fine brush to sketch a tiny haunted scene on the accent nail. Include silhouettes of tombstones, a fence, and a crescent moon using muted grays. Add a whisper of silver to suggest distant street lamps. Finish with a subtle matte top coat for a midnight feel.
- Best for: Dramatic, story-telling nails
- Difficulty: Moderate
- Best occasion: Themed events, cosplay
- Tip: Use thin layers to avoid pooling near cuticles.
7. Candy Corn Chic
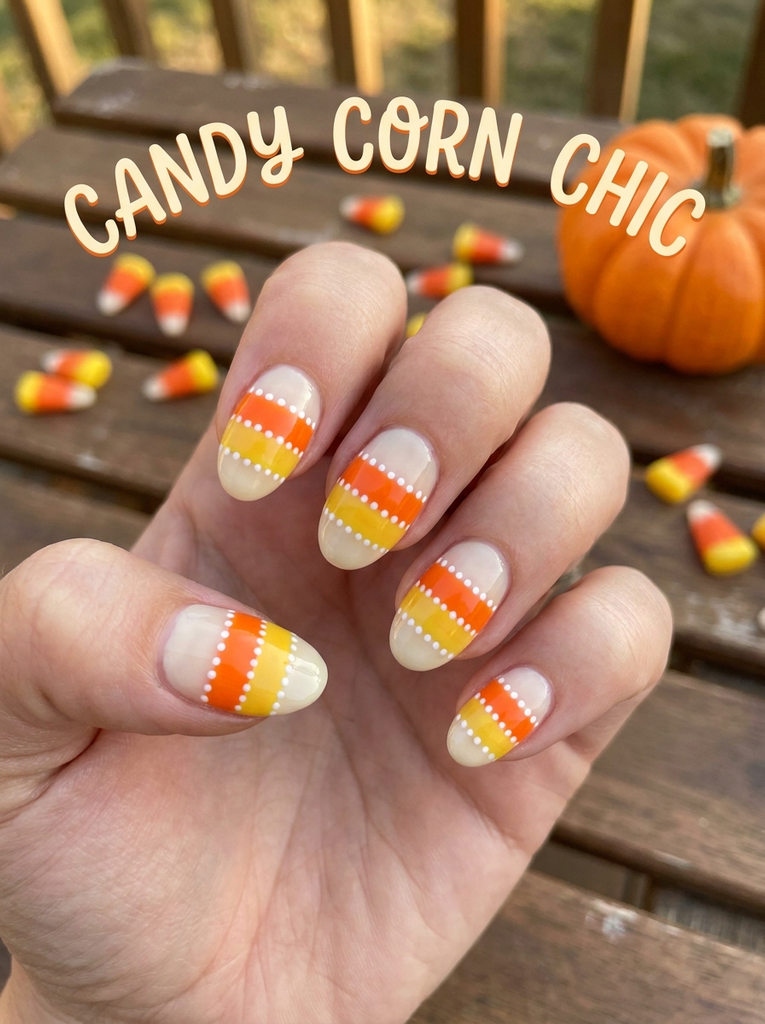
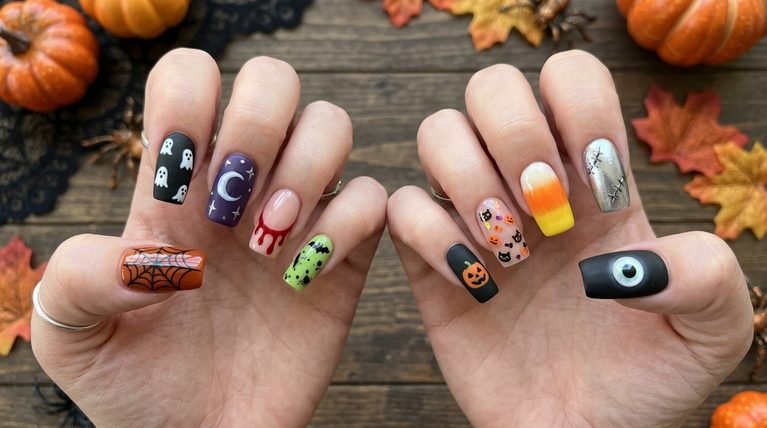
Roll a sheer cream base into three crisp bands of orange and yellow on each nail. Keep the widths consistent for a clean, graphic look. Add a tiny dotted outline around the bands for a subtle, hand-painted finish. Finish with a durable top coat to keep edges neat.
- Best for: Retro-fun Halloween style
- Difficulty: Easy
- Best occasion: Daytime events, family gatherings
- Tip: Use painter’s tape to ensure even stripes.
8. Mystic Velvet Matte
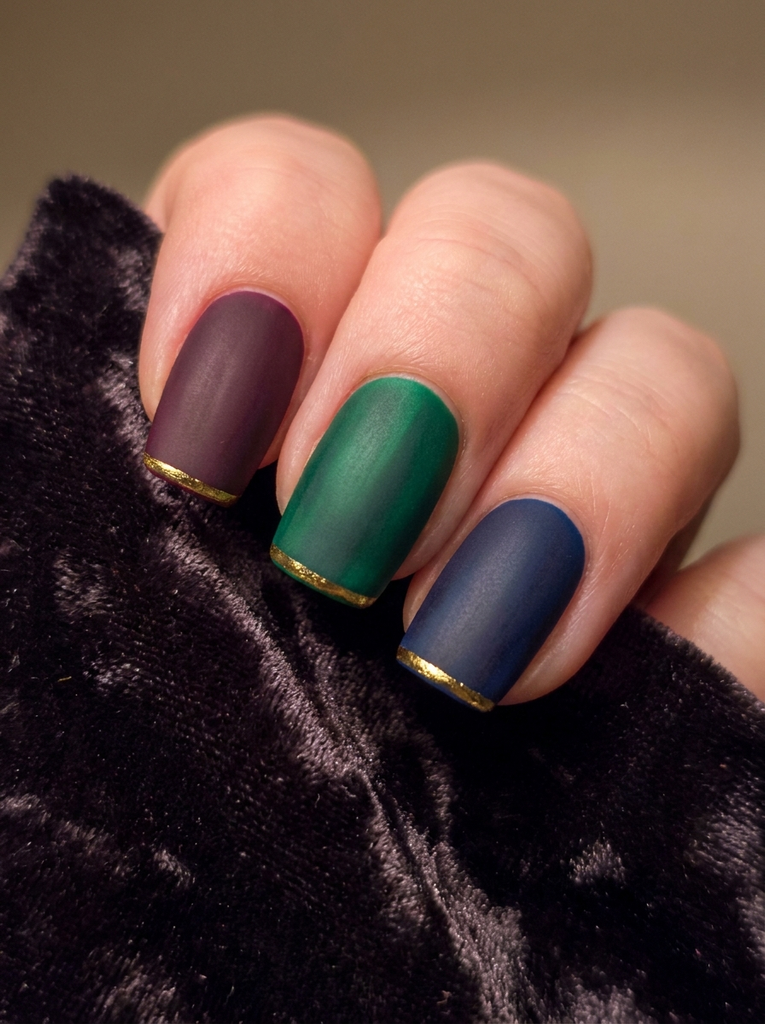
Dip into deep jewel tones like plum, emerald, or midnight blue. Apply a matte top coat to emphasize the velvet effect and create depth. Add a single fine gold line along the edge of the nail for a luxe touch. This design reads elegant and moody, excellent on square or squoval nails.
- Best for: Luxe Halloween vibes
- Difficulty: Easy
- Best occasion: Evening events, dinners
- Tip: Avoid shimmery top coats that can ruin the velvet look.
When your manicure feels complete, pair it with Brunette Hair Color Ideas for Fall that create a coordinated beauty look without requiring complicated styling or extra time.
9. Zombie Skin Finish
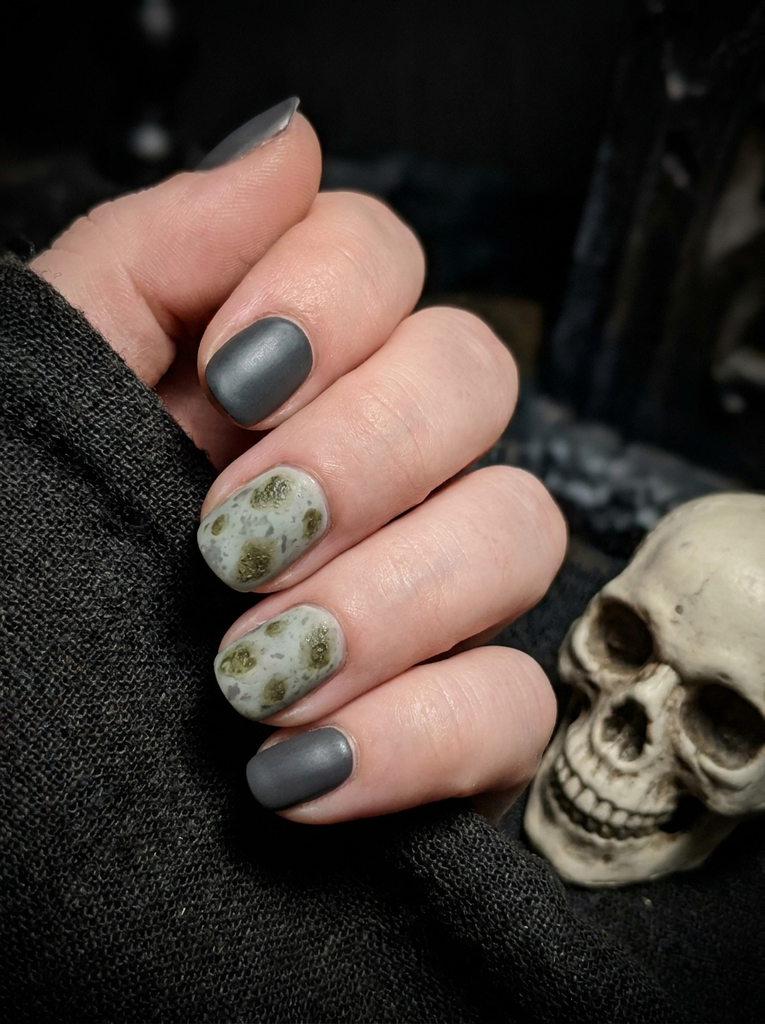
Choose a pale, sickly-green or gray base with a sheer, blotchy top layer to mimic decayed skin. Use a stippling brush to add subtle texture, then seal with a satin top coat. Keep the design on a couple of nails as an accent so the look doesn’t overwhelm. This is best on shorter nails with a rounded shape.
- Best for: Edgy, horror-inspired style
- Difficulty: Moderate
- Best occasion: Themed parties, cosplay
- Tip: Build texture slowly to prevent over-saturation.
10. Witch Hat Accents
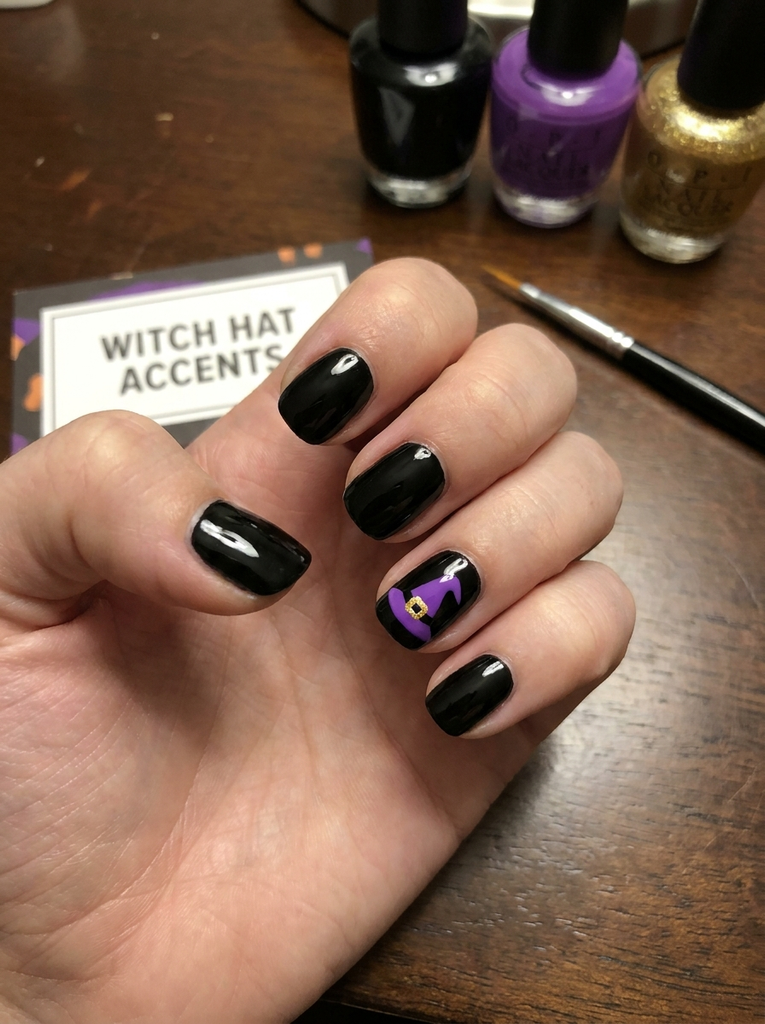
Paint a classic black base and add a tiny witch hat silhouette on the accent nail using a bright purple or emerald for contrast. Keep the hat minimal with clean lines. Add a small, shimmering buckle in gold for a focal point. A glossy top coat finishes the look smoothly.
- Best for: Cute witchy vibes
- Difficulty: Easy
- Best occasion: Themed parties, trick-or-treat walks
- Tip: Use a nail art brush with a fine tip for precise hat shapes.
11. Blood Drip Detail
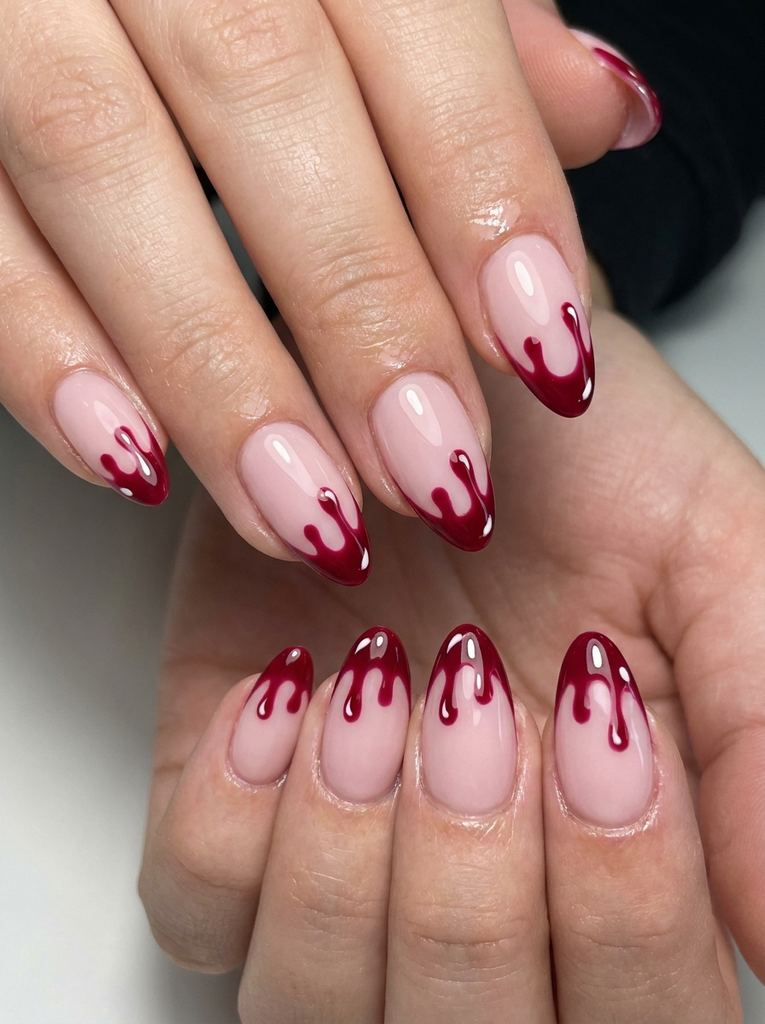
Opt for a clean nude or pale pink base to make the drip effect pop. Use a deep red for the drip pattern on the tip and let it widen slightly toward the edge. Add a tiny white highlight on the top of the drip to simulate gloss. Finish with a high gloss top coat to mimic wet liquid.
- Best for: Bold, graphic statements
- Difficulty: Moderate
- Best occasion: Parties, Halloween nights
- Tip: Practice the drip motion on a plastic sheet before applying to nails.
12. Haunted House Scene
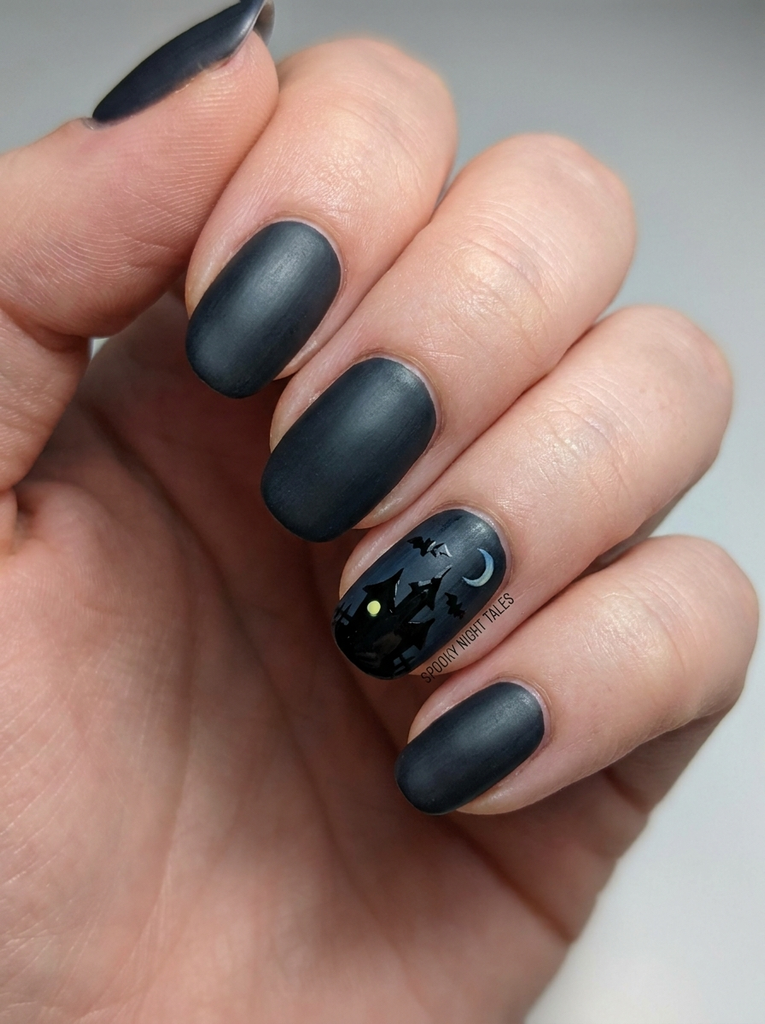
On a dark base, paint a tiny haunted house with a pale window glow using a fine brush. Add a few bats in flight and a crescent moon to set the scene. Keep the details restrained so the nails don’t feel crowded. Finish with a satin or soft gloss top coat for a storytelling effect.
- Best for: Narrative nail art
- Difficulty: Moderate
- Best occasion: Themed gatherings, photo opportunities
- Tip: Use a thin brush for tiny silhouettes to maintain clarity.
13. Skull Line Art
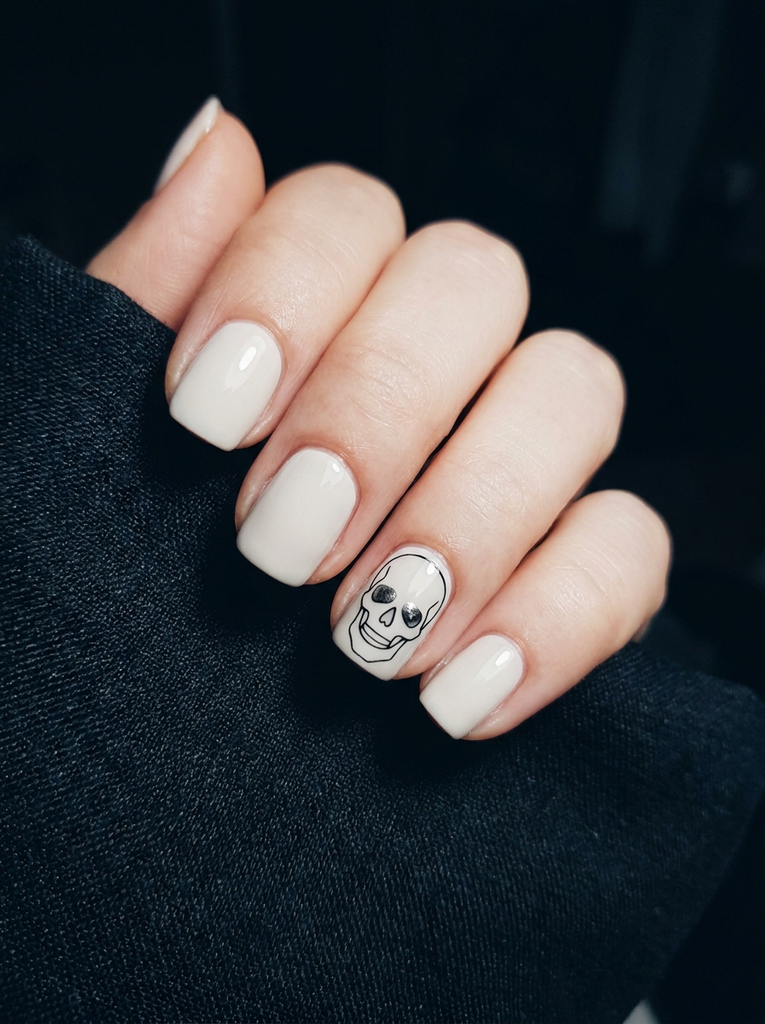
Keep a pale base and add a precise skull outline on the accent nail with a fine liner. Use negative space to emphasize the skull’s shape and keep lines clean. A dash of metallic graphite adds depth to the design. Seal with a semi-gloss top coat for a crisp finish.
- Best for: Edgy, chic skulls
- Difficulty: Moderate
- Best occasion: Parties, cosplay
- Tip: Steady your hand by resting on a tabletop while drawing lines.
14. Portal Galaxy Gradient
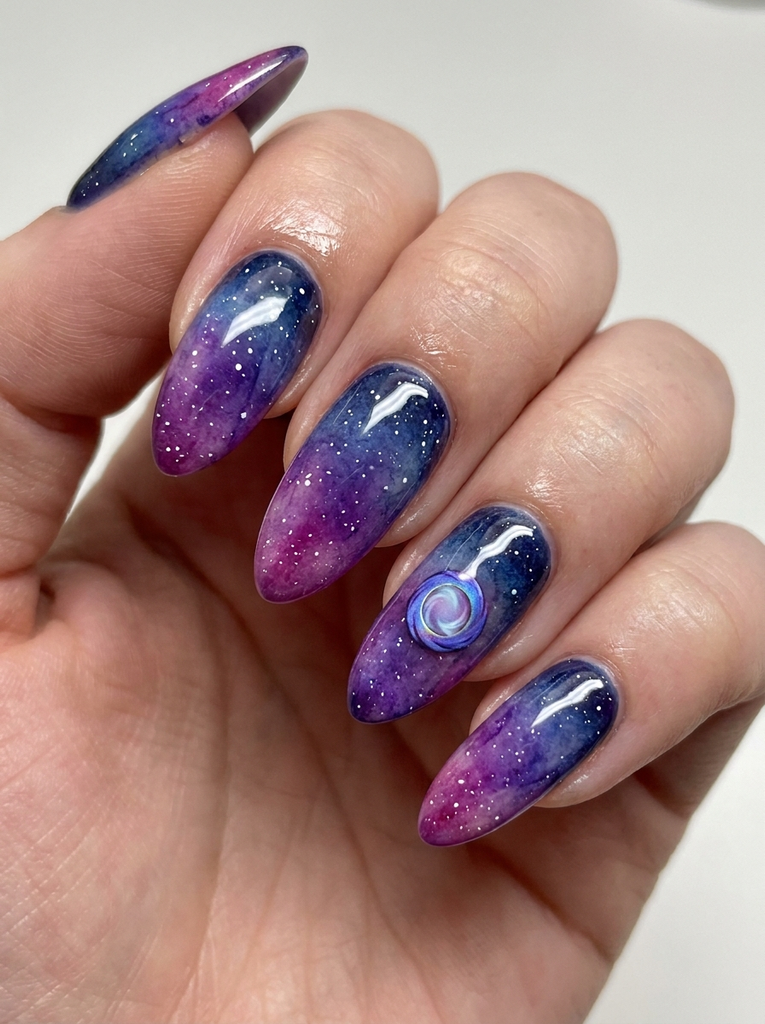
Create a gradient that blends deep purples, blues, and a splash of magenta. Add tiny white specks to resemble distant stars and a small portal ring on one nail. Keep the edges soft to avoid a harsh contrast. Finish with a glossy top coat for a cosmic shine.
- Best for: Sci-fi Halloween vibes
- Difficulty: Moderate
- Best occasion: Cosplay events, photo shoots
- Tip: Use a watercolor technique to blend colors smoothly.
15. Bat Silhouette Tips
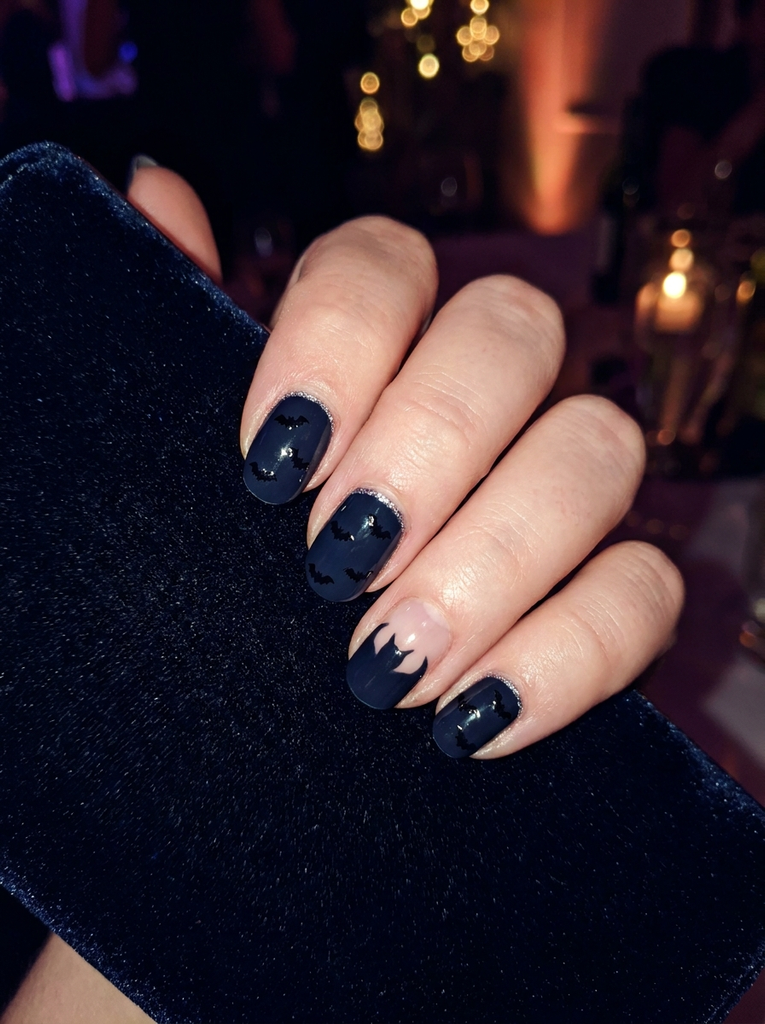
Paint a deep navy base with tiny bat silhouettes in black or metallic on several nails. Consider a negative-space bat wing on one nail for a modern twist. A subtle silver shimmer along the cuticle adds a festive glimmer. Finish with a protective top coat.
- Best for: Graphic, bold looks
- Difficulty: Easy to Moderate
- Best occasion: Night events, parties
- Tip: Use dotting tools to place tiny bats precisely.
16. Pumpkin Negative Space
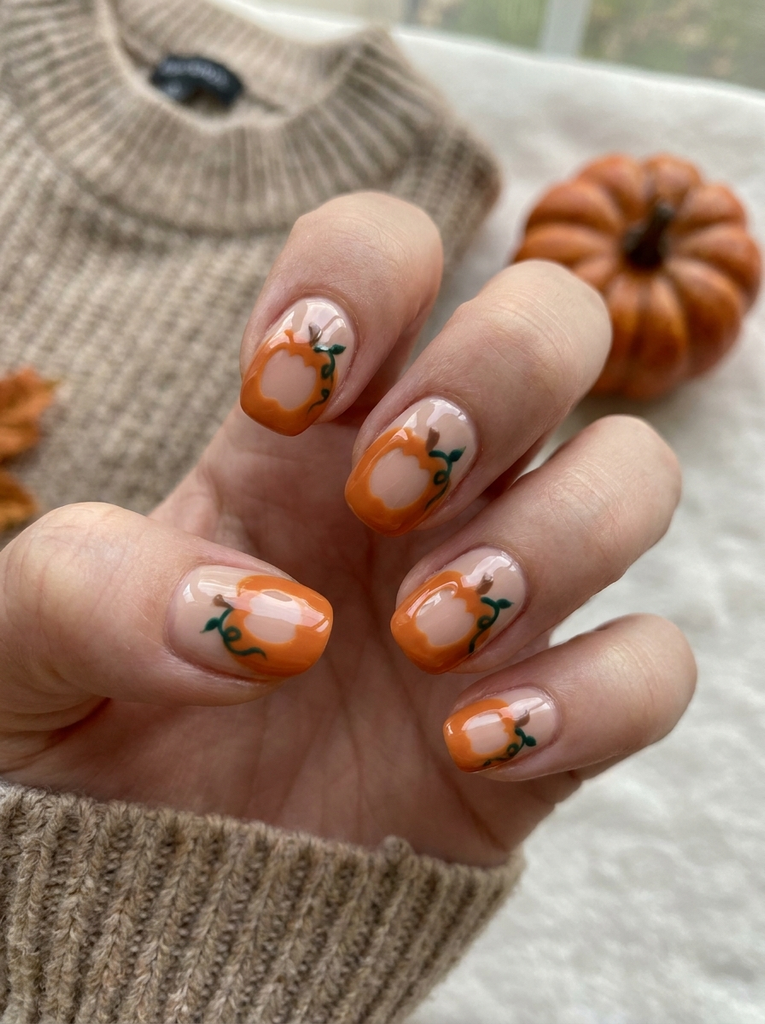
Keep the base nude and craft a pumpkin silhouette using orange gel polish as a negative-space cutout. The remaining nail stays clear to maximize the shape’s impact. A tiny green vine accents the cutout for seasonal flair. A glossy top coat adds a polished finish.
- Best for: Clean, modern Halloween nails
- Difficulty: Easy
- Best occasion: Workdays with a playful edge
- Tip: Use a stencil or sticker for the negative-space pumpkin to ensure sharp edges.
17. Glass Fleck Sparkle
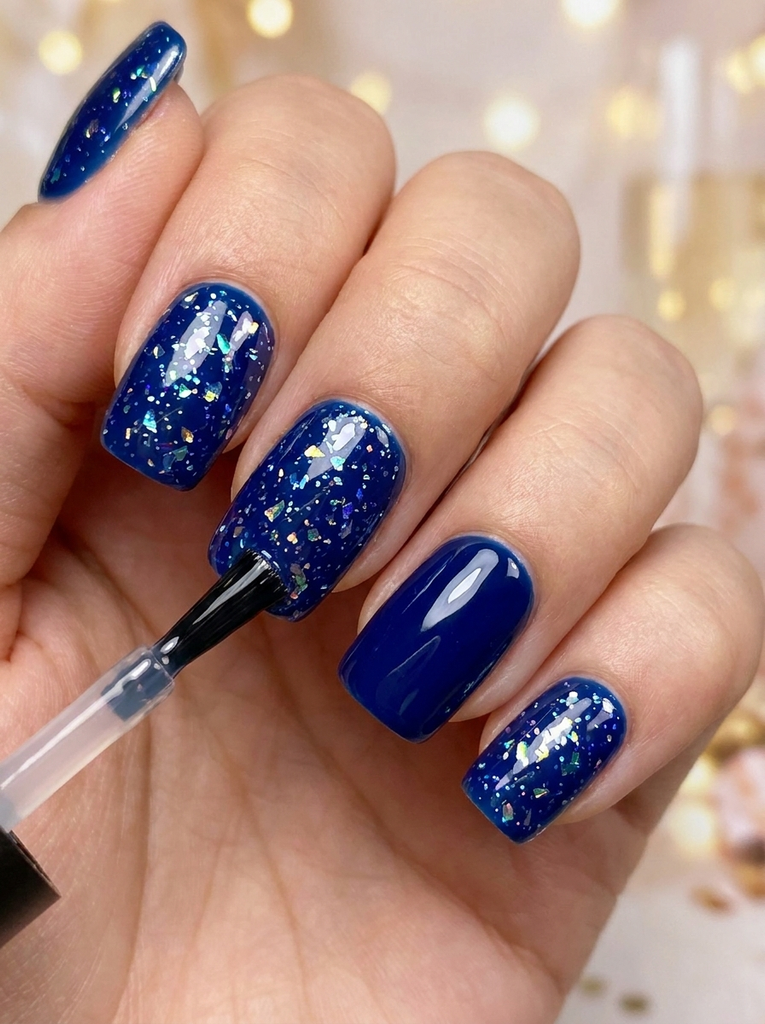
Choose a dark base and sprinkle fine glass fleck glitter across the nail in a random yet balanced pattern. Keep one nail as a clean solid color to avoid overload. A sheer top coat preserves the sparkle without dulling the look. This pairing works well with square or almond nails.
- Best for: Textured sparkle without bulk
- Difficulty: Easy
- Best occasion: Parties and celebrations
- Tip: Tap off excess glitter before sealing with top coat.
18. Poison Bottle Art
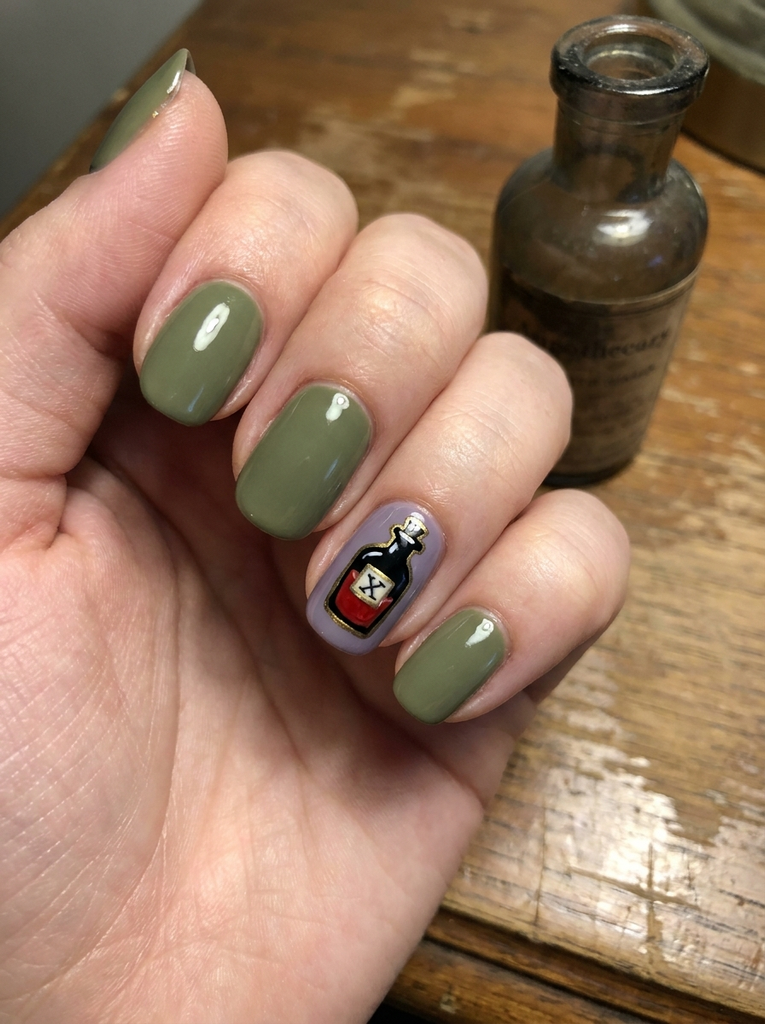
Base with a muted green or lavender shade and paint a tiny poison bottle on the accent nail using bold black for the bottle and red for the liquid. Add a small label with a stylized symbol or letter in white. A delicate gold outline around the bottle gives a vintage vibe. Finish with a glossy seal.
- Best for: Quirky, vintage-inspired nails
- Difficulty: Moderate
- Best occasion: Costume parties
- Tip: Use nail vinyls to keep bottle shapes crisp.
19. Grim Reaper Motif
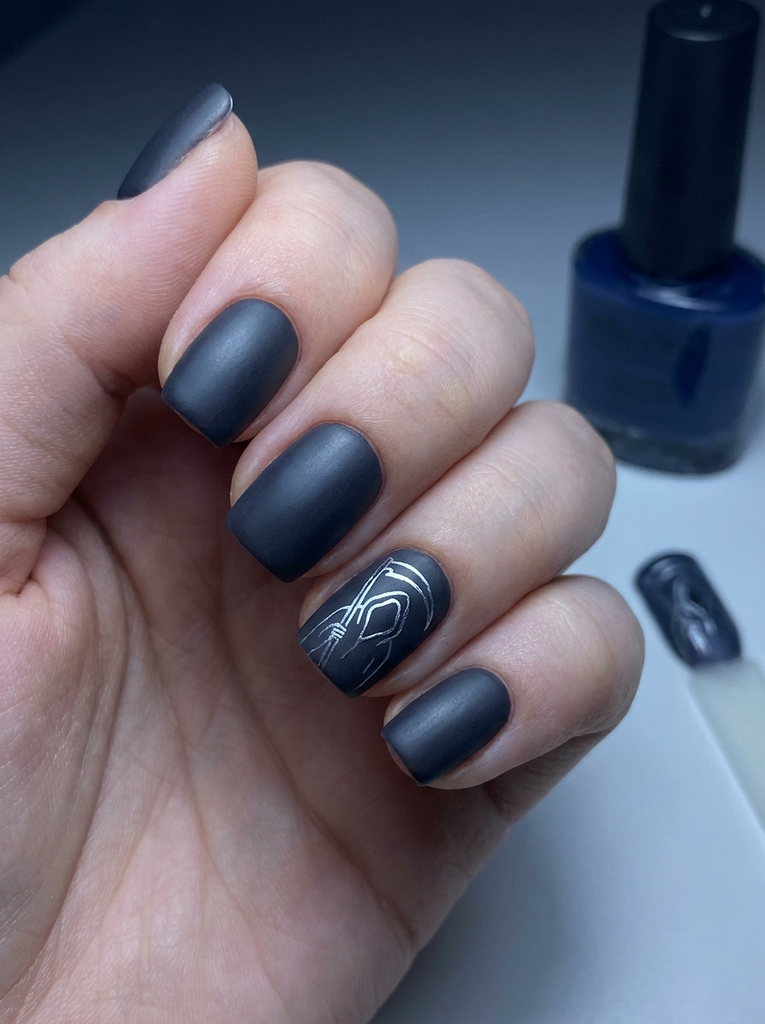
Paint a moody midnight blue or charcoal base and sketch a simplified scythe or hooded figure on the accent nail. Keep lines minimal to avoid crowding. A thin silver line can outline the scythe for a metallic pop. A satin top coat creates a subtle, ominous finish.
- Best for: Dark, dramatic vibes
- Difficulty: Moderate
- Best occasion: Themed events
- Tip: Practice the figure on a swatch before painting on nails.
20. Ghostly Gradient Nails
Three To Four Word Anchor
Start with a pale, ethereal base—think icy lavender or pale blue. Layer in a soft white-to-clear gradient toward the tip to evoke a translucent ghostly effect. A tiny, friendly ghost drawn on the accent nail adds whimsy. Seal with a shiny top coat for a spectral glow.
- Best for: Soft Halloween vibes
- Difficulty: Easy to Moderate
- Best occasion: Daytime events, cookie exchanges
- Tip: Keep the gradient light to prevent a chalky finish.
FAQs
What are the key trends for halloween nails ideas 2026?
Expect a mix of graphic line work, negative space, and atmospheric gradients. Designers favor moody bases with bold accents, and playful silhouettes on one or two nails as focal points.
Which nail shapes suit these designs best?
Square and squoval nails provide a clean canvas for detailed line work, while almond and coffin shapes let gradients read softly and elongate the hand.
How do I apply such designs at home without professional tools?
Use a fine nail art brush, dotting tool, and nail vinyls for clean shapes. Build with thin layers and cure between steps if you’re using gel, and finish with a protective top coat.
Can I combine ideas or customize colors?
Absolutely. Start with a base you love and borrow motifs across designs. Swap colors to suit your skin tone or the event, keeping contrast high for visibility in photos.
Are these designs appropriate for work or school?
Many designs are toned down versions of the bold ideas. Opt for single accent nails or lighter colorways if your environment requires restraint, while still enjoying seasonal spirit on other nails.
Conclusion
With halloween nails ideas 2026, you can mix bold, graphic looks with subtle seasonal notes to match any vibe. From pumpkin gradients to ghostly fades, there’s a design for every mood and length. Try one, or curate a mini-palette of favorites for the season and share your nails with friends.