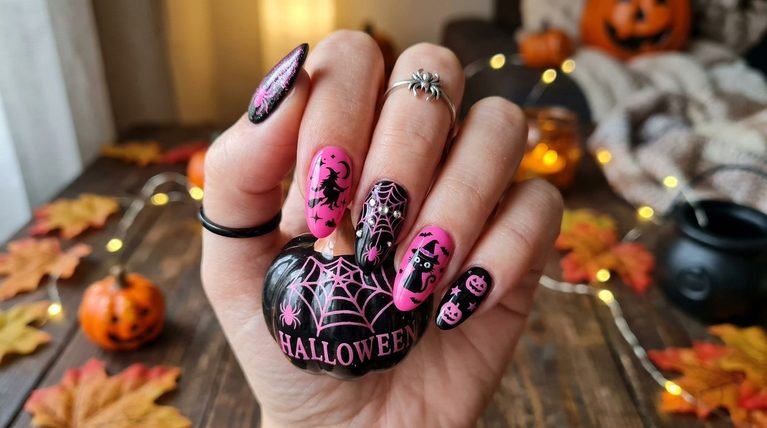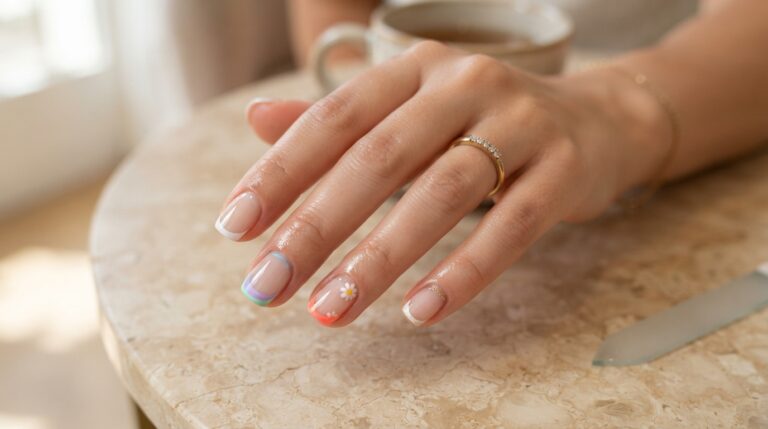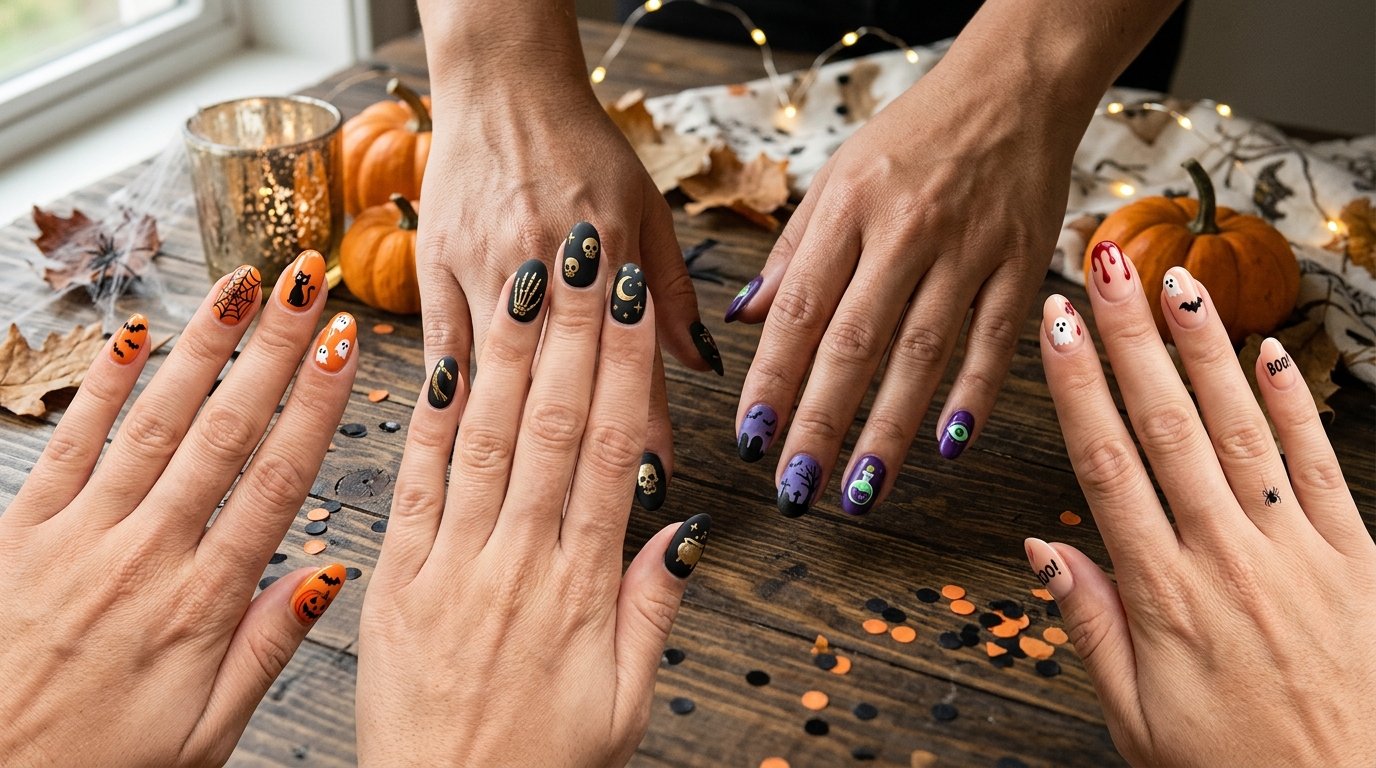
Halloween Nails Natural Nail: 20 Creative Ideas for Natural Nails
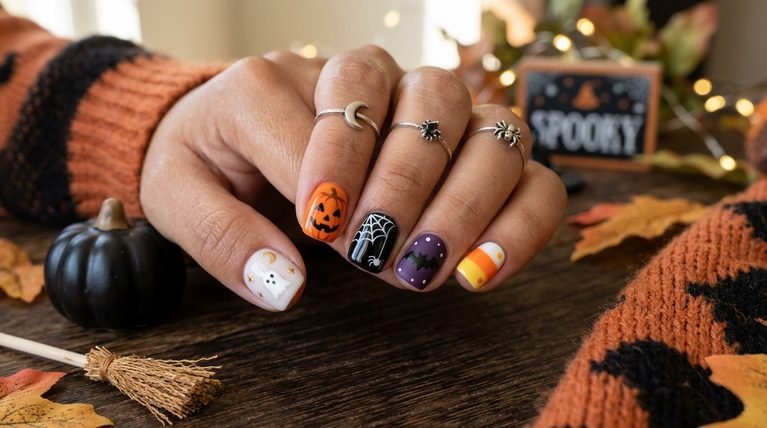
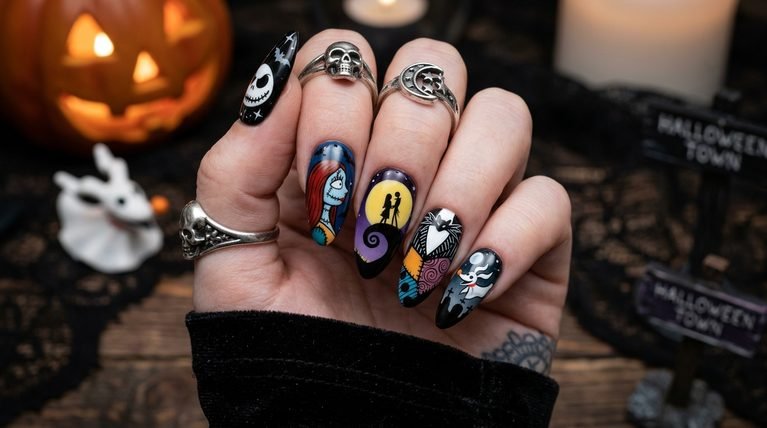
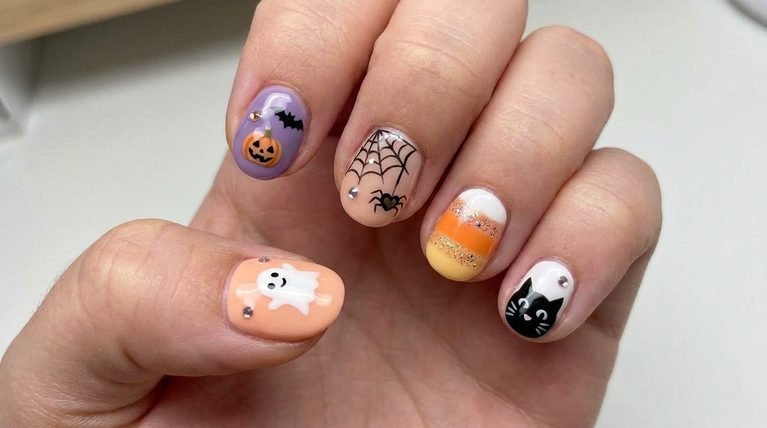
If you’re exploring halloween nails natural nail ideas, you’ll find 20 wearable designs that fit real nails and short lengths. This guide highlights simple, creative looks that read festive without bulky embellishments. Each idea explains color choices, nail shape, finish, and a practical at-home tip to try tonight.
1. Negative-Space Ghosts on Natural Nails
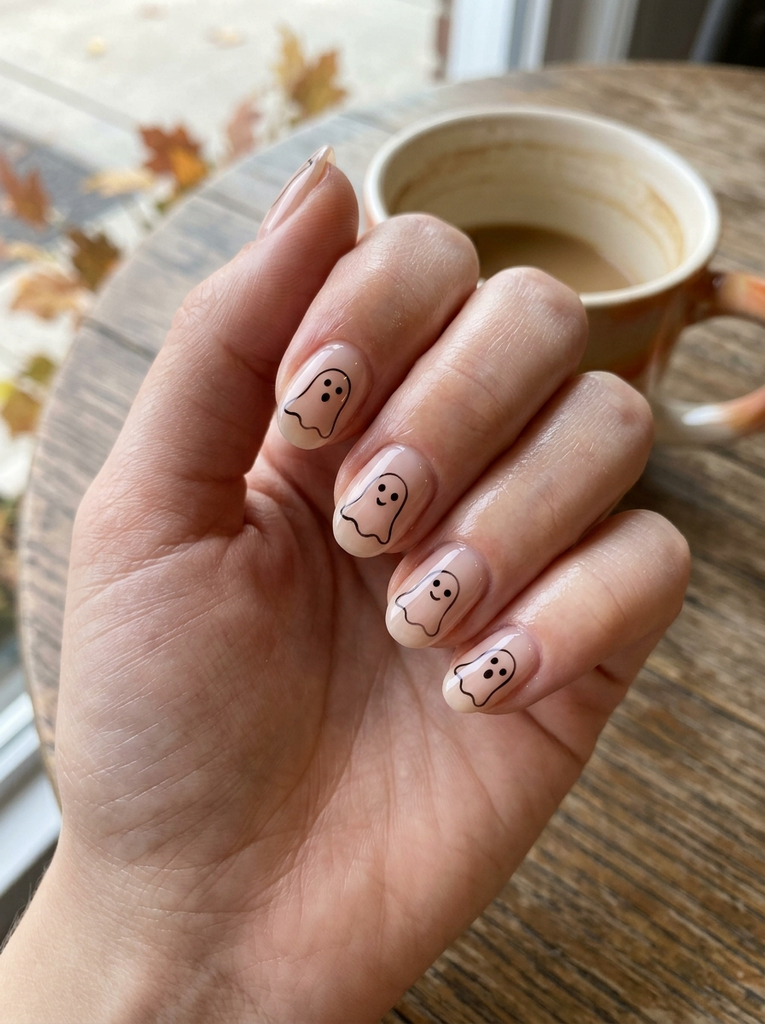
On short, oval natural nails, start with a sheer nude base. Leave small ghost silhouettes carved out by the base color, then fill in with a thin black outline to define the figures. Keep most of the nail nude to allow the shapes to pop while preserving a clean, everyday look. A glossy top coat seals the design and ensures easy wear.
- Best for: Subtle seasonal theme on real nails, office-friendly when kept small.
- Difficulty: Easy to moderate; requires steady hand for ghost outlines.
- Best occasion: Workdays, casual events, or Halloween parties with a refined vibe.
- Tip: Use a fine detail brush and steady wrist; practice ghost shapes on a nail swatch first.
2. Pumpkin French Tips
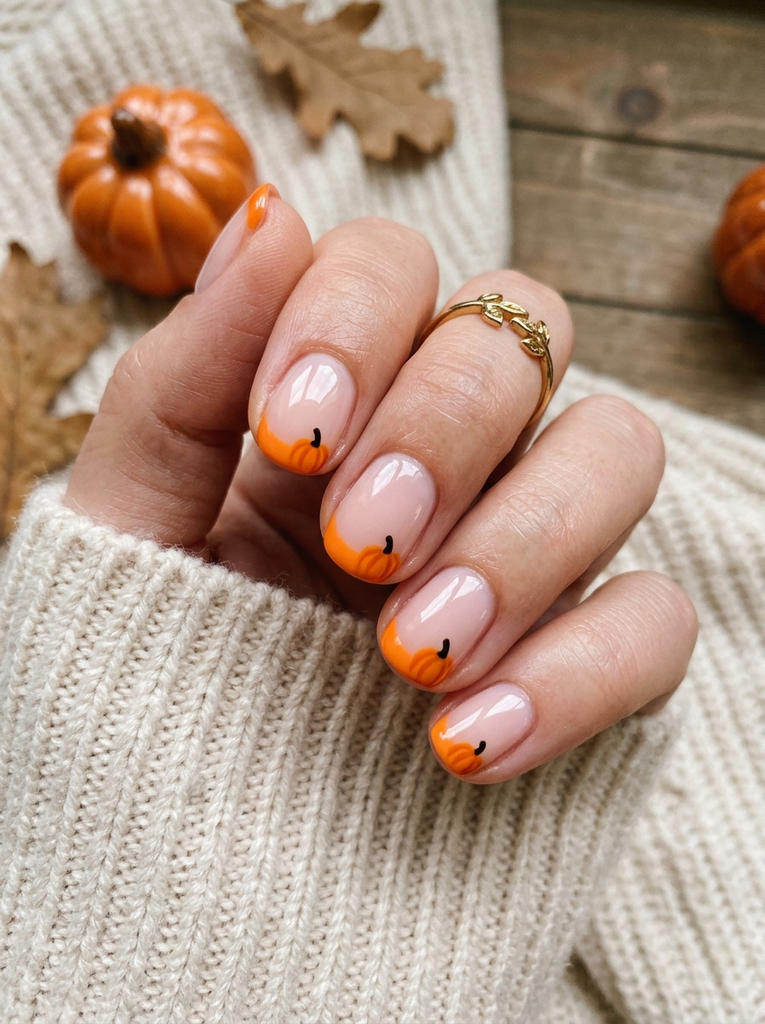
Imagine a classic French manicure, but with tiny orange pumpkin silhouettes replacing the tips. Start with a sheer pink nude base on short, rounded nails. Paint the tips in a bright pumpkin orange, then add a tiny black stem at the outer edge. Finish with a high-gloss top coat for a clean, playful look.
- Best for: A cheerful twist on a familiar shape.
- Difficulty: Easy; steady tip line helps keep the look neat.
- Best occasion: Everyday wear with a festive hint, family gatherings.
- Tip: Use striping tape for crisp tips, then blend edges with a soft brush.
3. Matte Bat Accents
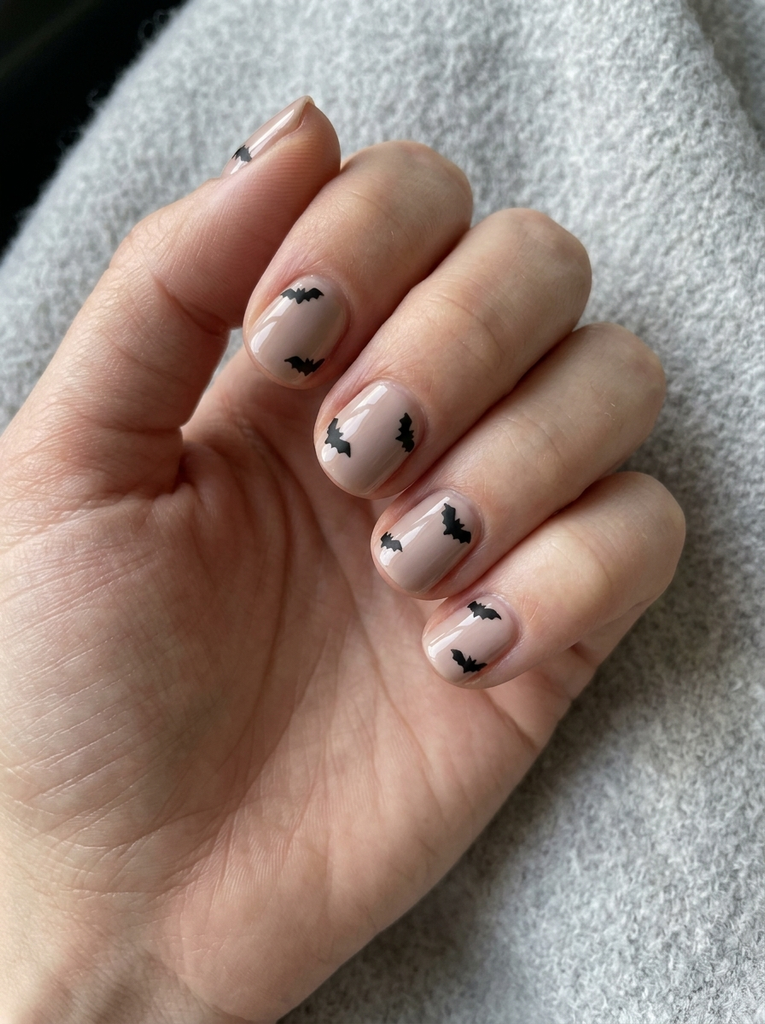
Coat natural nails in a pale taupe or nude base, then add small matte black bat silhouettes near the cuticle or lateral nail. The matte finish on the bats contrasts against the subtle gloss of the nude base. Keep the bats small and spaced for a refined, not cartoonish, effect.
- Best for: Subtle Halloween vibe on minimal nails.
- Difficulty: Moderate; precise outlines help prevent smudges on matte surfaces.
- Best occasion: Day-to-day wear with a seasonal twist.
- Tip: Use a fine liner brush for the bat shapes and seal with matte top coat.
4. Skeleton Hand Accents
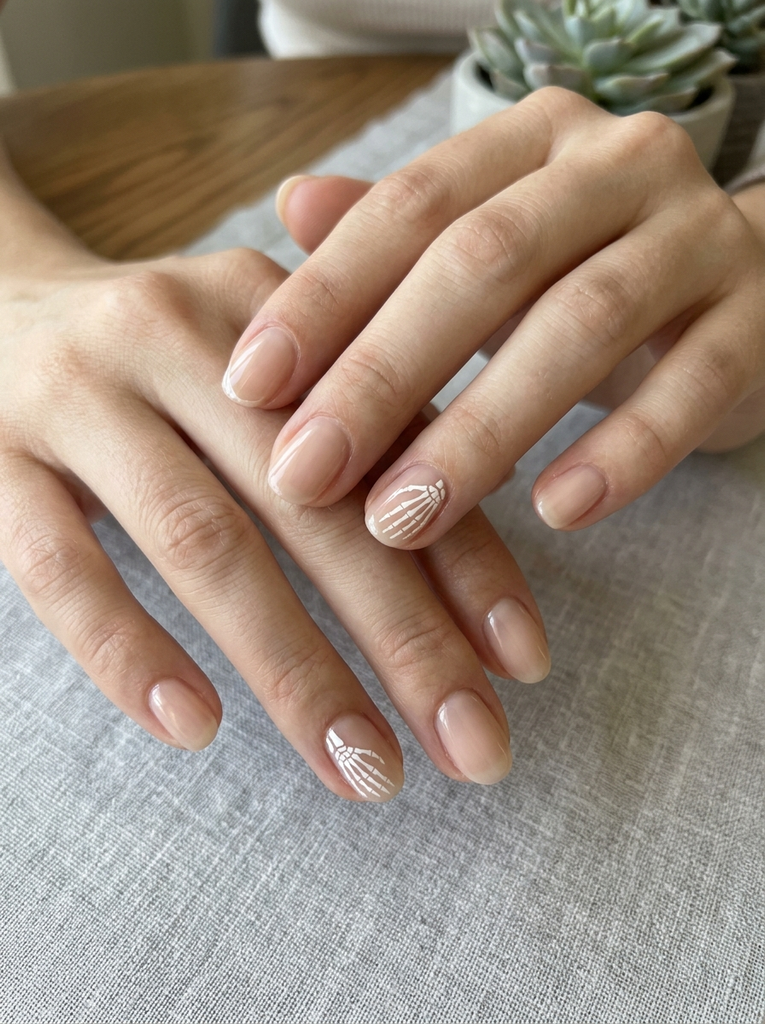
Choose a sheer nude base and paint tiny white bone-hand silhouettes along the tip or edge of one nail per hand. The bones should be delicate and brief, avoiding a heavy look. Finish with a clear gloss to keep the design legible yet understated on natural nails.
- Best for: Subtle spooky details that don’t overpower the manicure.
- Difficulty: Moderate; tiny lines require steady hands.
- Best occasion: Halloween parties or themed events without loud decor.
- Tip: Practice the bone shapes on a swatch before painting on actual nails.
5. Candy Corn Tips
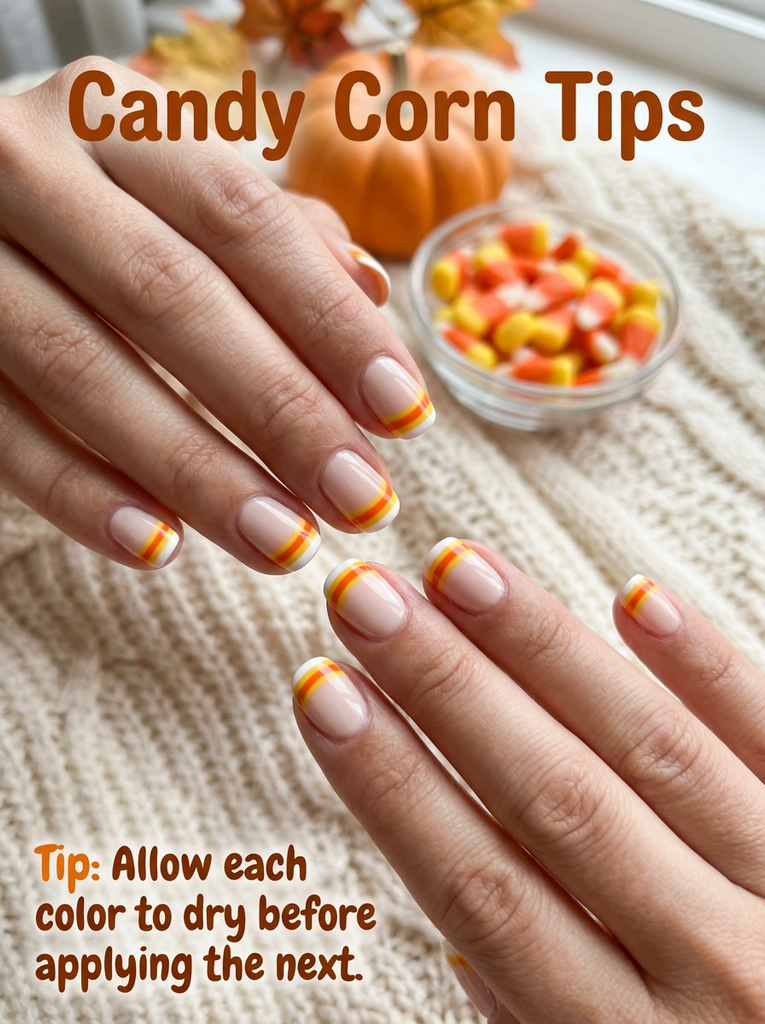
Create a three-color tip using white, orange, and yellow bands on short, round nails. Start with nude or pale base, then paint a thin white band at the tip, followed by orange and a thin yellow edge. A glossy finish keeps the colors vibrant while staying light and fun.
- Best for: Playful, recognizable Halloween nods.
- Difficulty: Easy; use painter’s tape for clean horizontal bands.
- Best occasion: Parties, trick-or-treat events, and family gatherings.
- Tip: Allow each color to dry before applying the next to prevent bleeding.
6. Glitter Halo Nails
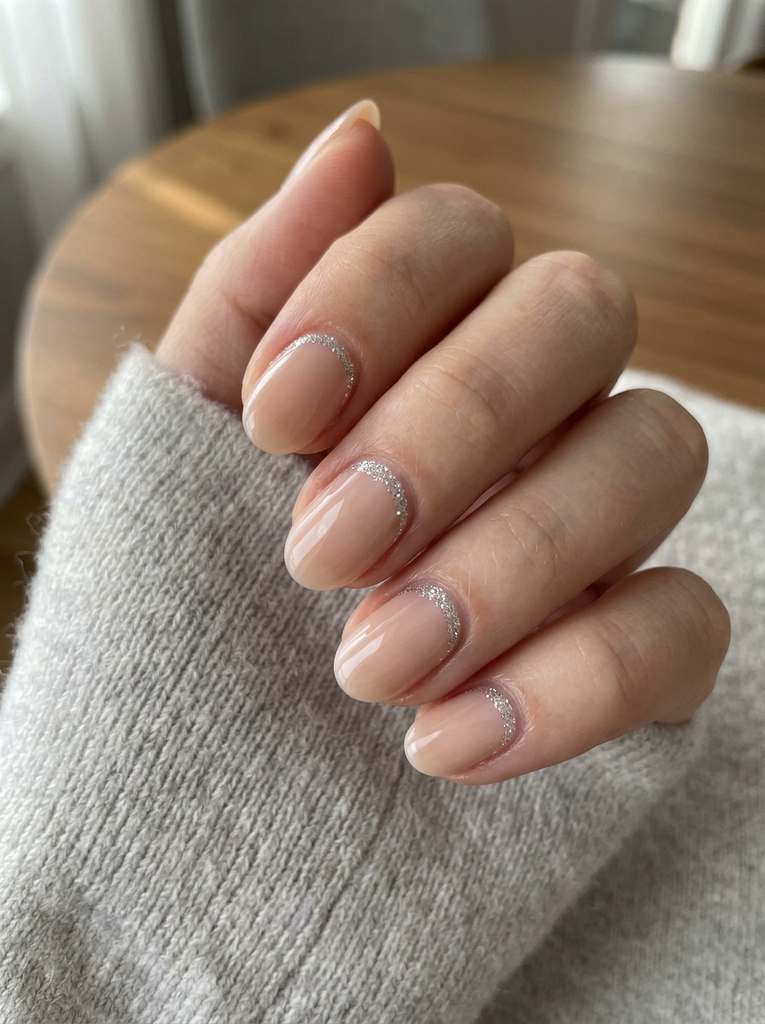
Keep the base nude and add a thin ring of fine silver or iridescent glitter around the base of each nail, leaving the center mostly bare. This creates a halo effect that feels festive without overwhelming natural nails. A high-gloss top coat helps the glitter stay put and prevents chipping.
- Best for: Subtle sparkle on natural nails.
- Difficulty: Easy; focus on even glitter distribution.
- Best occasion: Workdays or casual nights out during the season.
- Tip: Use a dab-and-tloat method to control glitter density.
7. Sunset Gradient Nails
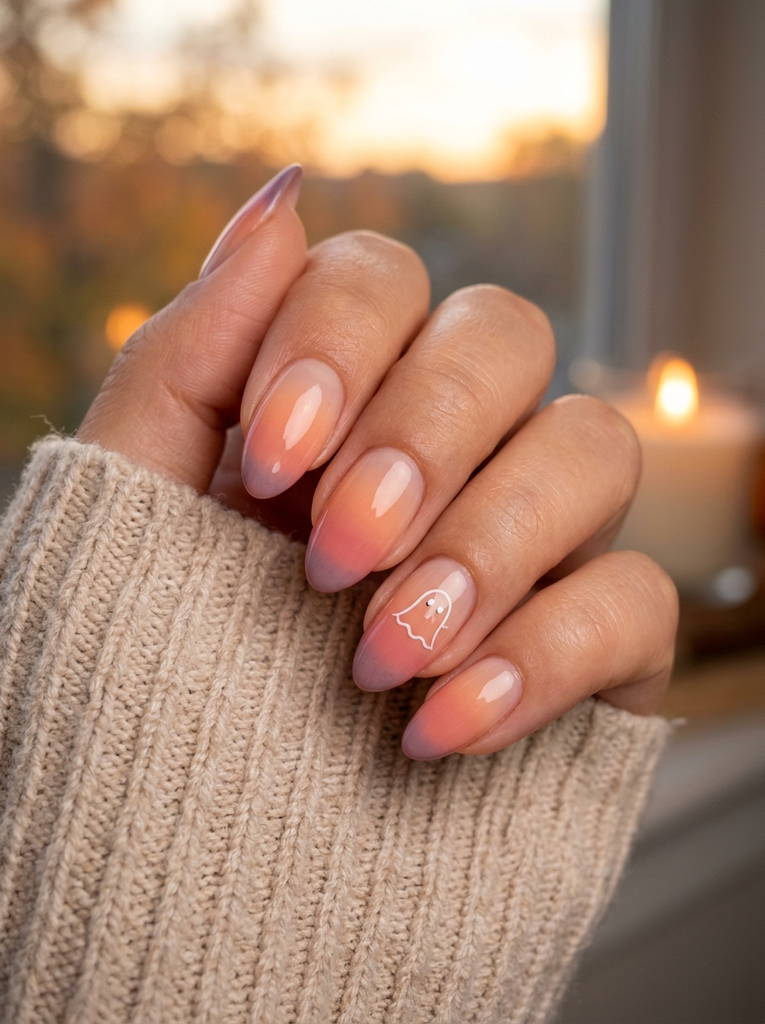
Create a soft orange-to-pink gradient on natural nails with a hint of purple at the tips. Keep the base color near nude to preserve a natural look, and add a thin, abstract white line or tiny ghost on one accent nail for a seasonal touch. Finish with a satin or glossy top coat depending on your mood.
- Best for: A warm, seasonal glow that suits many skin tones.
- Difficulty: Moderate; gradient blending takes patient layering.
- Best occasion: Family dinners, photos, and socials in autumn evenings.
- Tip: Work in thin layers and allow ample drying time between coats.
When your manicure feels complete, pair it with Brunette Hair Color Ideas for Fall that create a coordinated beauty look without requiring complicated styling or extra time.
8. Pumpkin Charms on Clear Base
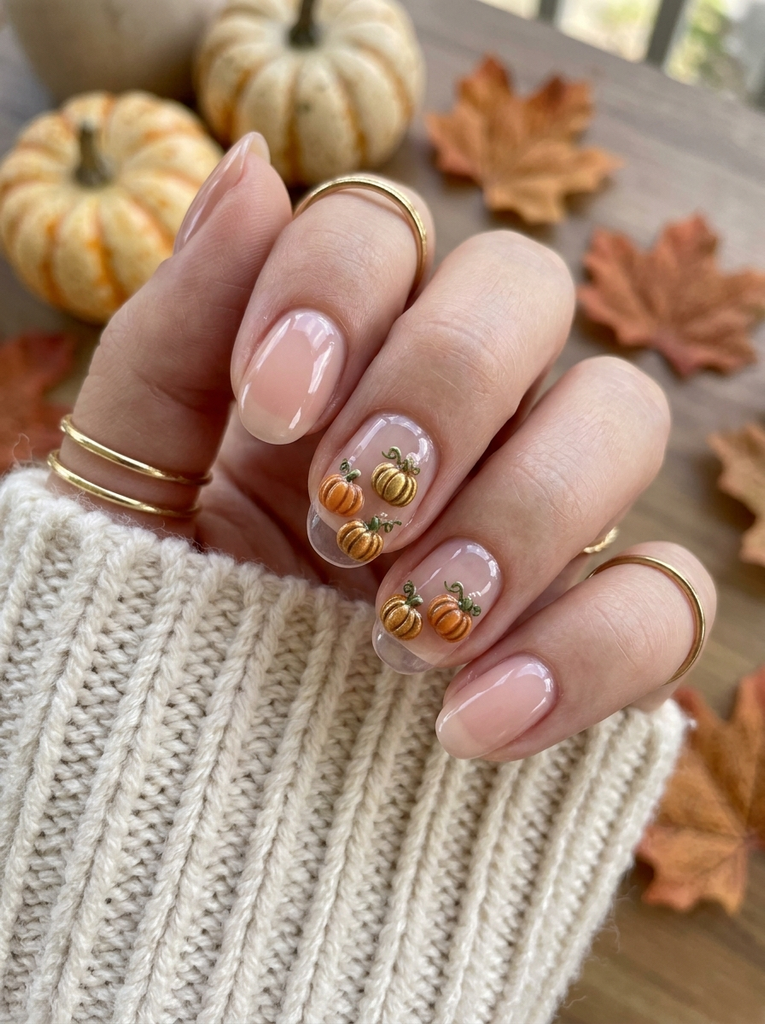
Use small pumpkin charms on one or two accent nails over a bare clear gel base for a modern, airy look. Keep the rest of the nails nude or sheer pink. Ensure charms are securely sealed with top coat to avoid snagging in daily wear.
- Best for: Minimal jewelry-style accents on natural nails.
- Difficulty: Easy; proper placement and sealing are key.
- Best occasion: Casual parties, autumn gatherings, photoshoots.
- Tip: Use a micro-erase brush to position charms precisely.
9. Orange Smile Line French
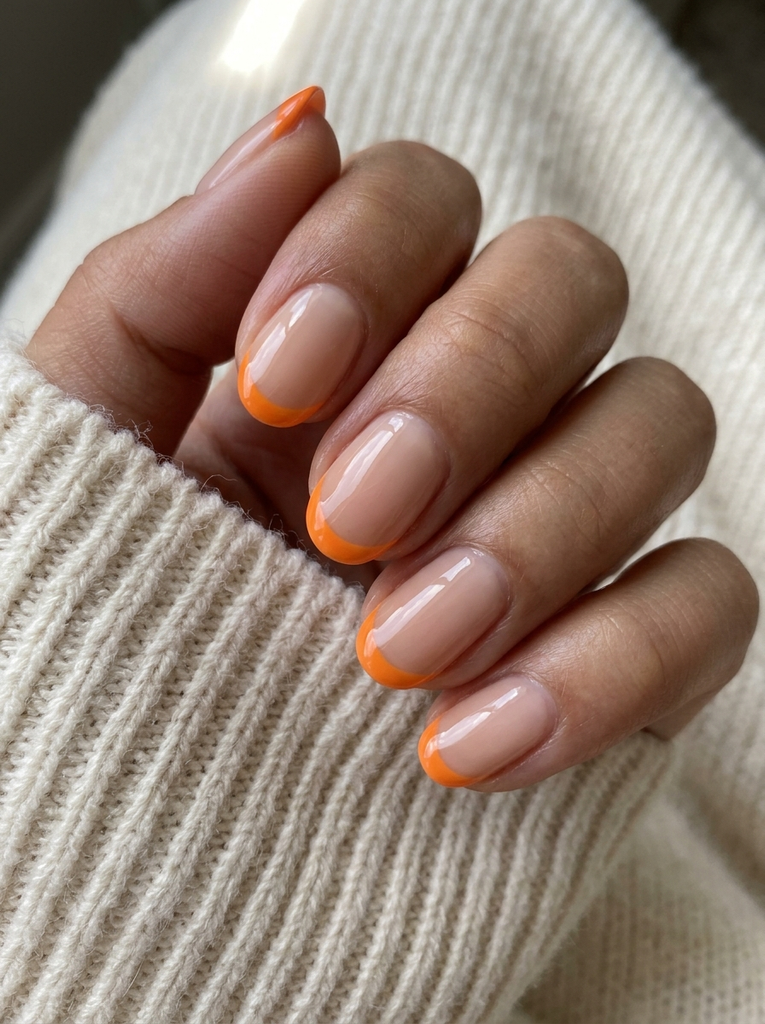
Flip the traditional French by painting a small orange smile curve along the free edge of each nail on a nude base. The line should be thin and curved, creating a playful, modern twist that remains flattering on natural nails. A clear top coat ensures durability.
- Best for: Modern, upbeat take on a classic manicure.
- Difficulty: Easy; guiding curve with a brush helps.
- Best occasion: Everyday wear with a subtle Halloween vibe.
- Tip: Use a stencil or steady hand to keep curves even.
10. Night Sky Dots
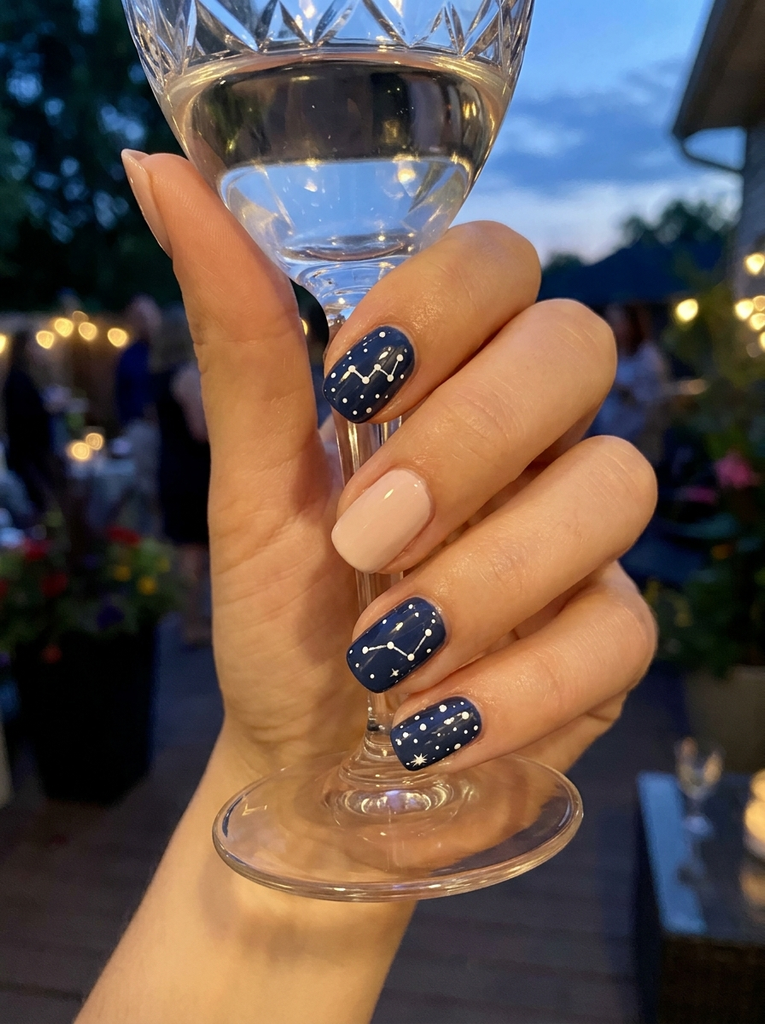
Paint a pale navy base and add tiny white dots to resemble stars, with a single small constellation on an accent nail. Keep other nails nude or pale to balance the look. A glossy finish highlights the dot details and adds depth to the night-sky effect.
- Best for: A celestial, subtle Halloween vibe.
- Difficulty: Easy; dotting tool helps consistency.
- Best occasion: Evening events, dinners, or social gatherings.
- Tip: Vary dot sizes for a more natural star field.
11. Spider Web Accent
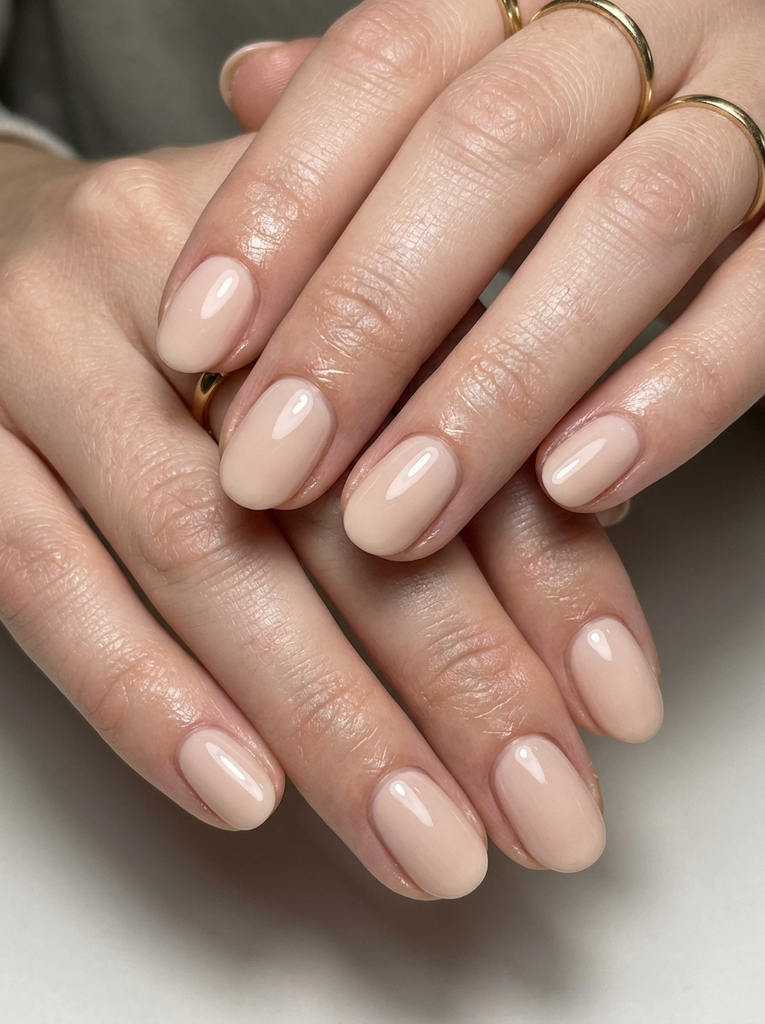
Draw a delicate black spider web across a nude or pale base on one nail per hand. Use a fine liner brush and a tiny dot of white at the intersection to mimic dew. Seal with a clear top coat for longevity while keeping the other nails simple.
- Best for: A classic Halloween motif that remains chic.
- Difficulty: Moderate; precise lines require control.
- Best occasion: Parties or photos with a spooky-but-polished look.
- Tip: Practice the web pattern on a swatch first.
12. Half Moon Design
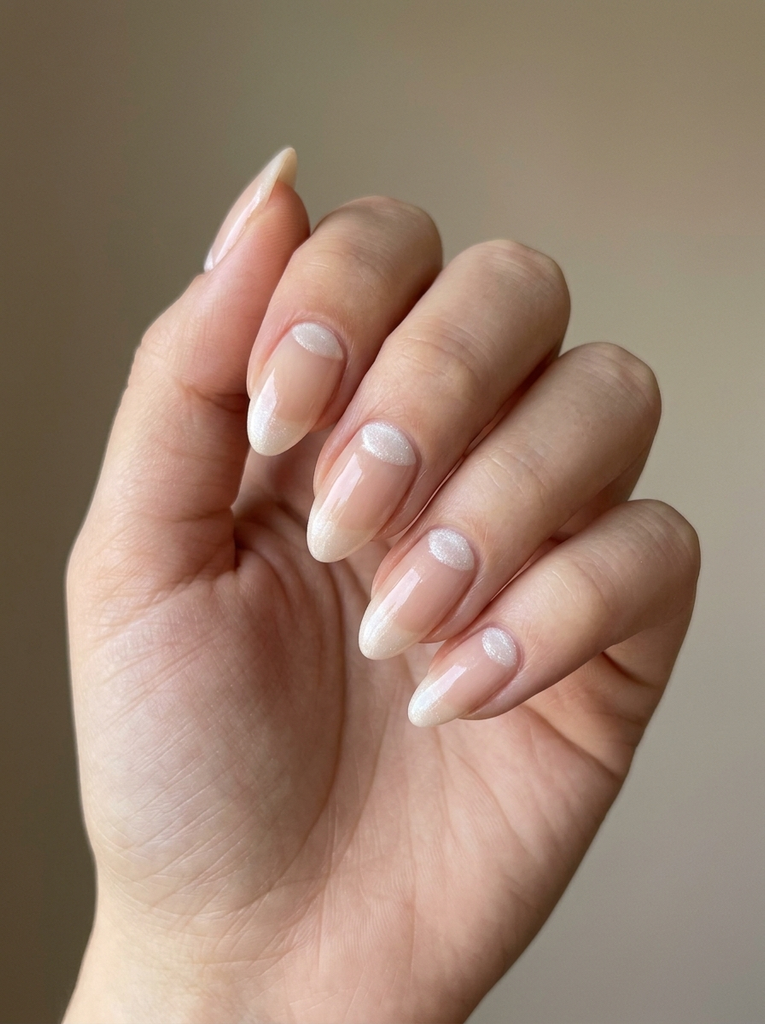
Apply a white or pale shimmer in a crescent near the cuticle of each nail, leaving the rest nude. This retro-inspired look creates a subtle glow while keeping nails natural in appearance. A light top coat helps the shimmer catch the light without overpowering the base.
- Best for: Subtle shimmer with a vintage feel.
- Difficulty: Easy; clean crescent shapes with a steady hand.
- Best occasion: Casual outings and autumn celebrations.
- Tip: Use a small stencil for crisp crescent edges.
13. Pumpkin Leaf Motifs
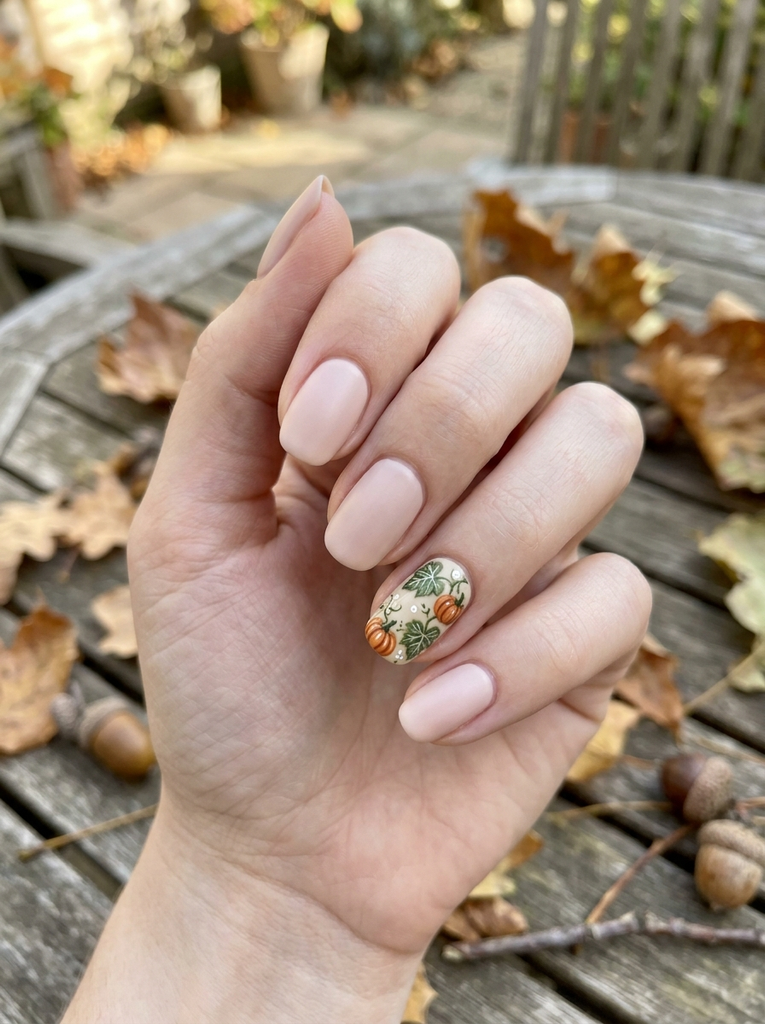
Feature tiny orange pumpkins with green leaves on one nail as a mini scene. Keep the remaining nails nude or pale pink for balance. Texture can stay smooth or be given a subtle satin finish to soften the look.
- Best for: Garden-fresh Halloween art with natural tones.
- Difficulty: Moderate; tiny leaf veins require care.
- Best occasion: Outdoor fall events or family gatherings.
- Tip: Use a fine brush for leaf details and a soft top coat.
14. Matte Halloween Nails
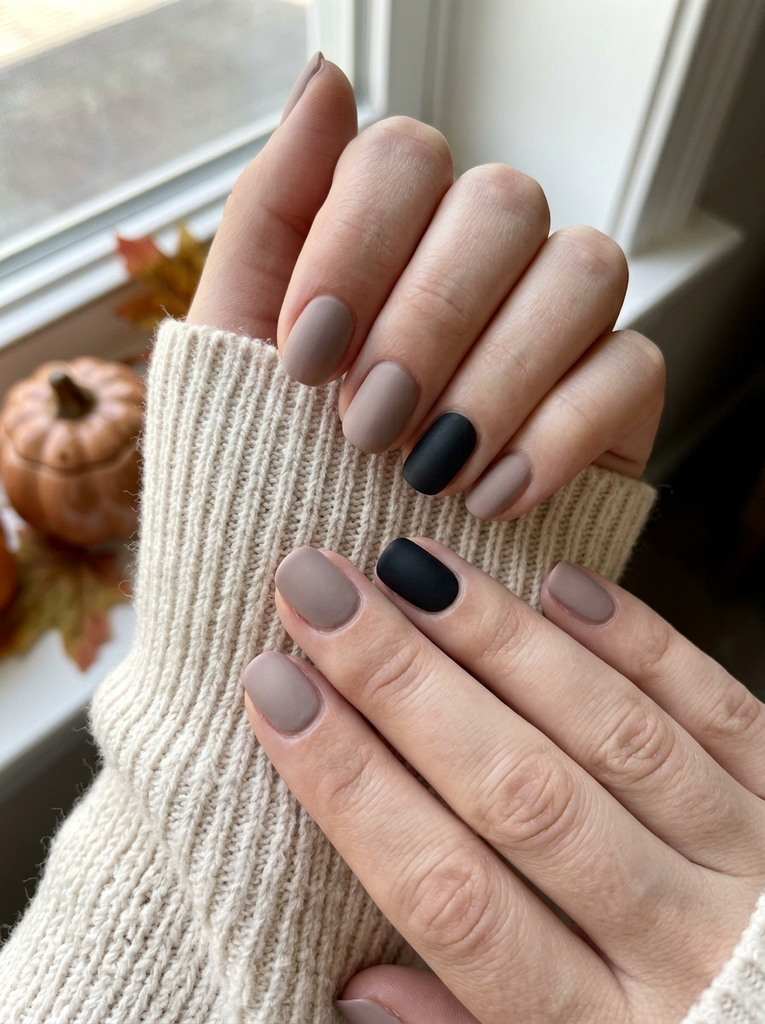
Paint nails in a soft nude or taupe and add one small orange or black accent nail. Finish with a matte top coat for a modern, restraint-friendly Halloween look that still reads festive in photos and daylight alike.
- Best for: Low-glam, high-sophistication Halloween style.
- Difficulty: Easy; mostly base color and one accent.
- Best occasion: Workweeks, school events, or daytime Halloween activities.
- Tip: Keep lines clean; matte top coats can dry quickly, so work steadily.
15. Ghost Fangs Negative Space
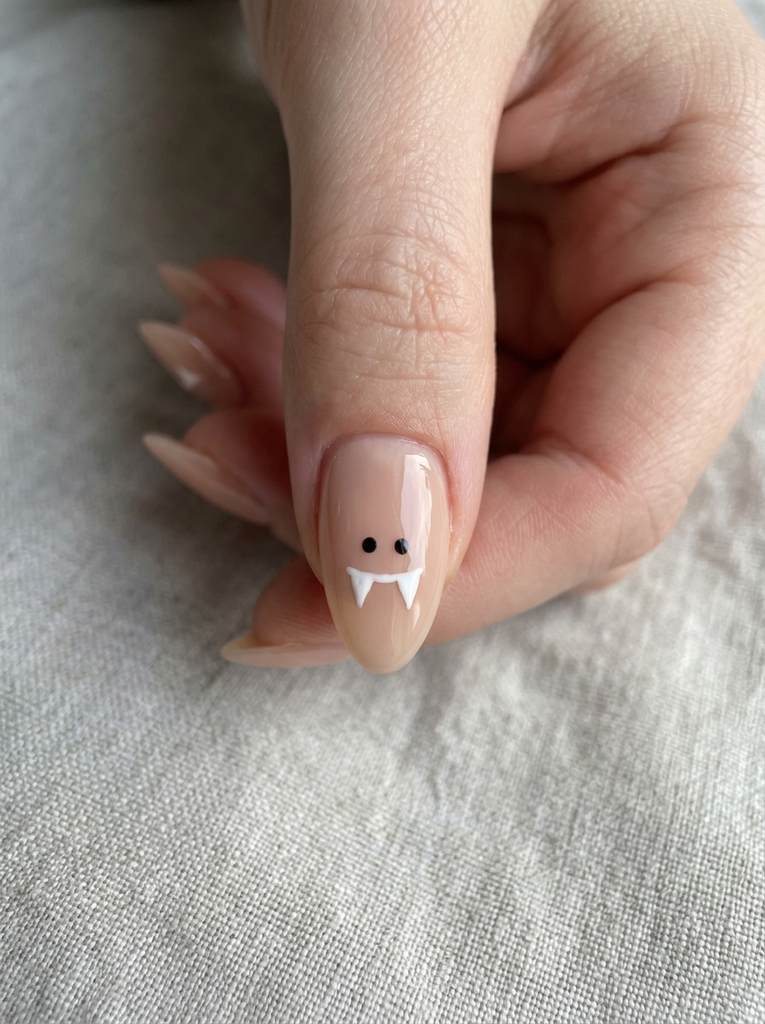
Utilize nude nails with tiny white ghost fangs appearing through negative space on the tip of the nail. The minimalist white shapes pop against a natural base while keeping the look gentle enough for everyday wear. Finish with a clear top coat for longevity.
- Best for: A cute, slightly spooky focal nail.
- Difficulty: Easy to moderate; sharp lines needed for fangs.
- Best occasion: Casual outings, class events, or family photos.
- Tip: Draw two small dots for eyes to give the fangs character.
16. Candy Corn Gradient
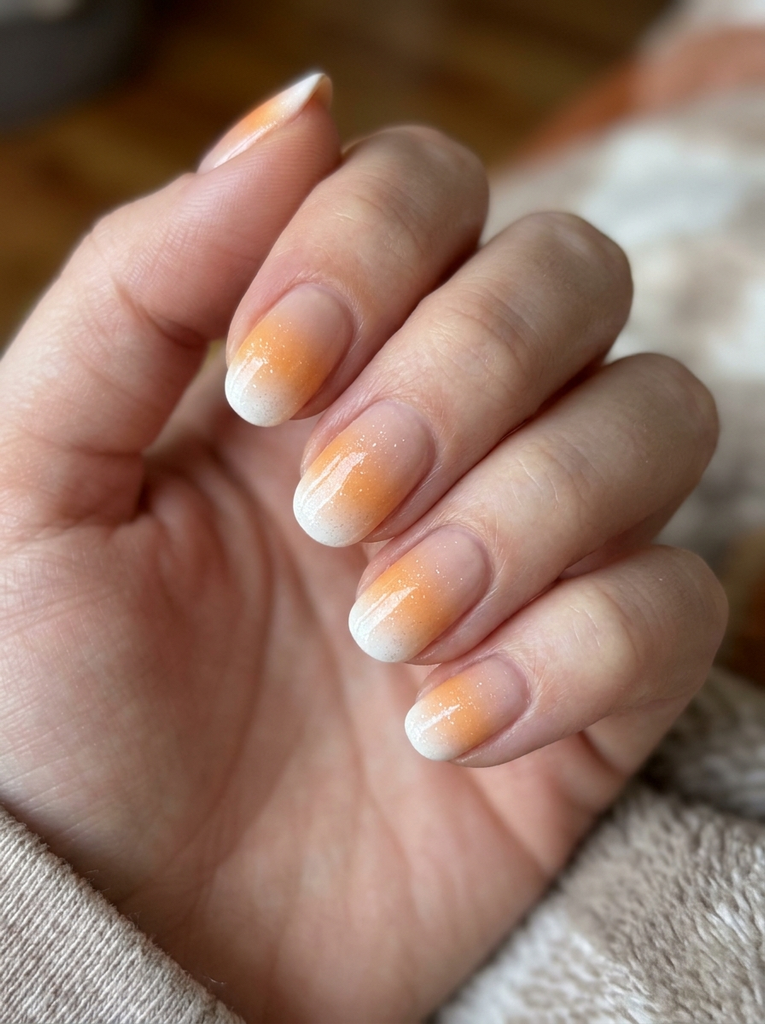
Build a soft gradient from nude to orange to white at the tip on several nails. Keep the transition clean and gentle to avoid a busy look on natural nails. A shimmering top coat lightly over the gradient adds dimension without heaviness.
- Best for: Bright, nostalgic Halloween vibes.
- Difficulty: Moderate; gradient blending requires patience.
- Best occasion: Halloween parties and family gatherings.
- Tip: Use a sponge method to blend colors for a smooth gradient.
17. Bat Silhouette Designs
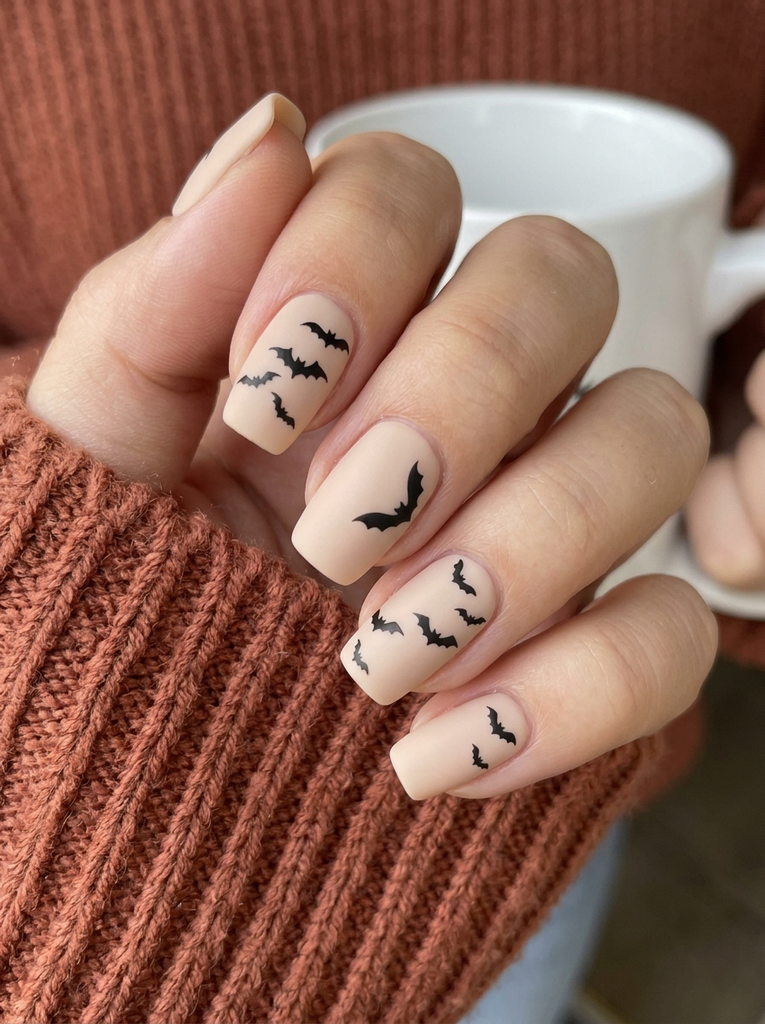
Paint thin black bat silhouettes swooping across a nude base. Place bats near the cuticle or along the sides for movement. A matte or satin finish keeps the look modern and wearable for everyday life with a fall twist.
- Best for: Whimsical yet tasteful Halloween accent.
- Difficulty: Moderate; shape symmetry matters.
- Best occasion: Weekend events or casual parties.
- Tip: Draw with a micro brush and refine edges slowly.
18. Ghosts and Stars
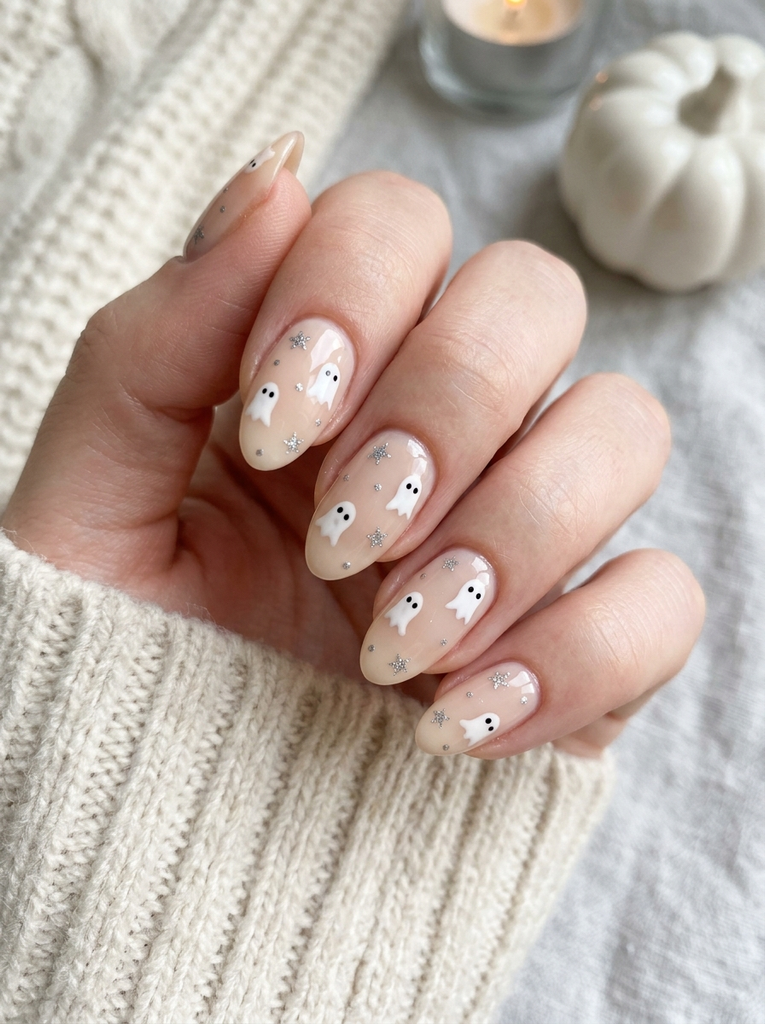
Offer a light, celestial scene with tiny white ghost figures drifting over a pale nude base, dotted with tiny silver stars. This combination reads festive but soft, ideal for those who prefer a quieter Halloween manicure. Top coat for longevity and shine.
- Best for: Soft, whimsical Halloween art.
- Difficulty: Easy to moderate; ghost shapes are small but forgiving.
- Best occasion: Dinners, family gatherings, or photos.
- Tip: Keep the stars sparse to maintain balance with the ghosts.
19. Natural Pumpkin Art
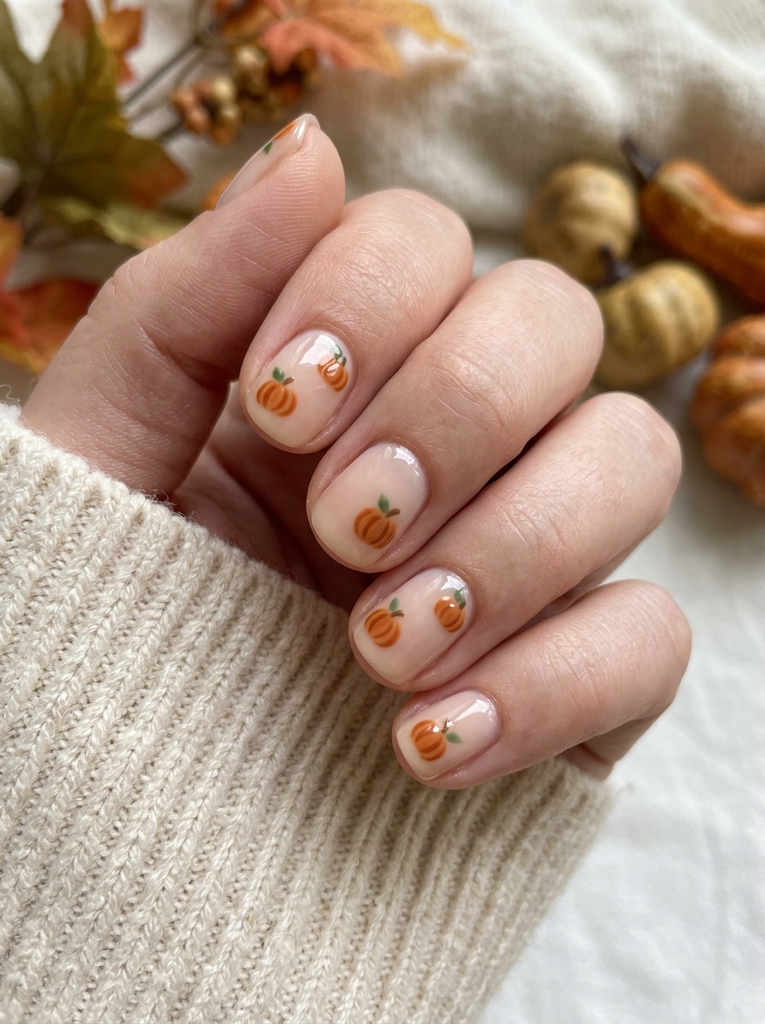
Draw tiny pumpkins in warm orange on a nude base, adding a hint of green for leaves. Keep the shapes crisp but small so they feel delicate rather than bold. A thin clear top coat preserves the art while keeping nails looking natural and fresh.
- Best for: Classic seasonal motif on real nails.
- Difficulty: Easy; small shapes require light touch.
- Best occasion: Everyday wear during autumn.
- Tip: Practice pumpkin shapes on a swatch first for accuracy.
20. Short Natural Nails
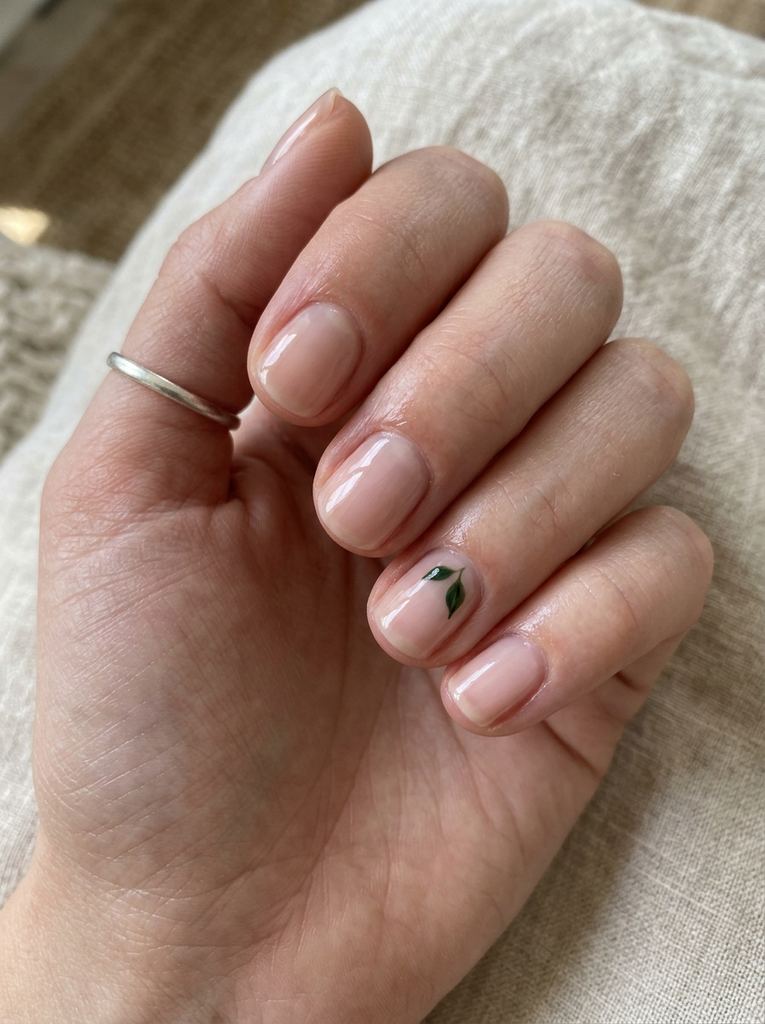
Focus on clean lines, a sheer base, and a tiny accent like a dot or a single leaf. This design emphasizes nail health and real-world wear while still feeling seasonal. Finish with a conditioning top coat to maintain natural nail health and shine.
- Best for: Everyday elegance with a seasonal twist.
- Difficulty: Very easy; minimal decoration.
- Best occasion: Work, school, errands, and casual meetups.
- Tip: Always prep cuticles well for a neat, long-lasting result.
FAQs
1. Can I recreate these halloween nails natural nail ideas at home?
Yes. Most ideas use common nail tools and a nude or sheer base, with small brushes or dotting tools for details. Take your time with lines and allow each layer to dry before adding the next for a clean finish.
2. Which designs work best on short natural nails?
Minimalist ghost silhouettes, candy corn tips, and tiny pumpkins are particularly flattering on short nails. Keeping accents small and one nail per hand helps maintain balance and wearability.
3. Do these designs require special products?
Not necessarily. A good nude base, a couple of color options (orange, black, white), and a reliable top coat are enough. If you use gel or LED-curing products, ensure proper curing and follow product instructions.
4. How can I make designs last longer on natural nails?
Prep the nails well: clean, file, and push back cuticles. Apply thin, even layers, cap the free edges, and finish with a strong top coat. Reapply top coat every 3–4 days to maintain shine and prevent chipping.
5. Which design is fastest for a quick Halloween manicure?
Idea 20 (Short Natural Nails) and Idea 5 (Candy Corn Tips) tend to be quickest. With careful brushwork, you can complete a clean, seasonal look in under an hour, especially if you keep accents to a single nail.
Conclusion
With 20 options, halloween nails natural nail ideas offer wearable, real-nail-friendly designs for any mood. From subtle negative-space ghosts to warm sunset gradients, you can pick a look that fits your daily routine while celebrating the season. Start with a simple base and one accent nail to test the waters, then build up as you like. If you’re after more inspiration, follow TheMirrorDiaries for fresh nail ideas and practical at-home tips.