Halloween Nails for Girls Kids: 20 Playful, Kid-Friendly Designs
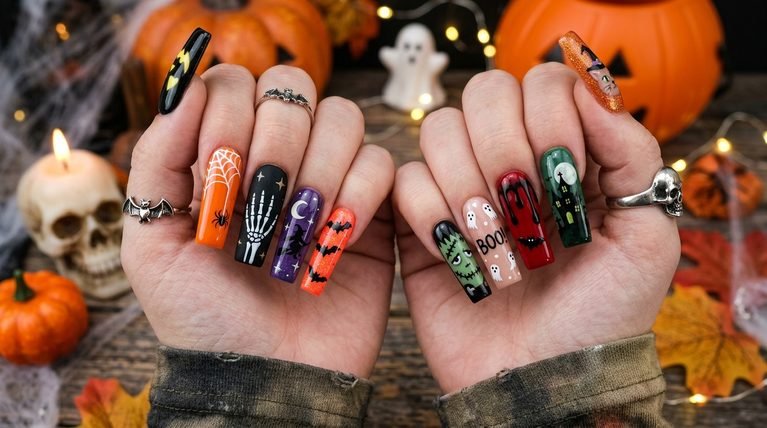
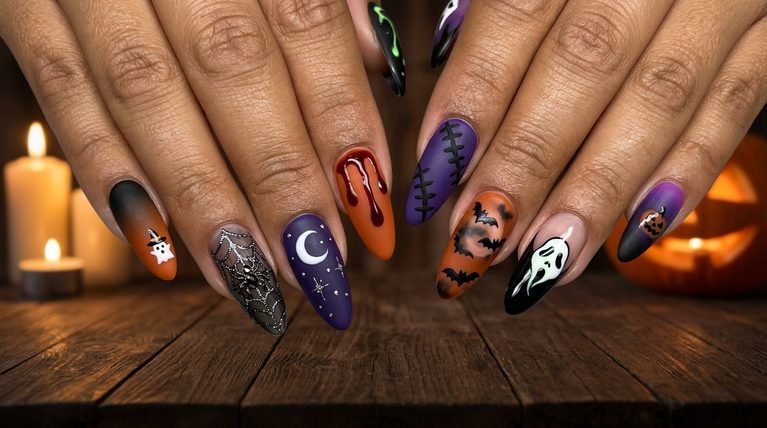
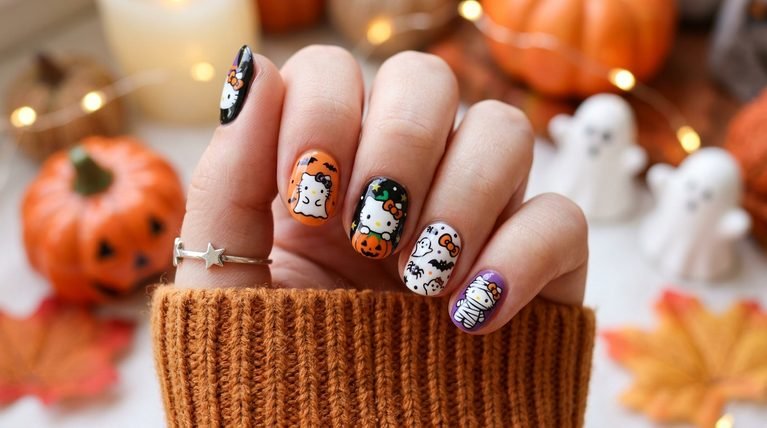
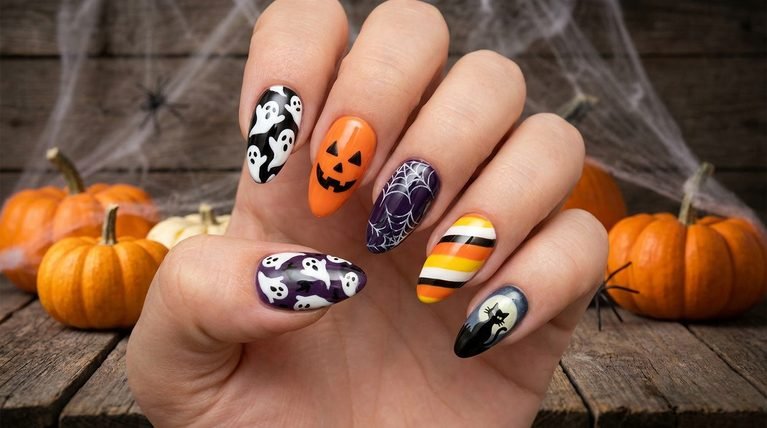
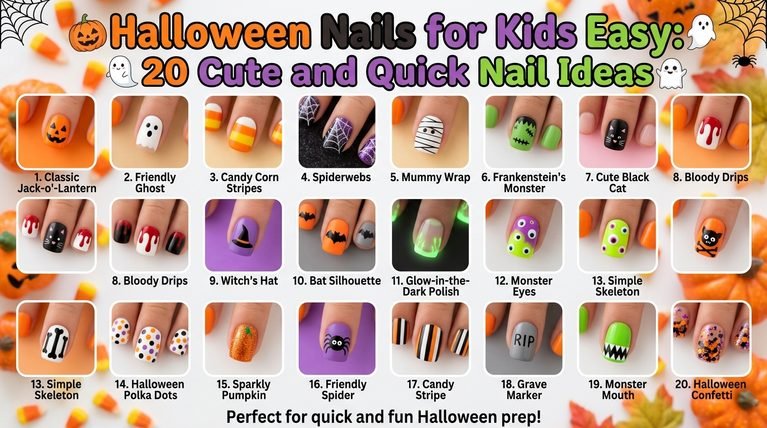
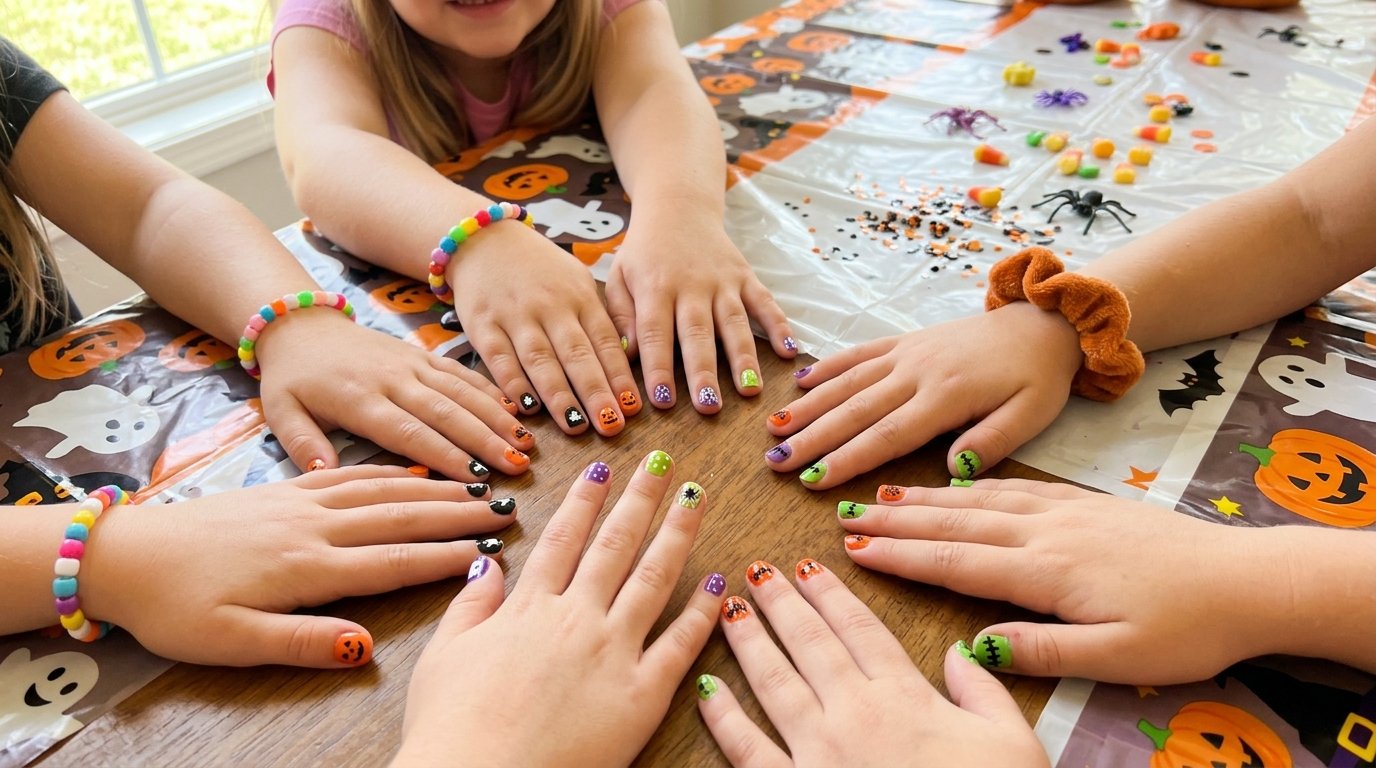
Yes. Here are 20 kid-friendly Halloween nails for girls kids that are easy to recreate, safe for little hands, and visually fun. Each idea includes base colors, nail shapes and finishes, plus simple tips to help you recreate the look at home. Designed for short nails and a light touch with decoration, these designs are perfect for school events, parties, or a family pumpkin-patch outing.
1. Ghosts and pumpkins on short nails
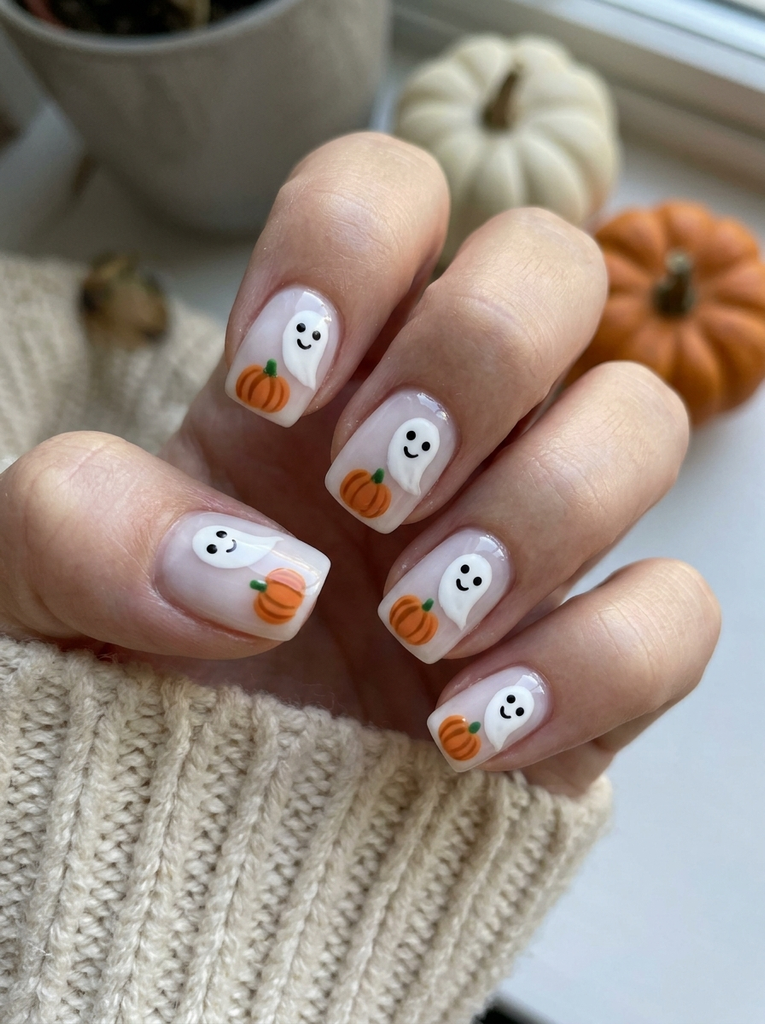
Small white ghosts float above tiny orange pumpkins on a set of short square nails. The look uses a pale base to keep the artwork legible, with clean black details for eyes and smiles. A glossy top coat helps the designs pop on every nail, while a tiny dot of green on the pumpkin stem adds a fresh contrast. Apply slowly, using a fine brush for crisp lines.
- Best for: School events, playful日
- Difficulty: Easy
- Best occasion: Halloween party, family photos
- Tip: Use a steady hand and dotting tool for round pumpkin shapes.
2. Pink pumpkin gradient with glitter
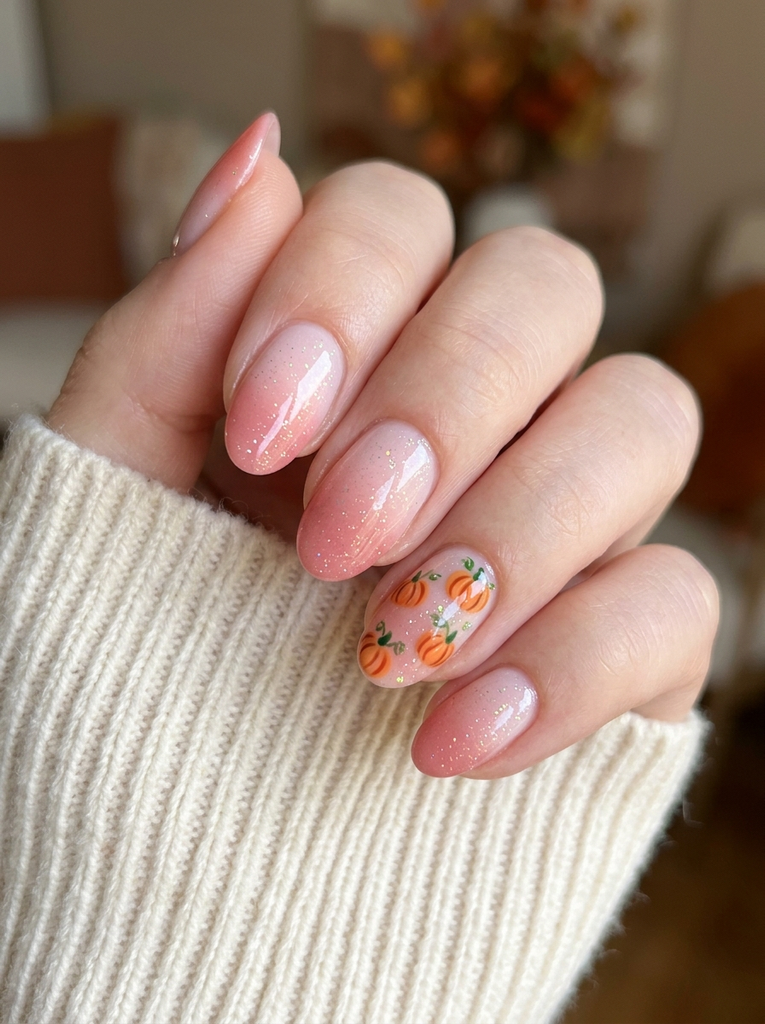
A delicate gradient runs from a pale pink at the cuticle to a rosy pink at the tip, with tiny orange pumpkins dotted along one accent nail. Finish with a fine sprinkle of iridescent glitter to catch the light. Short almond nails work well here to keep the gradient smooth and elegant.
- Best for: Everyday Halloween looks
- Difficulty: Medium
- Best occasion: Family gatherings, photo sessions
- Tip: Use a sheer pink base to help the gradient blend seamlessly.
If you enjoy creative beauty choices, discover Tattoo Ideas for Women With Meaning that complement your personal style while adding a meaningful touch to your overall look.
3. Candy corn French tips with a twist
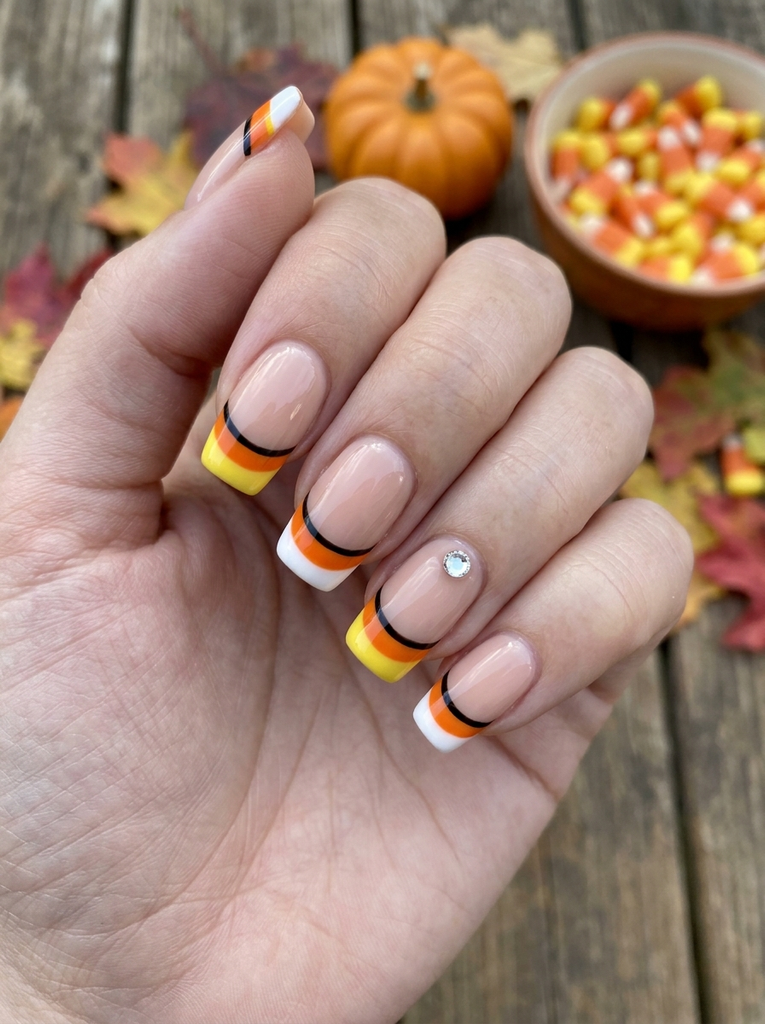
Classic candy corn tips reimagined with a tiny black line between colors for definition. Base nails in a soft nude keep the colors prominent, while a glossy top coat seals the look. This style works great on short or medium-length nails and pairs with a simple rhinestone accent on one nail if desired.
- Best for: Classroom parties
- Difficulty: Easy
- Best occasion: Trick-or-treat events
- Tip: Use striping tape to achieve clean color separations.
4. Black and white spiderwebs on almond nails
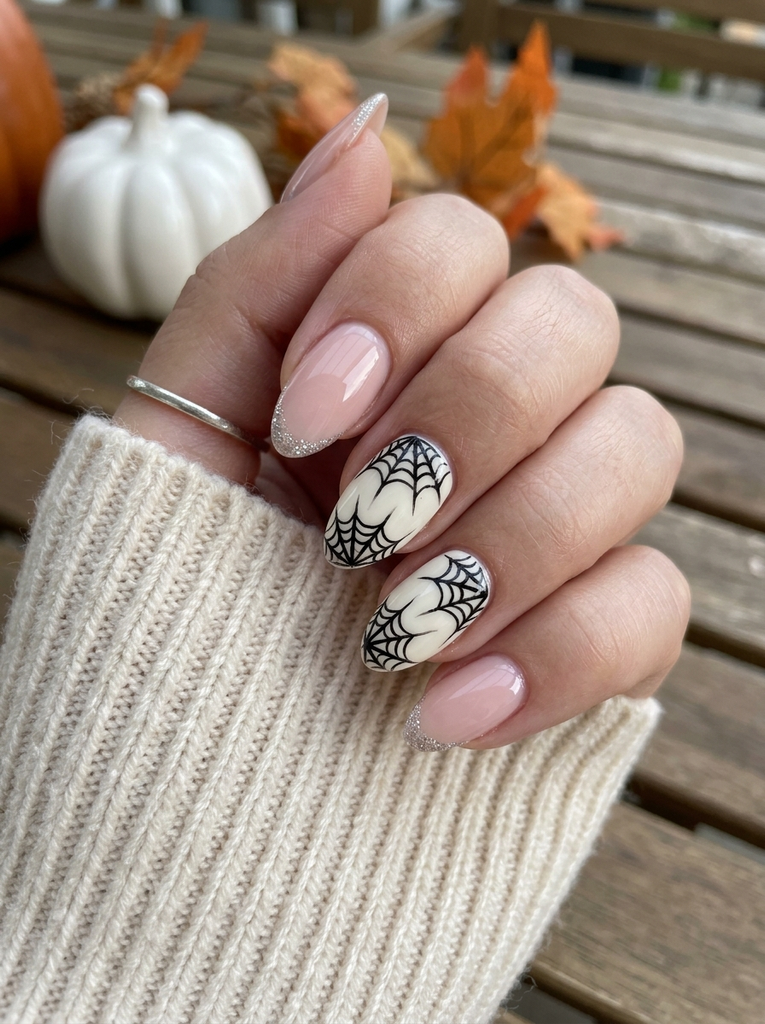
Two thin black spiderwebs radiate from the cuticle on each of two accent nails for a bold, graphic touch. The surrounding nails remain nude or pale pink, letting the web design stand out. A touch of silver glitter at the tip adds a subtle shimmer. Almond shapes give a more ladylike silhouette while staying practical for kids.
- Best for: Spooky but cute looks
- Difficulty: Medium
- Best occasion: Halloween parties
- Tip: A fine liner brush helps create precise webs.
5. Cute bat silhouettes on pale lavender
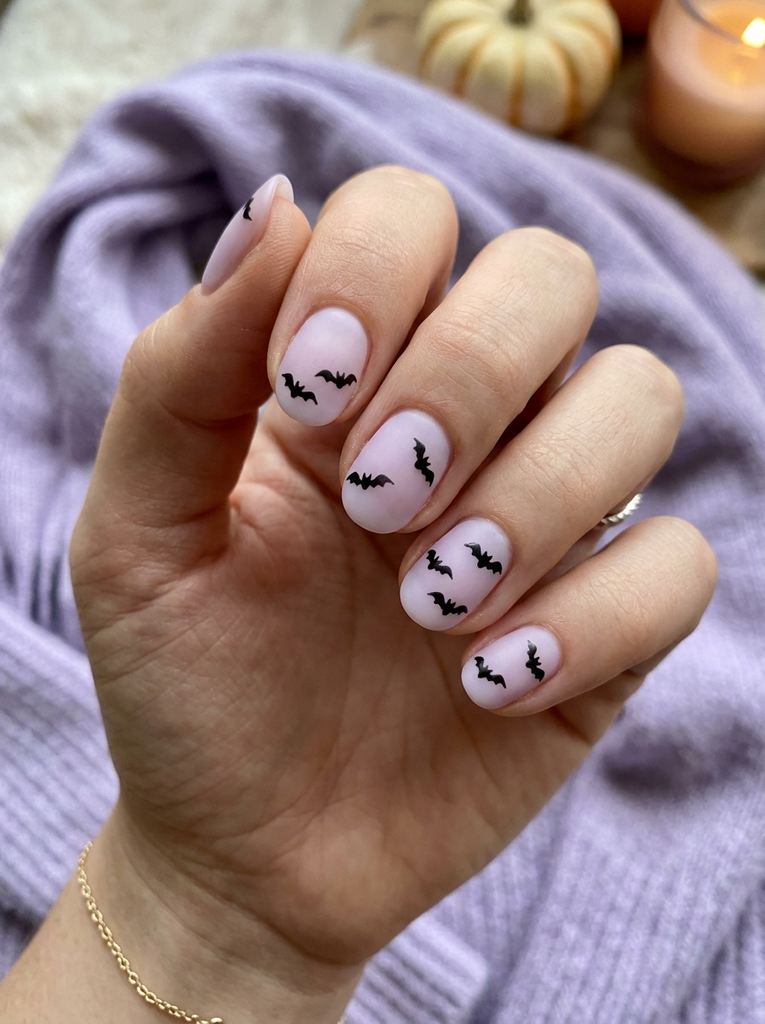
Soft lavender nails with tiny black bat silhouettes fluttering near the tips create a gentle Halloween vibe. Use a rounded nail shape to keep the bats playful rather than scary. A sheer lavender base keeps the design airy, while a satin finish gives a non-glossy, kid-friendly look.
- Best for: All-ages Halloween looks
- Difficulty: Easy
- Best occasion: School events, sleepovers
- Tip: Use a tiny brush to carve the bat wings accurately.
6. Ghosts with heart eyes on short natural nails
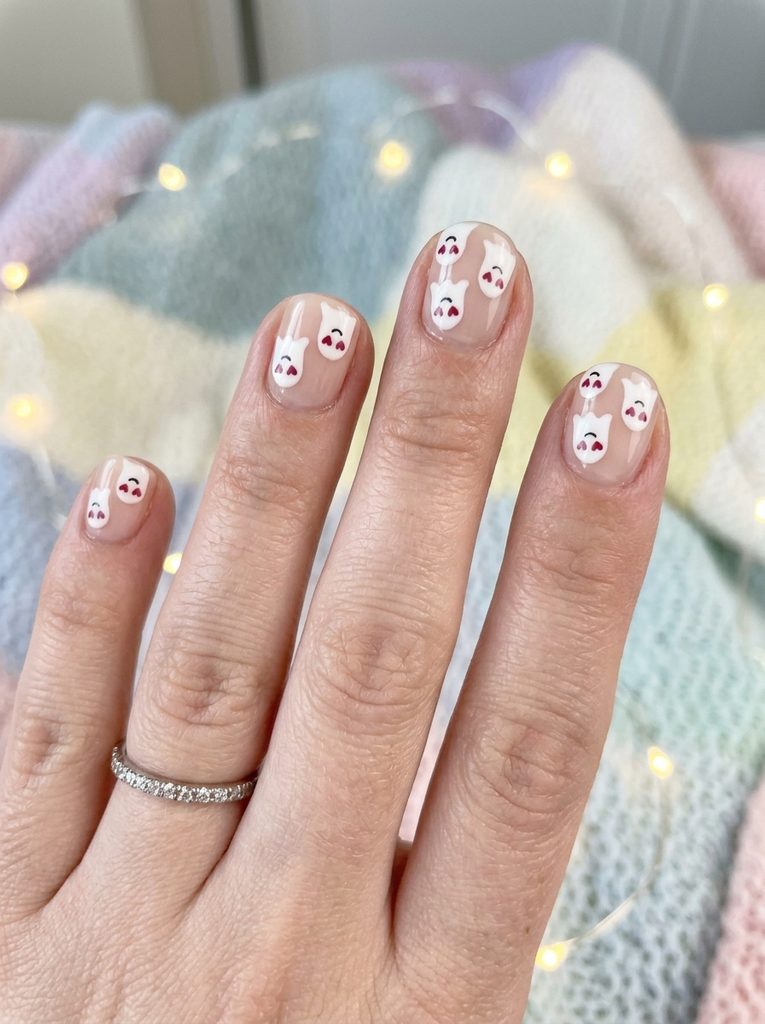
Three small ghosts on a pale base, each with tiny heart-shaped eyes, creates a sweet scene suitable for younger kids. Keep the figures simple and rounded for a friendly vibe. Finish with a clear top coat to preserve the tiny details. Short nails help keep lines neat and prevent snagging.
- Best for: Cute, non-spooky looks
- Difficulty: Easy
- Best occasion: Birthday parties
- Tip: Use a fine-tipped brush for eyes and mouths.
7. Pumpkin patch nail art across all nails
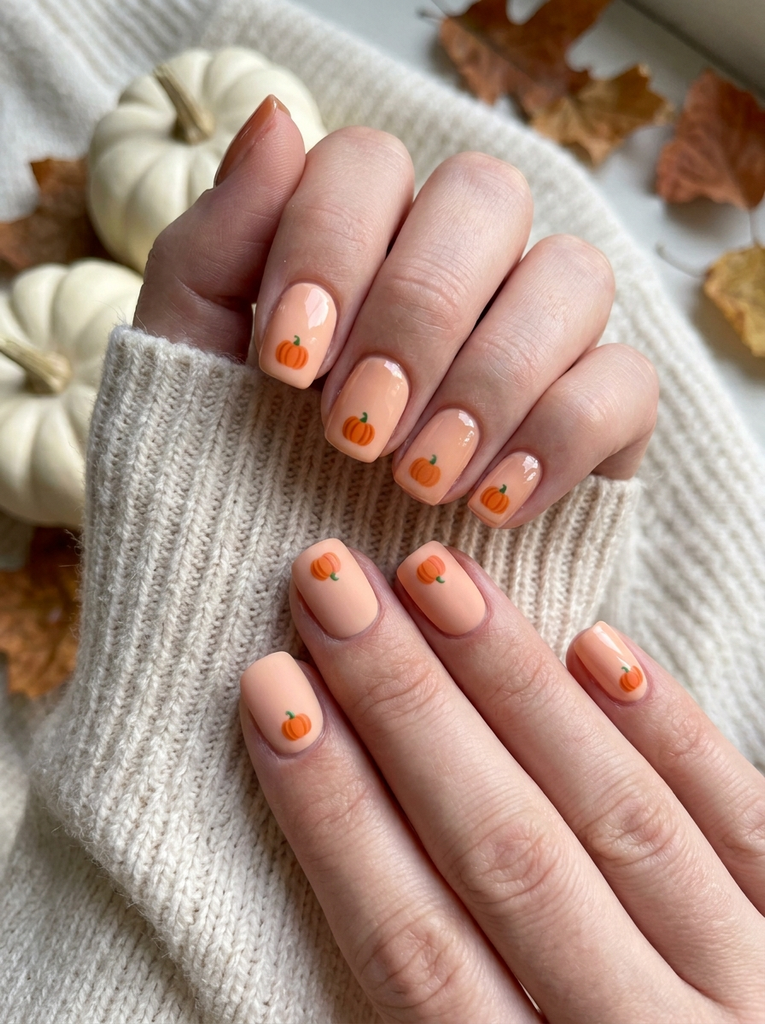
Each nail features a tiny orange pumpkin with a green stem, arranged in a neat row for a consistent theme. Alternate finishes between glossy and matte on different nails to add visual interest. A light peach base keeps the look warm and friendly for kids.
- Best for: Themed photos
- Difficulty: Easy
- Best occasion: Halloween days out
- Tip: Use decals or tiny stickers to speed up application.
8. Pink moon and stars with sparkles
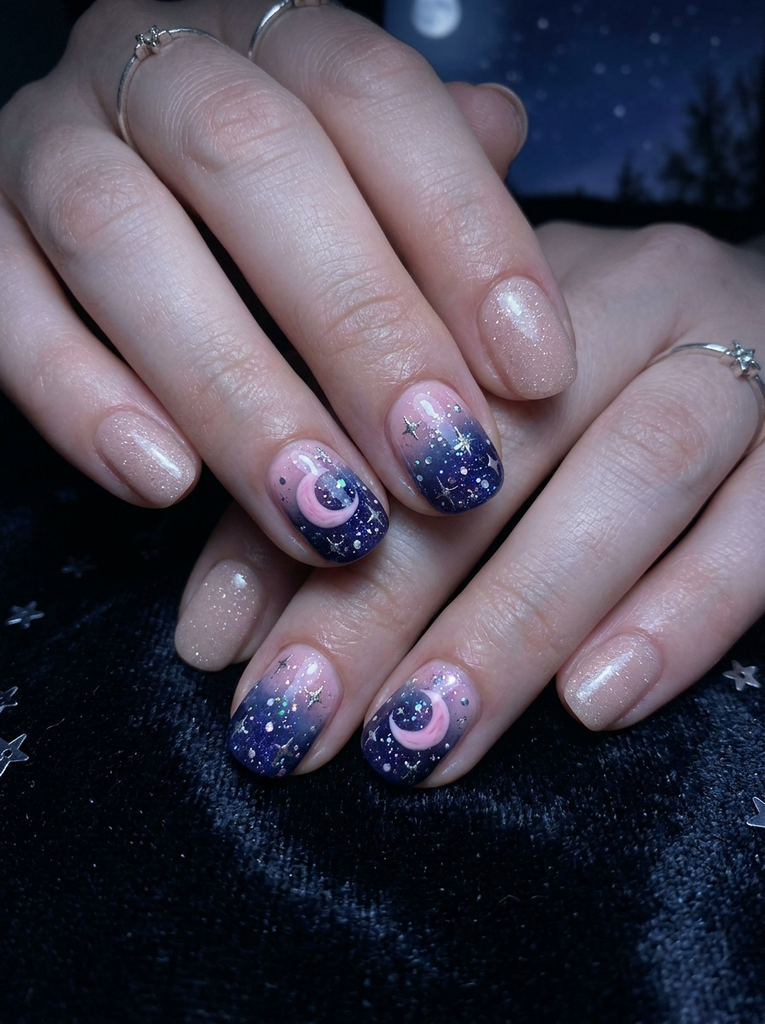
Two nails feature a pink moon against a starry night, while the rest are kept neutral with a soft shimmer. A sprinkle of tiny silver stars accentuates the celestial theme. This design uses a smooth gradient to transition from base to moon, with a glossy finish for a playful glow on short nails.
- Best for: Nighttime or party looks
- Difficulty: Easy
- Best occasion: Sleepovers, parties
- Tip: Use dotting tools to place stars precisely.
9. Simple pumpkin accent on one nail
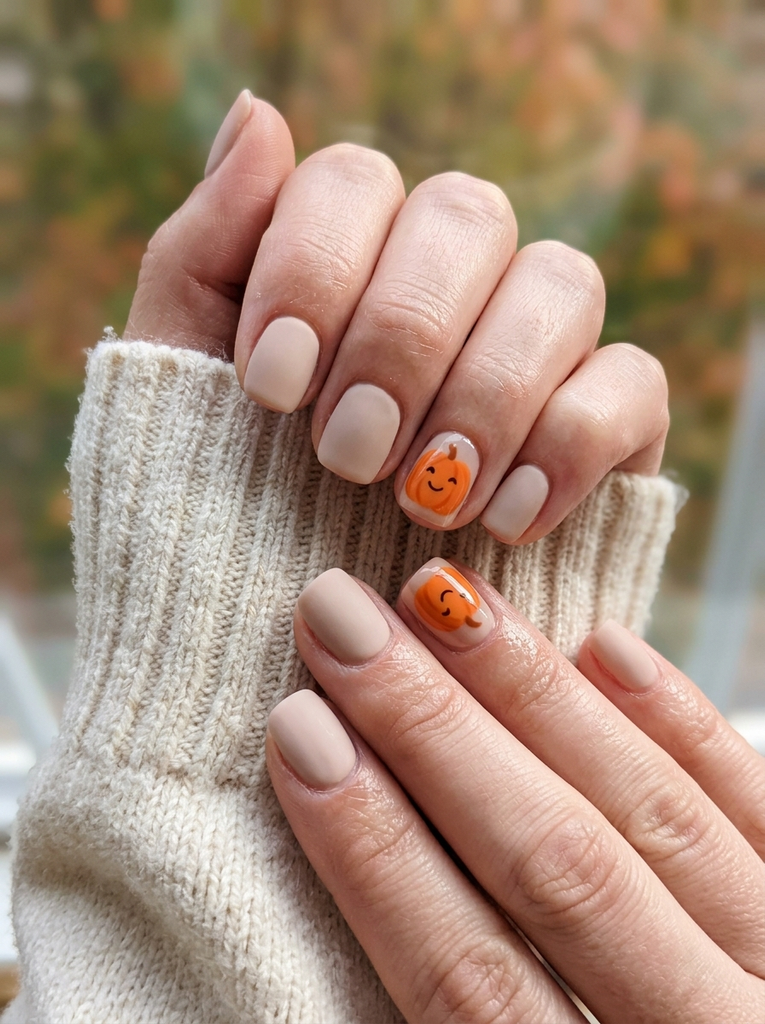
Keep most nails neutral, while one nail on each hand features a simple pumpkin with a curved smile. The single accent nail provides a focal point without overwhelming younger eyes. A matte base color with a glossy pumpkin design can create a fun contrast.
- Best for: Subtle Halloween looks
- Difficulty: Easy
- Best occasion: Daily wear during October
- Tip: Use a vinyl stencil for perfect pumpkin shapes.
10. Witch hat and broomstick accents
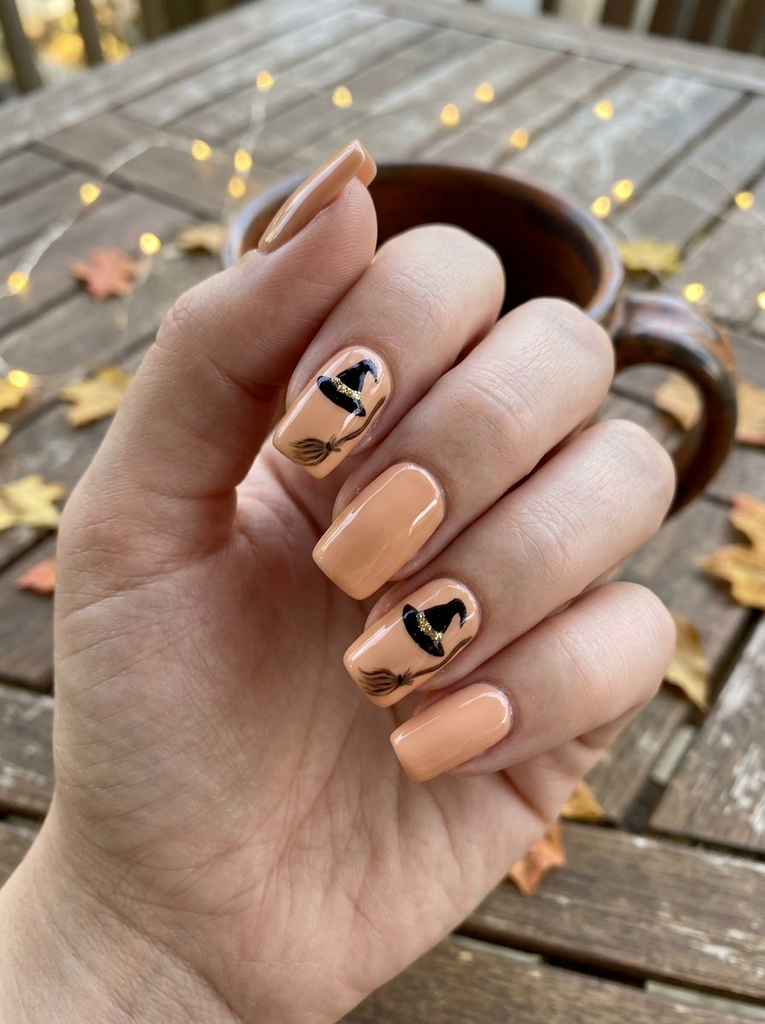
Two accent nails feature tiny black witch hats with a brown broomstick along the edge of the nail. Keep other nails in a soft orange or nude to balance the design. A hint of gold foil on the hat band adds a playful sparkle without looking heavy.
- Best for: Costume-inspired looks
- Difficulty: Easy
- Best occasion: Halloween party or school parade
- Tip: Use a small striping brush for hat shapes.
11. Candy corn chevron pattern
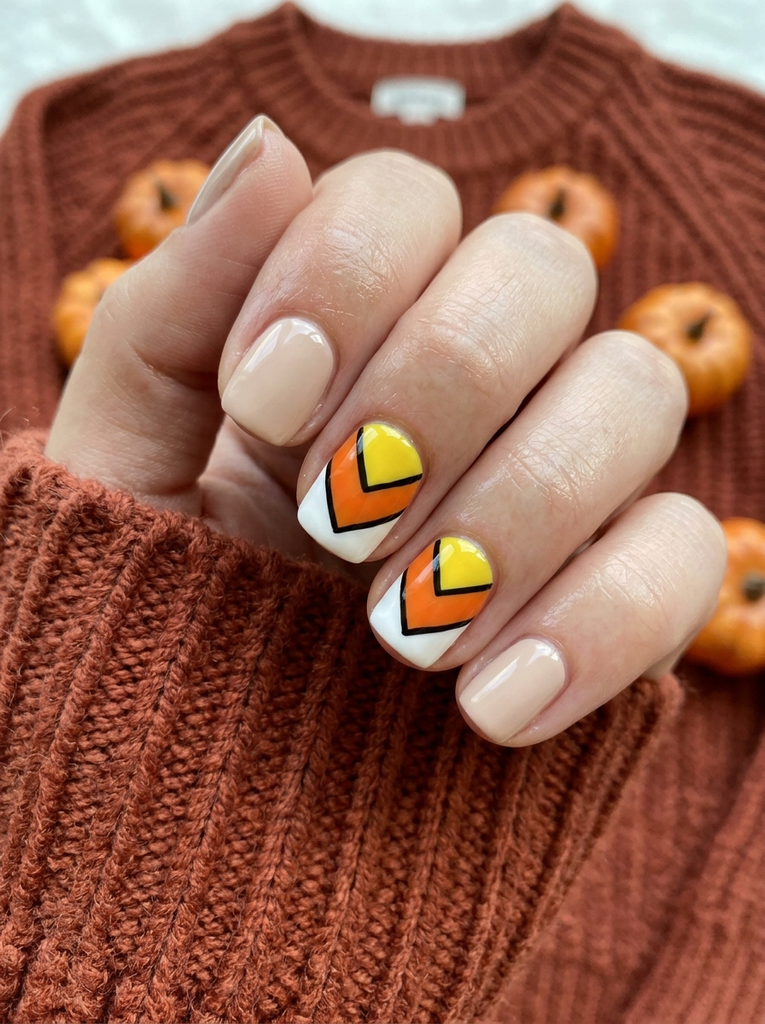
Two nails feature a bold chevron split of white, orange, and yellow reminiscent of candy corn, while the rest stay neutral. A thin black outline around the chevrons adds crisp definition. Short nails keep the lines neat and prevent crowding.
- Best for: Graphic, high-contrast looks
- Difficulty: Medium
- Best occasion: Halloween gatherings
- Tip: Use painter’s tape to achieve sharp chevron edges.
12. Carved pumpkin negative-space nail
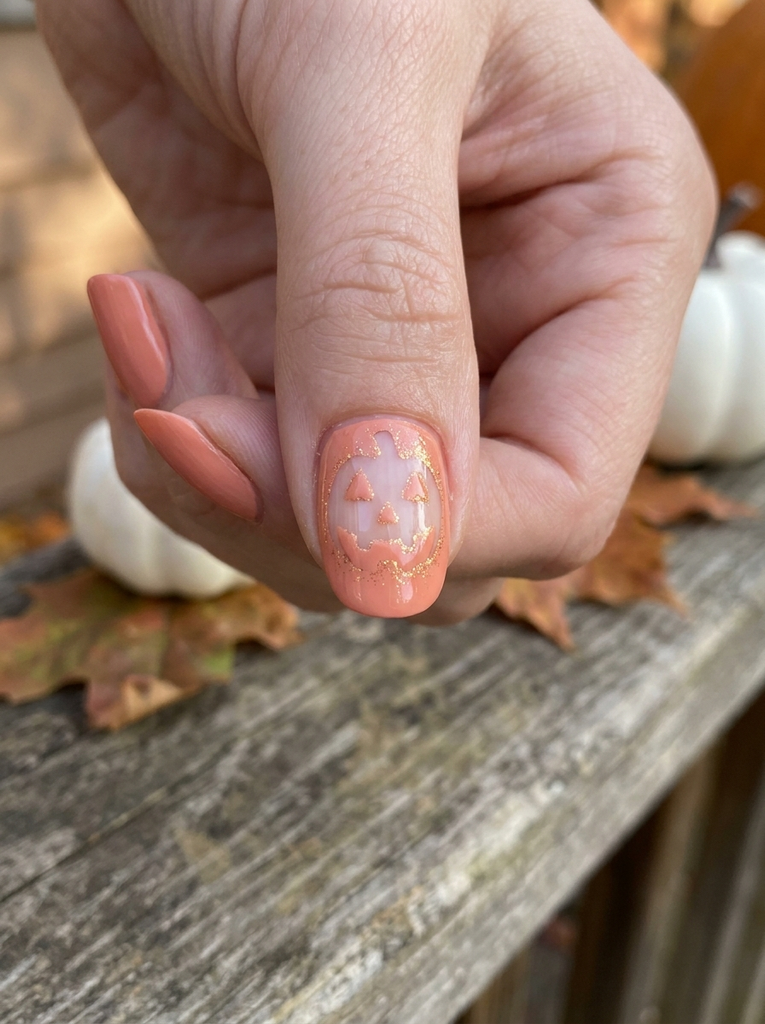
One nail uses negative space to carve a pumpkin face, with the rest covered in a soft coral base. The carved area reveals the natural nail, which makes the design lightweight and modern. A touch of subtle shimmer around the edges enhances the carved effect.
- Best for: Modern Halloween looks
- Difficulty: Medium
- Best occasion: Photoshoots, family outings
- Tip: Practice carving shapes on a nail wheel before applying visually.
13. Ghosts and stars on mixed shapes
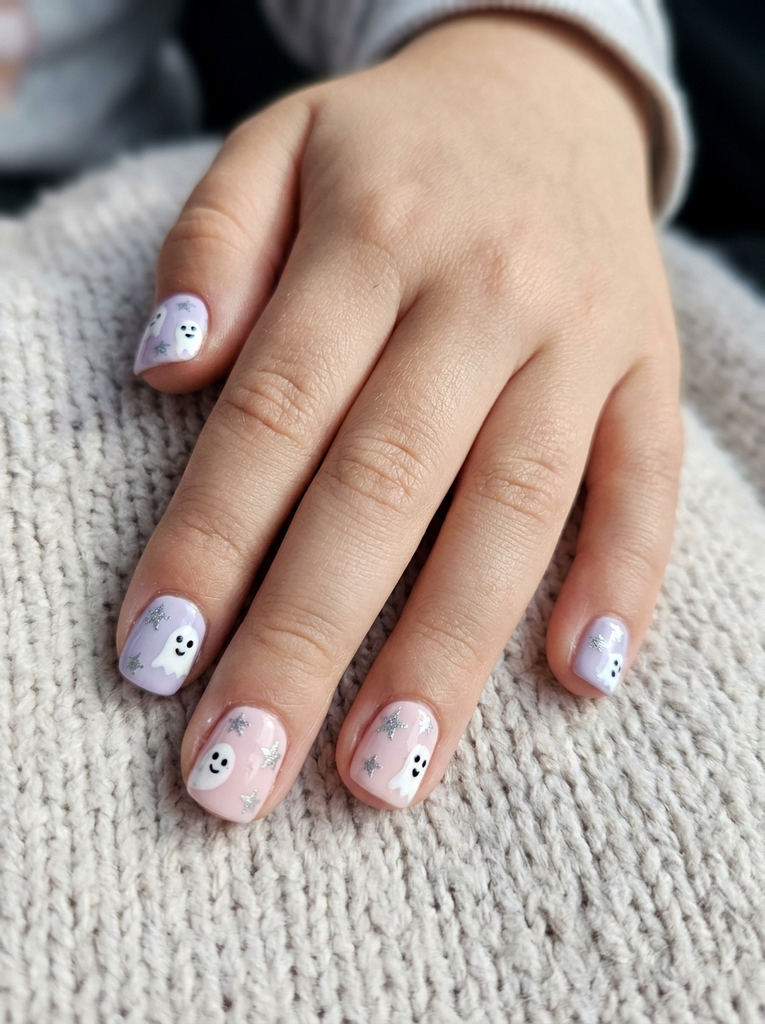
Alternate shapes—some nails square, some rounded—with tiny white ghosts and silver stars. A pale lavender or blush base ties the collection together. Keep the lines soft and rounded to avoid sharp edges on kids’ hands.
- Best for: Diverse nail shapes
- Difficulty: Easy
- Best occasion: School days, Halloween events
- Tip: Use a dotting tool to add stars for extra sparkle.
14. Skeleton fingers with pink glitter base
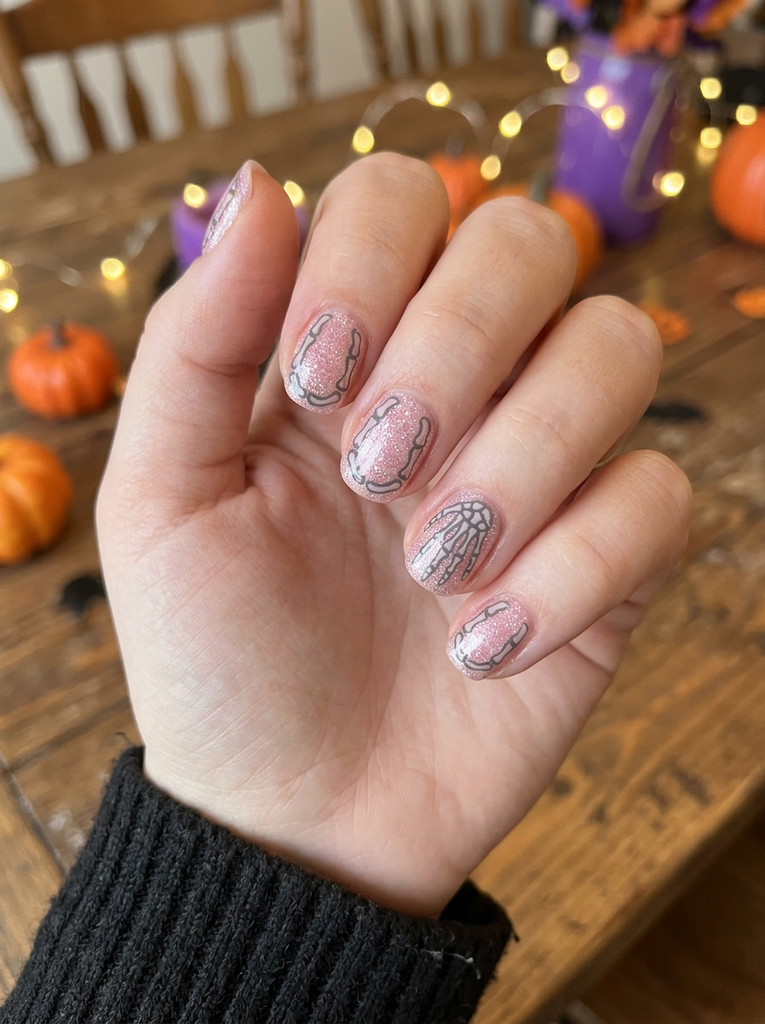
Delicate skeleton bone outlines on a pale pink glitter base create a spooky yet friendly vibe. Keep bones thin and curved to resemble friendly smiles. A soft finish helps prevent the look from feeling too harsh for young wearers.
- Best for: Edgy-but-fun Halloween
- Difficulty: Medium
- Best occasion: Parties and photos
- Tip: Lightly tap a glitter top coat to avoid rough texture.
15. Franken-stein smile faces on center nails
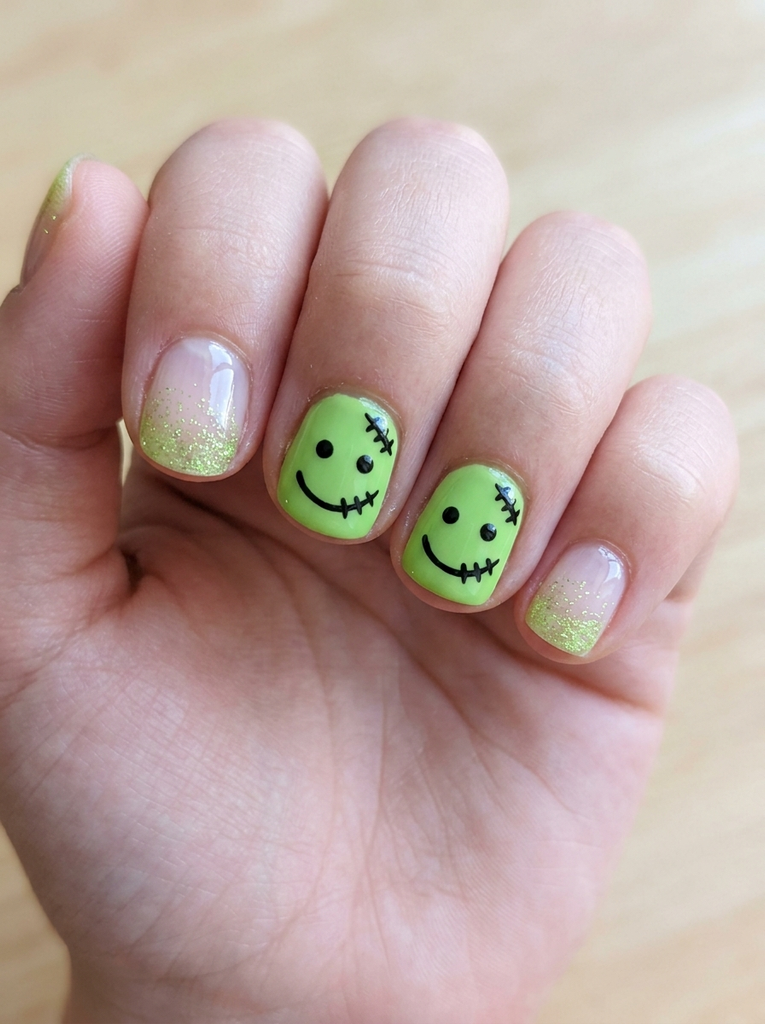
Center nails feature small green Franken-stein faces with stitched mouths and bright eyes. The surrounding nails stay neutral with a hint of lime glitter at the tips. A glossy, even finish helps keep the look bright and fun for kids.
- Best for: Silly monster looks
- Difficulty: Easy
- Best occasion: Halloween parties, playdates
- Tip: Practice the mouth shape on a clean sheet of paper first.
16. Cute monsters with candy sprinkles
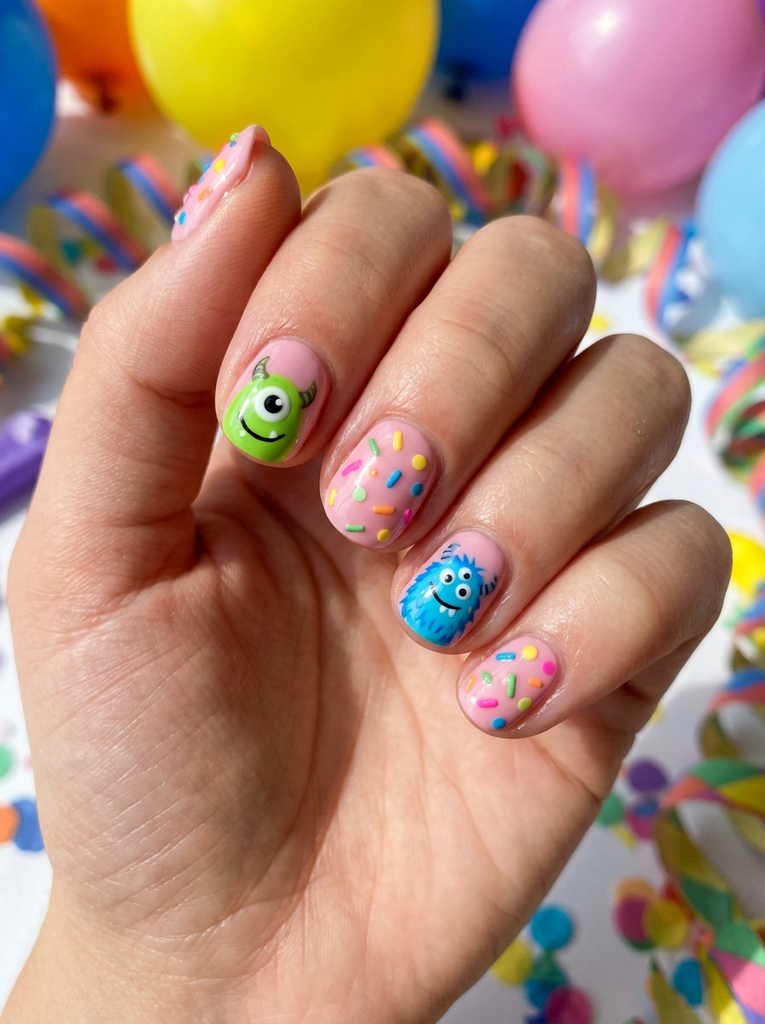
Two nails showcase tiny, cartoon-like monsters in vibrant colors, while the rest feature tiny candy sprinkle accents. A soft pink or mint base unifies the set, with a light top coat to preserve the sprinkles. Short, rounded nails keep the look approachable for kids.
- Best for: Colorful, fun looks
- Difficulty: Easy
- Best occasion: Birthday parties
- Tip: Use a toothpick to apply tiny sprinkle decals precisely.
17. Vampire bite thumb art with berry red tip
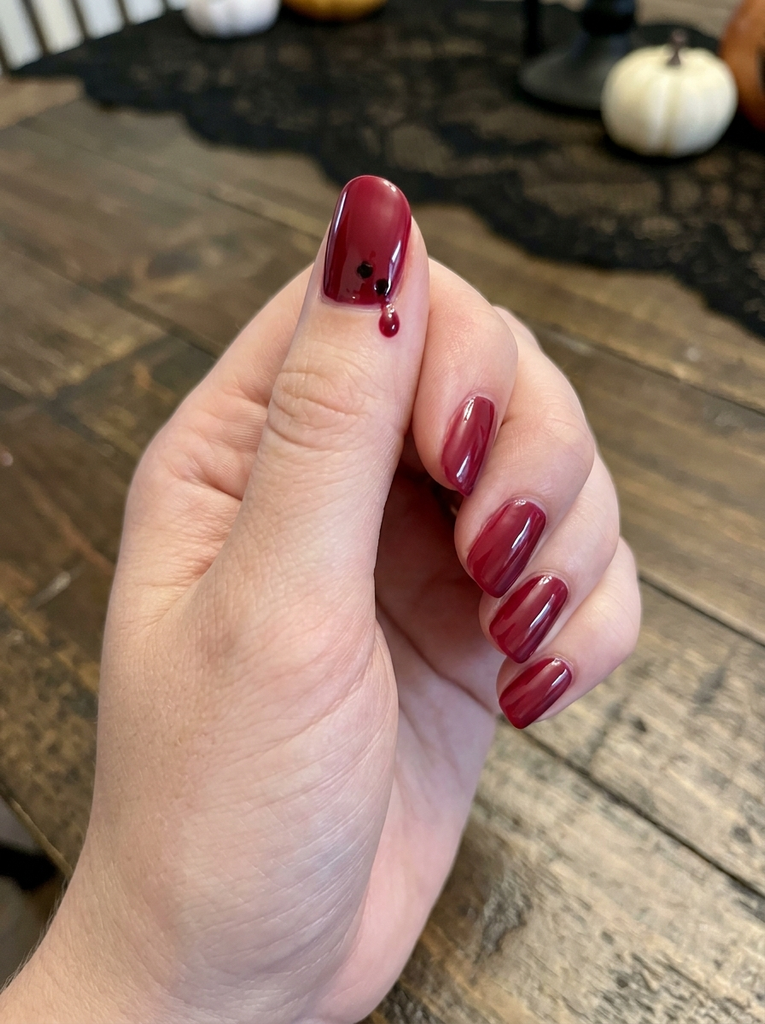
The thumb nail features a tiny vampire bite with two puncture marks and a berry-red accent near the tip. The other nails stay in a berry or cranberry shade with a subtle shine. This design is bold but still friendly for kids when kept to a single accent nail.
- Best for: Bold accents
- Difficulty: Easy
- Best occasion: Halloween parties
- Tip: Use a fine brush to draw the two bite marks cleanly.
18. Haunted house silhouette with gradient night sky
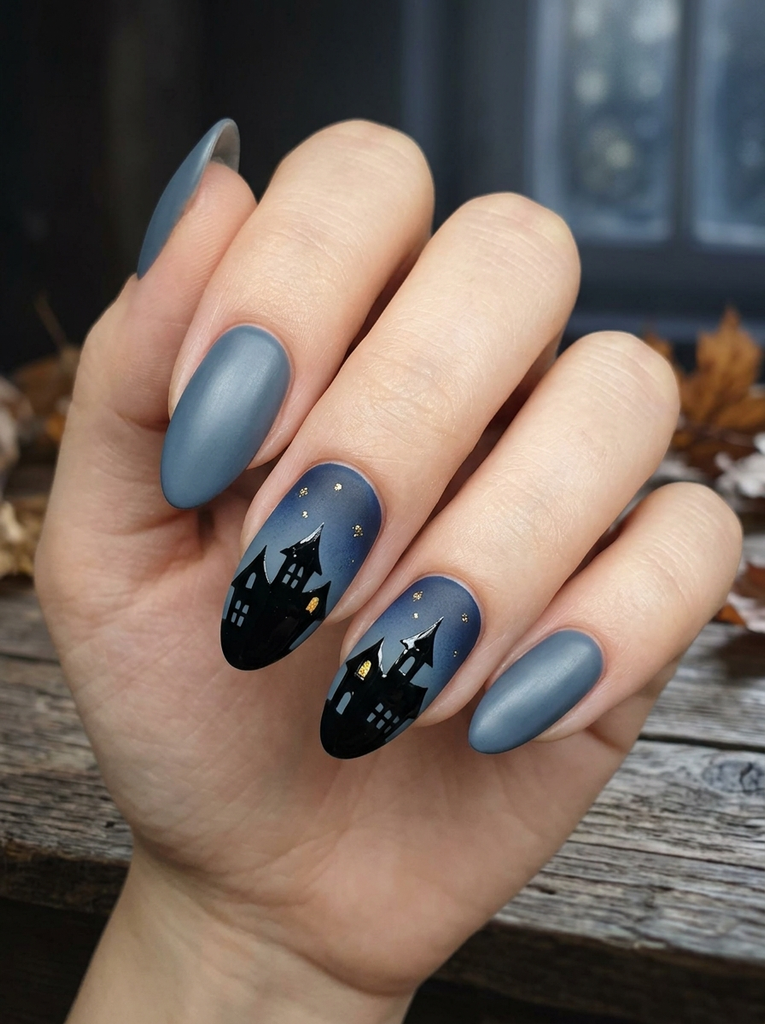
One or two nails feature a simple haunted house silhouette against a gradient night sky, shifting from deep navy to twilight blue. A few tiny stars add sparkle, while the remaining nails use a muted base to keep the scene readable. A matte finish on the gradient nails contrasts nicely with glossy silhouettes.
- Best for: Subtle storytelling
- Difficulty: Medium
- Best occasion: Family photos, events
- Tip: Use a makeup sponge to blend the gradient for a smooth transition.
19. Boo! bubble letters with pastel purple
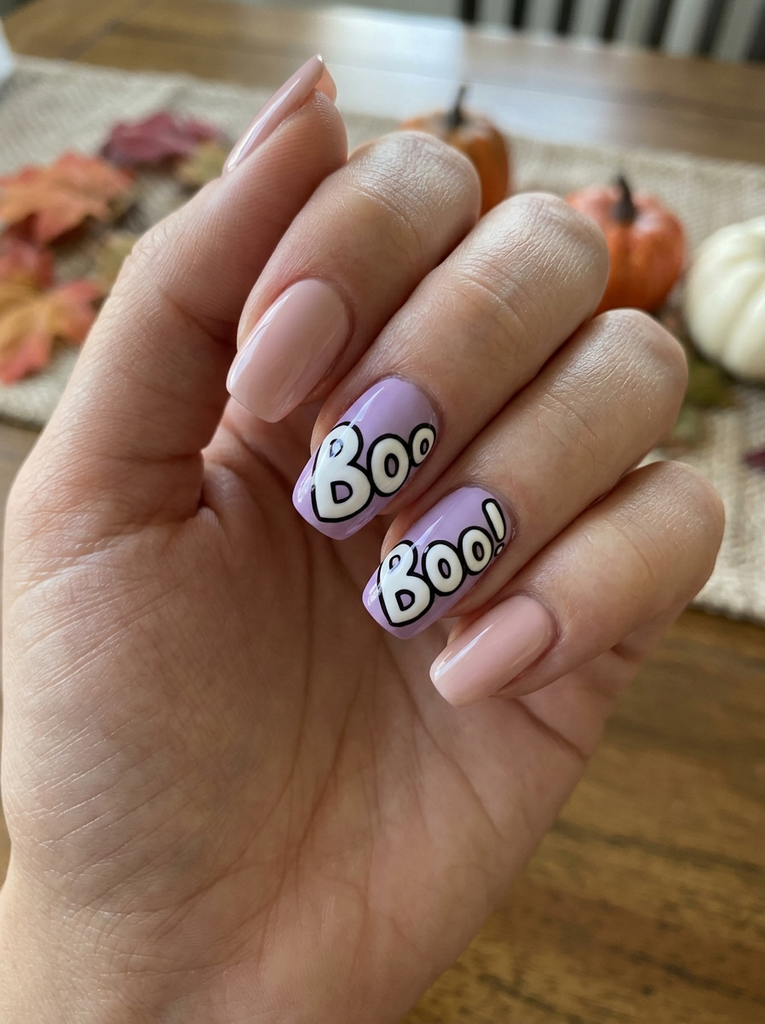
Two nails display bold “Boo” letters in white against a pastel purple base, with tiny black outline for legibility. The rest of the nails stay soft pink or nude to prevent visual overload. A high-gloss top coat keeps the letters crisp and legible for kids.
- Best for: Lettered designs
- Difficulty: Easy
- Best occasion: Halloween parades, school events
- Tip: Use letter stencils or decals to ensure clean typography.
20. Jack-o-lantern faces with dot-lace texture
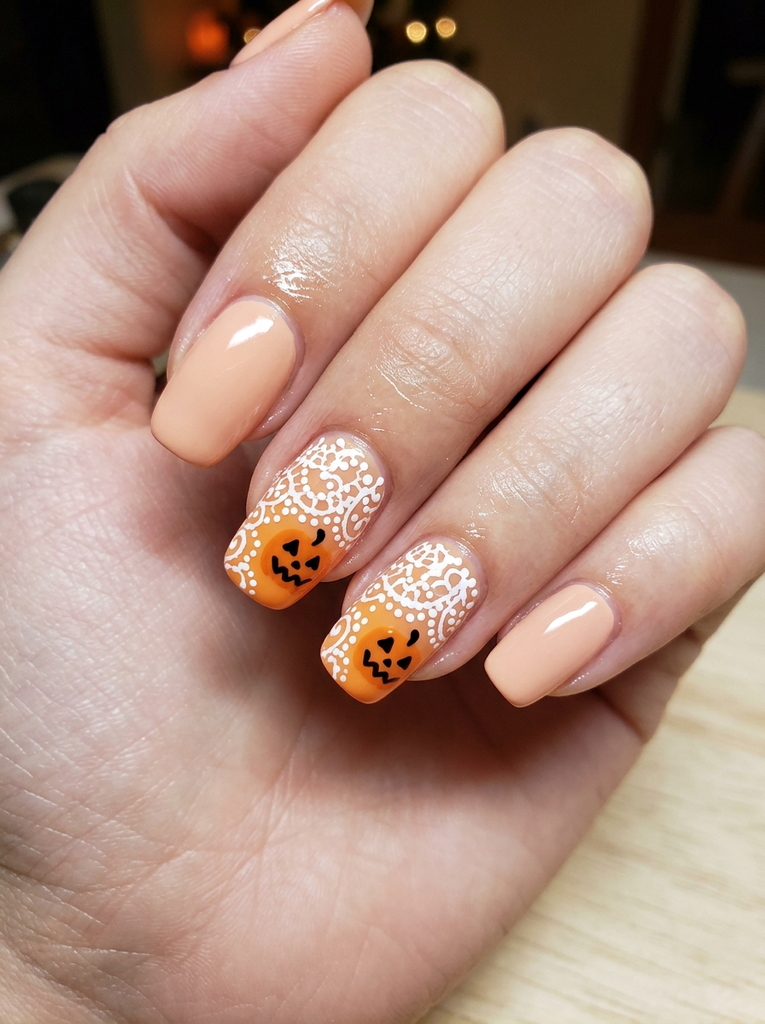
Two accent nails feature tiny jack-o-lantern faces drawn in black on an orange base, with a lace-like lace texture created by small white dots over a clear top coat. The remaining nails are kept simple in a soft peach or nude to balance the busy design. A gel-like top coat keeps the tiny features sharp.
- Best for: Classic Halloween look
- Difficulty: Medium
- Best occasion: Parties, family gatherings
- Tip: Use a dotting tool for the precise eye shapes and nose.
FAQs
How long do halloween nails for girls kids designs last on kids’ nails?
On shorter nails with careful application, designs can last several days to a week, depending on activity and care. A good base coat and top coat help protect the artwork from chipping during play.
Are these designs safe for kids’ nails?
Choose gentle, kid-friendly polishes and avoid harsh removers. Following standard nail-care steps—clean, dry nails, thin coats, and proper removal—helps keep nails healthy.
What tools are needed for these looks?
A small cleanup brush, dotting tools, thin nail art brushes, and a quick-dry top coat are the most useful. decals or stickers can speed up some designs for younger kids.
How should I prepare nails before painting?
Gently push back cuticles, file to a clean shape, and wipe nails with a little alcohol or polish remover to remove oils. A thin base coat helps the designs adhere and reduces staining from bright colors.
Can these designs be adapted for longer nails?
Yes. Extend the artwork onto longer nails by adding an extra accent nail or increasing the size of the design elements. Maintain a kid-friendly balance by avoiding overly large motifs.
Conclusion
These Halloween nails for girls kids ideas offer a range of playful, kid-friendly options that work well on short nails. From ghosts and pumpkins to candy and spooky silhouettes, there’s a look for every little personality. Pick a few favorites and adapt colors to your child’s taste, then have fun decorating together.
Ready to try one tonight? Start with a simple accent nail and build from there, using the primary keyword as your guiding theme: halloween nails for girls kids.